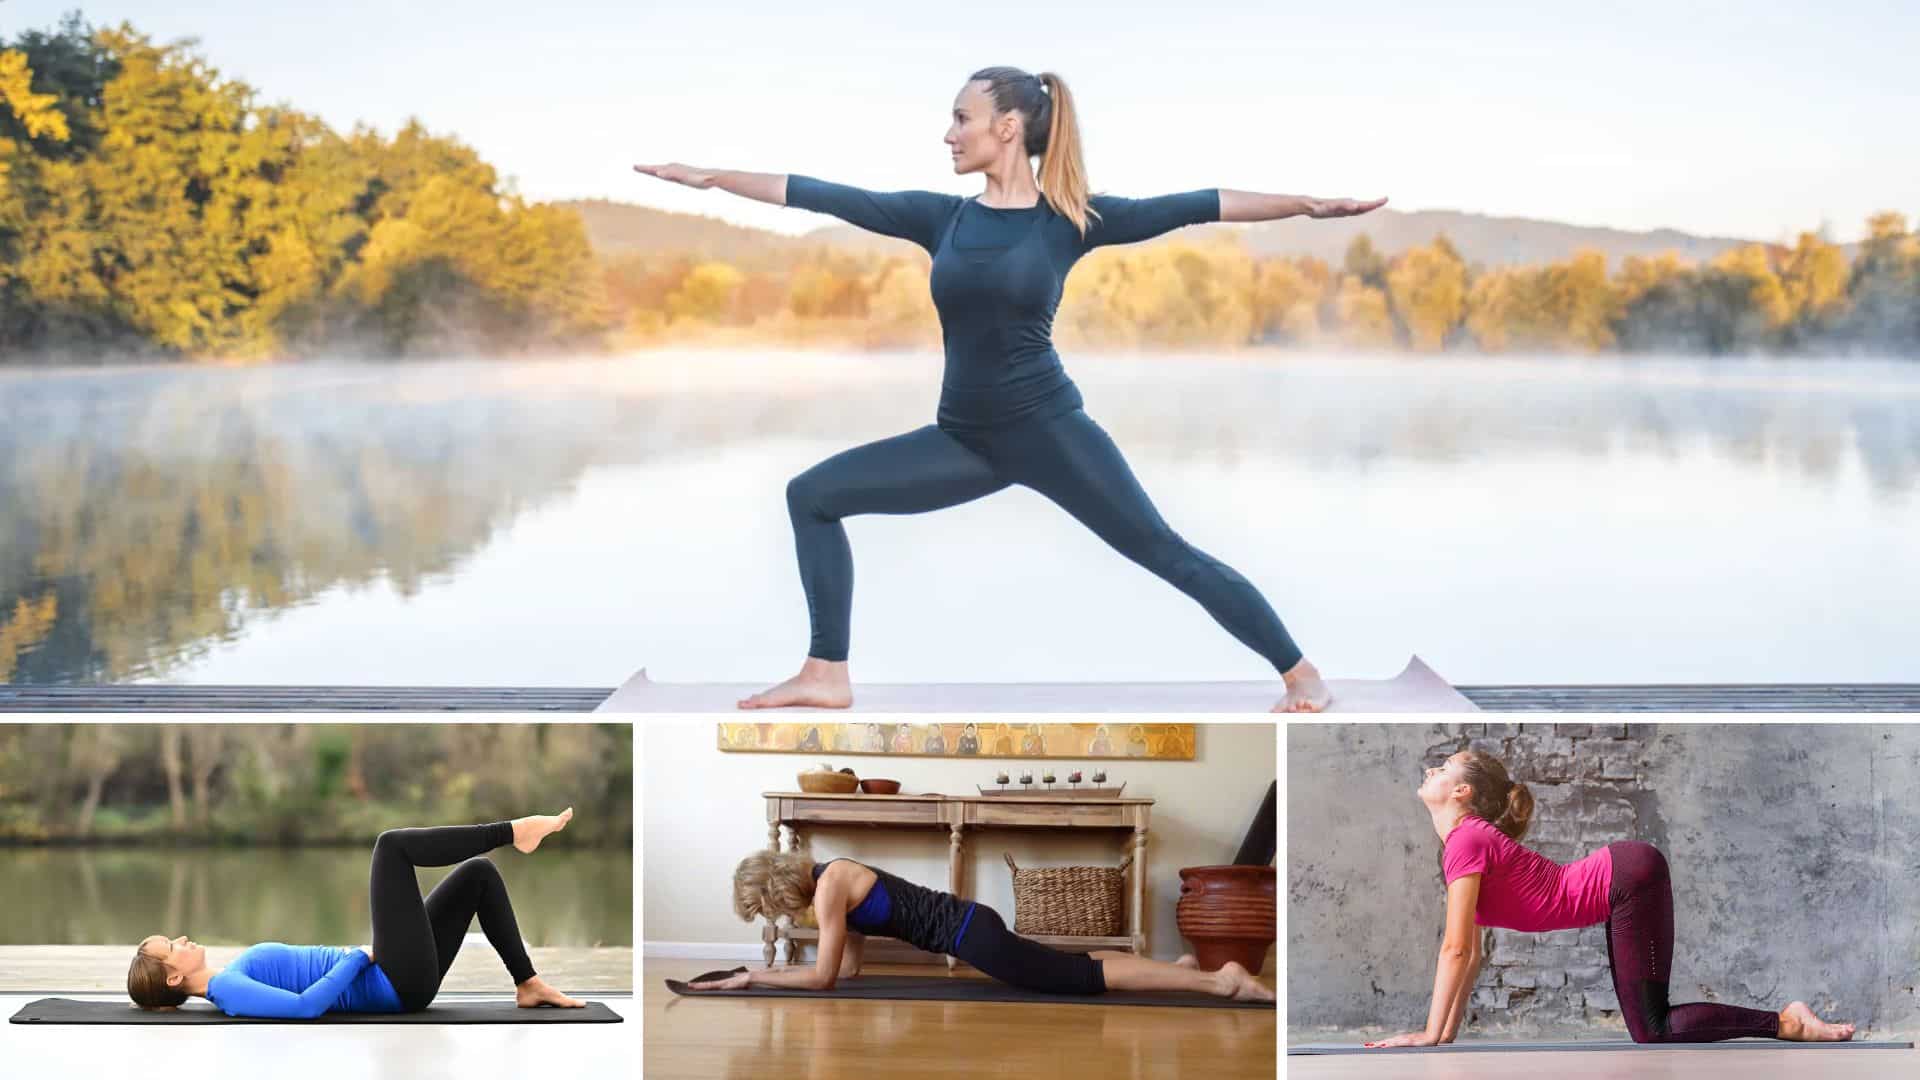
Stiff joints, tight hips, and back pain can make traditional yoga feel impossible. You want to stay active and flexible, but getting down on the floor isn’t an option anymore.
That’s where chair yoga comes in. It provides all the benefits of stretching, strengthening, and relaxation without requiring a mat or worrying about balance.
You stay seated the whole time, moving at your own pace. Chair yoga helps you build strength, improve mobility, and enhance your overall well-being.
Best of all, it’s completely free to start right from your living room. You don’t need fancy equipment or prior experience. Just a sturdy chair and a few minutes of your day.
What Is Chair Yoga and Why Is It Perfect for Seniors?
Chair yoga is a form of yoga practiced while sitting or using a chair for support. It takes traditional poses and adapts them so you can practice safely without needing to get on the floor.
The movements focus on gentle stretches, breathing exercises, and light strengthening.
It works well for seniors because it removes the risk of falling or straining yourself. You stay stable the entire time.
Your joints receive the necessary movement without excessive pressure. People with arthritis, limited mobility, or balance concerns can still participate comfortably.
The chair supports your body while you work on flexibility and posture. You control the intensity based on how you feel that day.
Some days you stretch deeper. On other days, you keep it light. That’s the beauty of it, you’re always in charge.
Step-by-Step Chair Yoga Routine for Seniors
Below is a routine that takes about 15 minutes and covers your whole body. Move at your own pace and stop if anything feels uncomfortable.
Step 1: Warm-Up and Posture Check
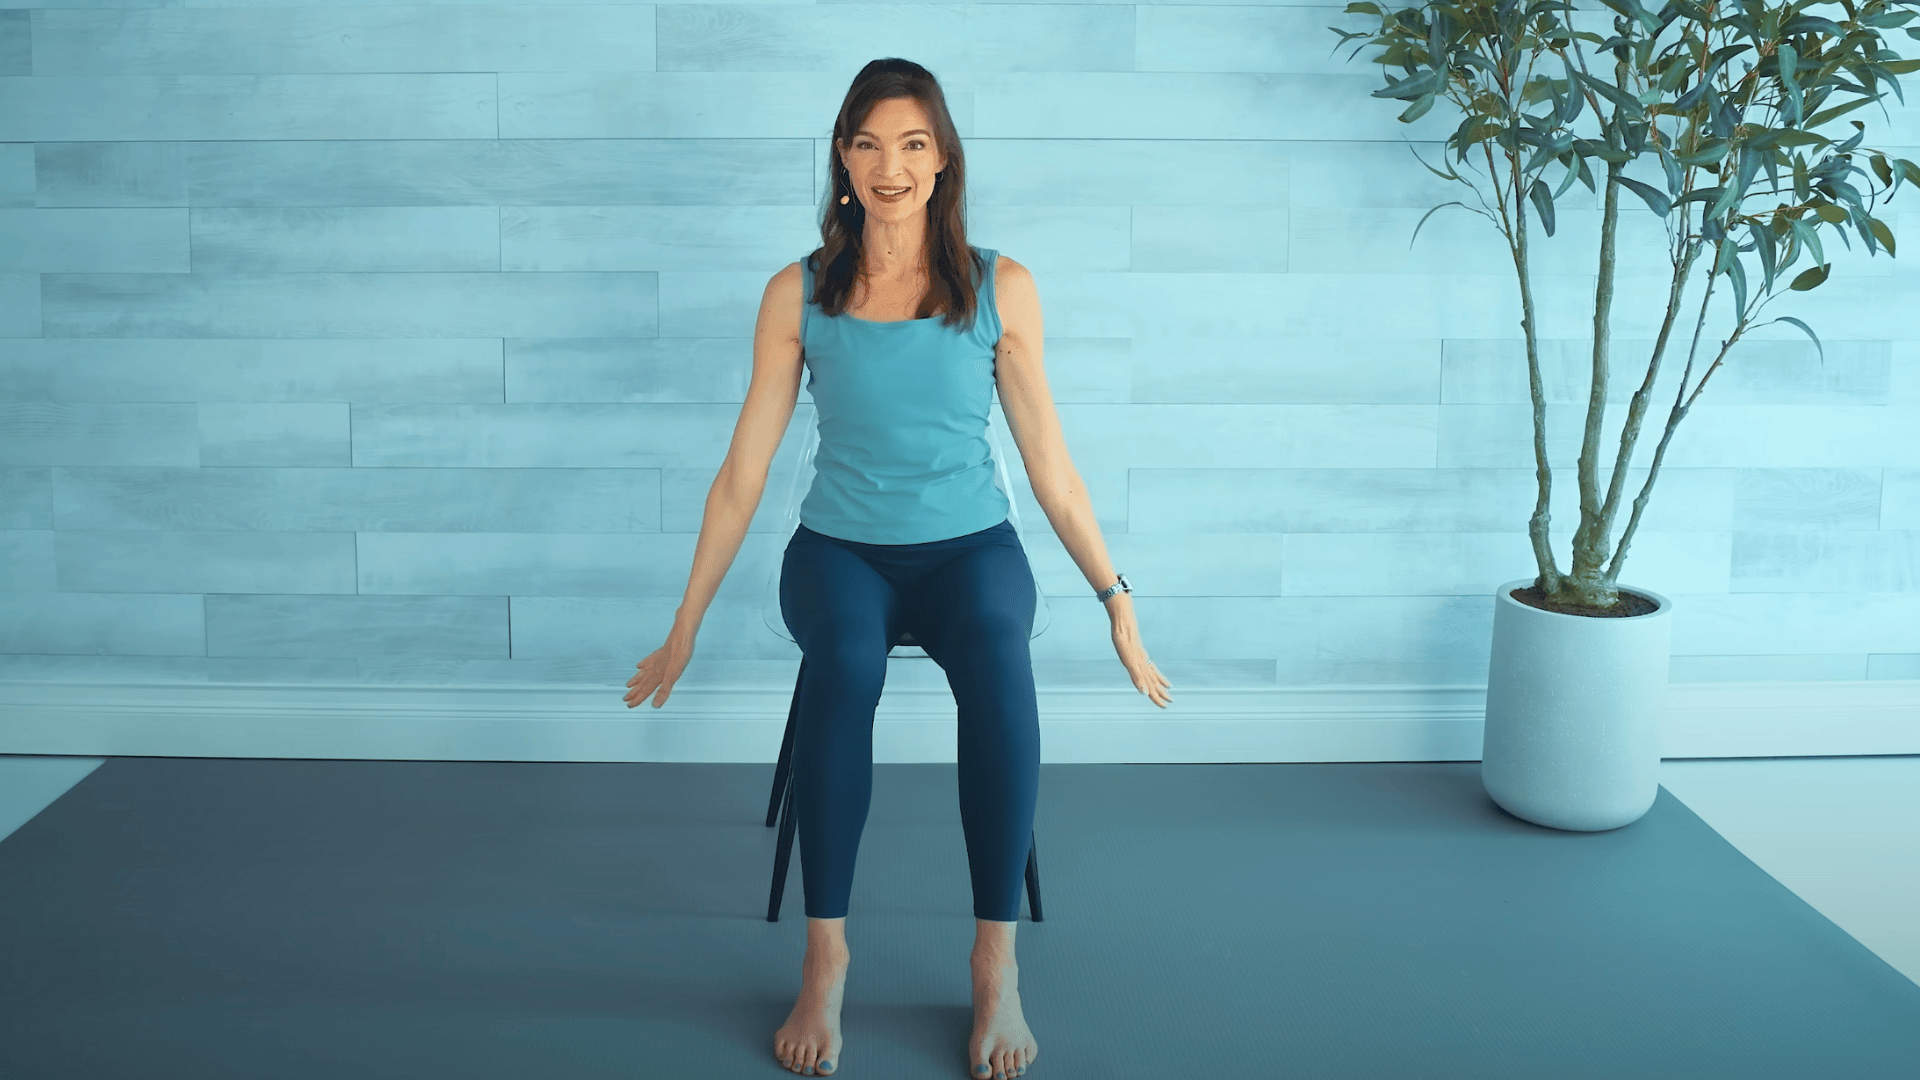
Sit at the edge of your chair with feet flat on the floor. Your knees should align with your hips and ankles. Think of it as a 90-90 position.
Sit up tall and take a big breath in through your nose. As you breathe out, let your arms rise and fall naturally. Roll your shoulders back a few times. This opens up your chest and gets you ready to move.
Step 2: Seated Cat-Cow for the Spine
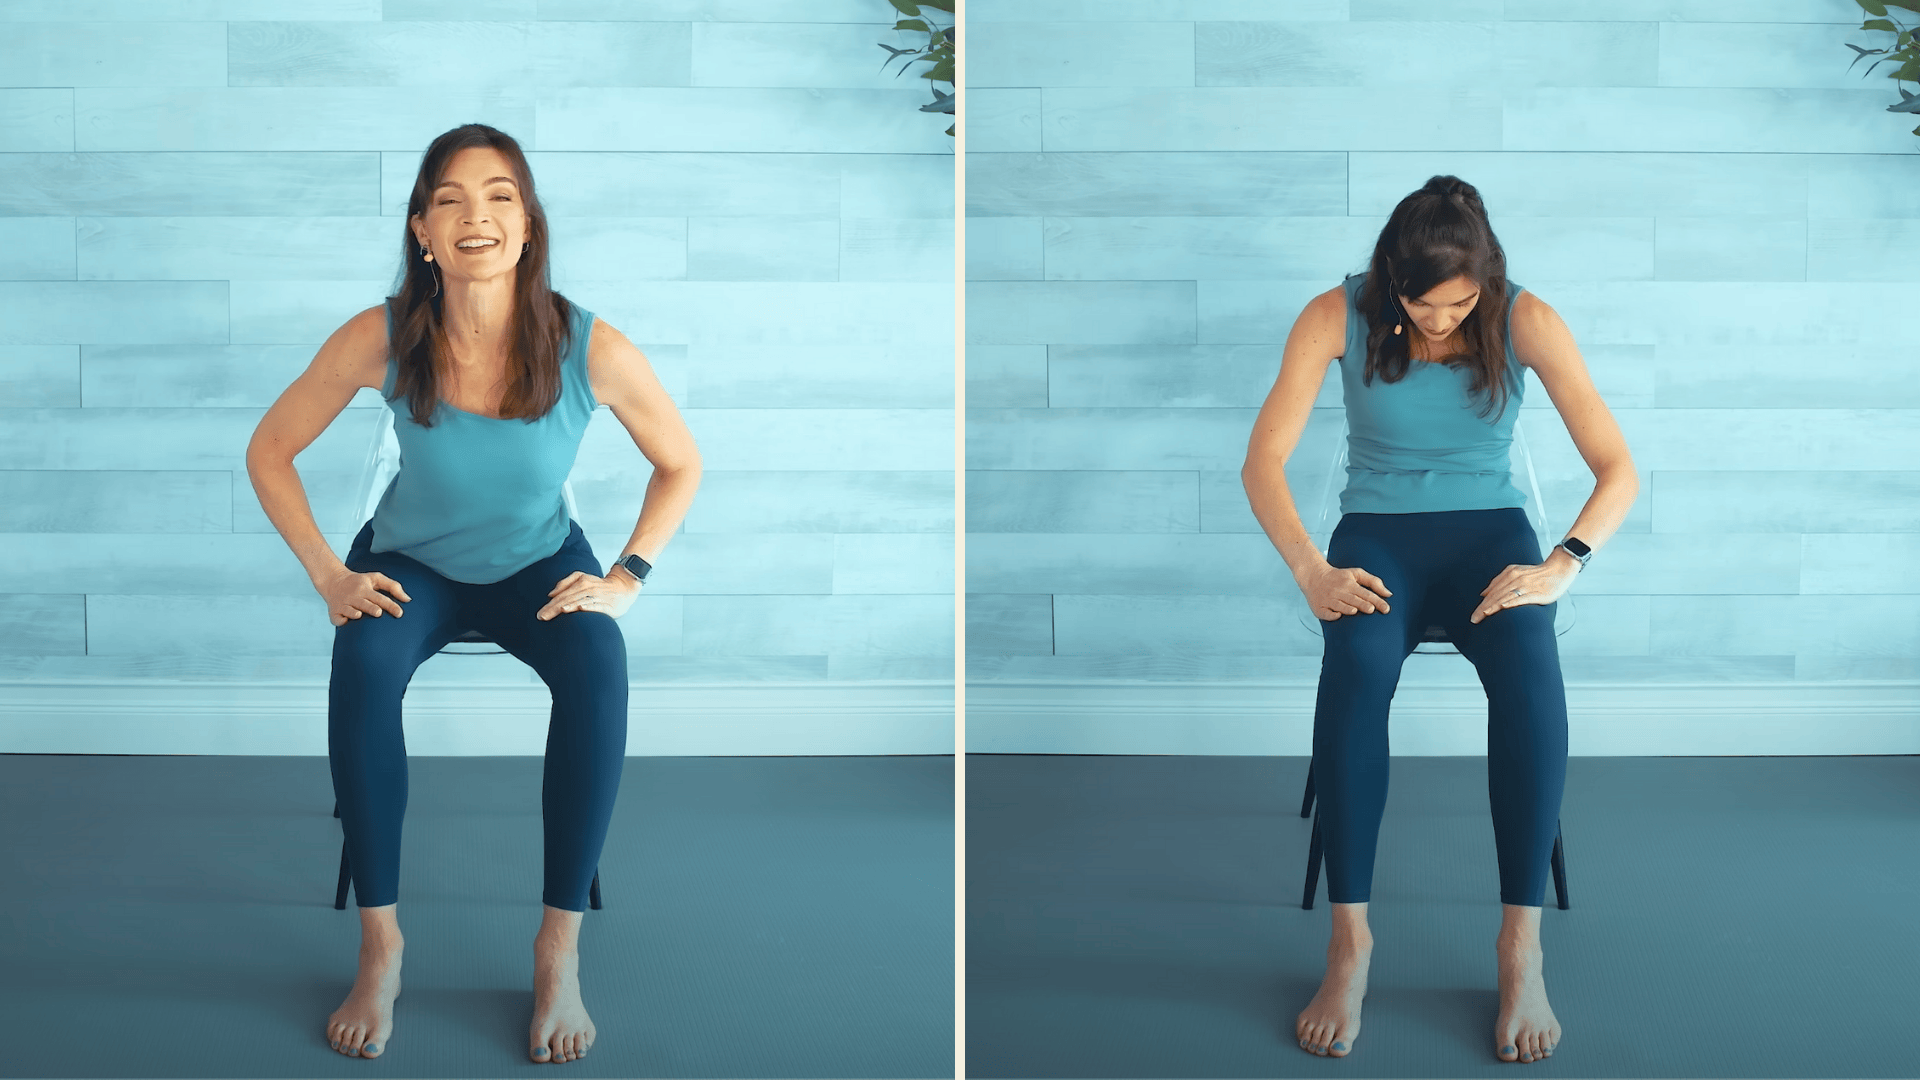
Place your hands on your thighs. Arch your back gently, lifting your chest and chin forward. Then round your spine, tucking your chin toward your chest.
Move in a slow circular motion, going forward, side, back, and around. This loosens up your lower back and stretches your spine. Do a few circles in one direction, then reverse it.
Step 3: Heel and Toe Lifts for Circulation
Keep sitting tall. Lift your heels off the ground, then lower them and lift your toes instead. Keep alternating between heels and toes.
Your back stays straight and your core stays engaged. Do this eight to ten times. It warms up your calves and gets blood flowing to your lower legs.
Step 4: Hip Openers and Ankle Circles
Lift your right leg slightly off the floor. Hold it with your hands under your thigh or shin. Circle your ankle slowly to the outside, then reverse the direction.
Now open your hip by guiding your knee out to the side. You can hold the side of the chair for balance. Bring it back to center and repeat a few times.
Switch to your left leg and do the same thing.
Step 5: Twists and Side Reaches
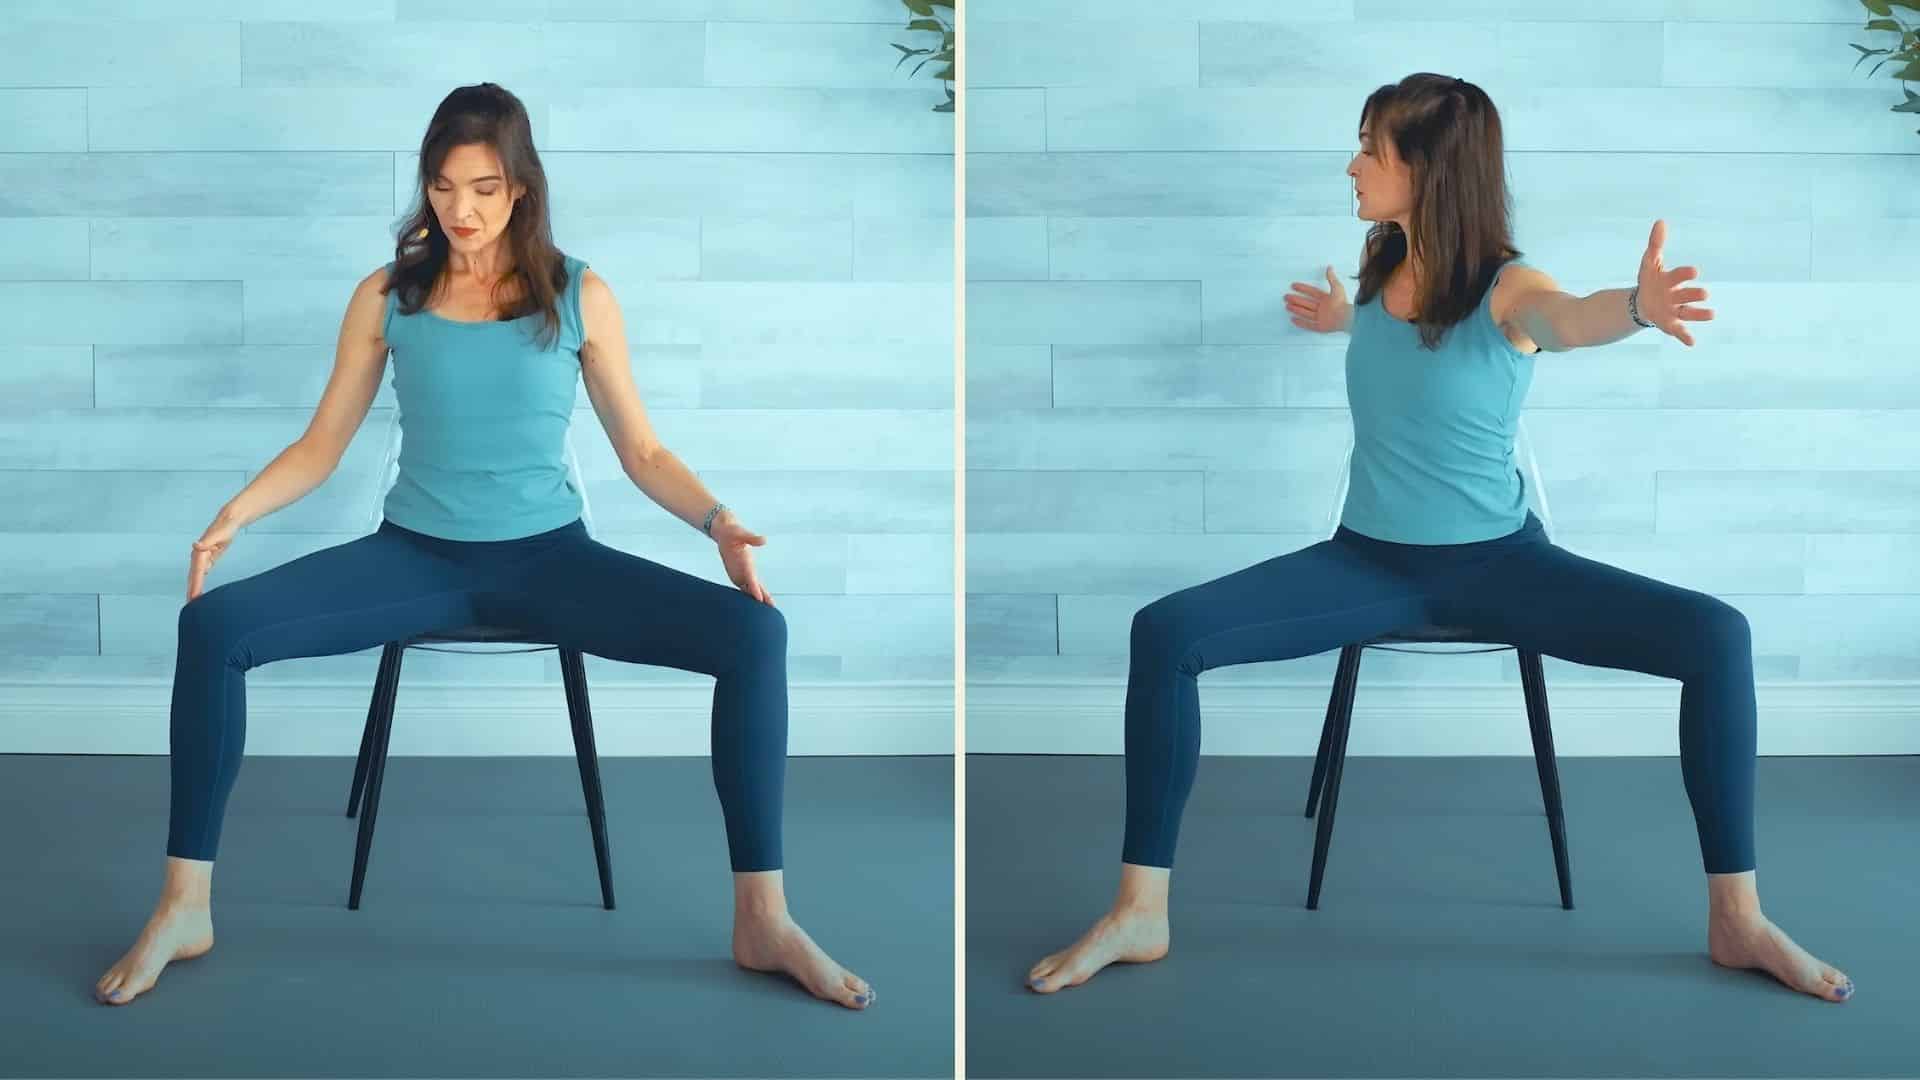
Sit with your legs wider than hip-width apart. Keep your knees in line with your ankles. Bring your arms out to the sides.
Twist your torso to one side, keeping your arms wide. Come back to center. Then lean down toward one ankle, reaching across your body.
Use your core to pull yourself back up. Switch to the other side and repeat.
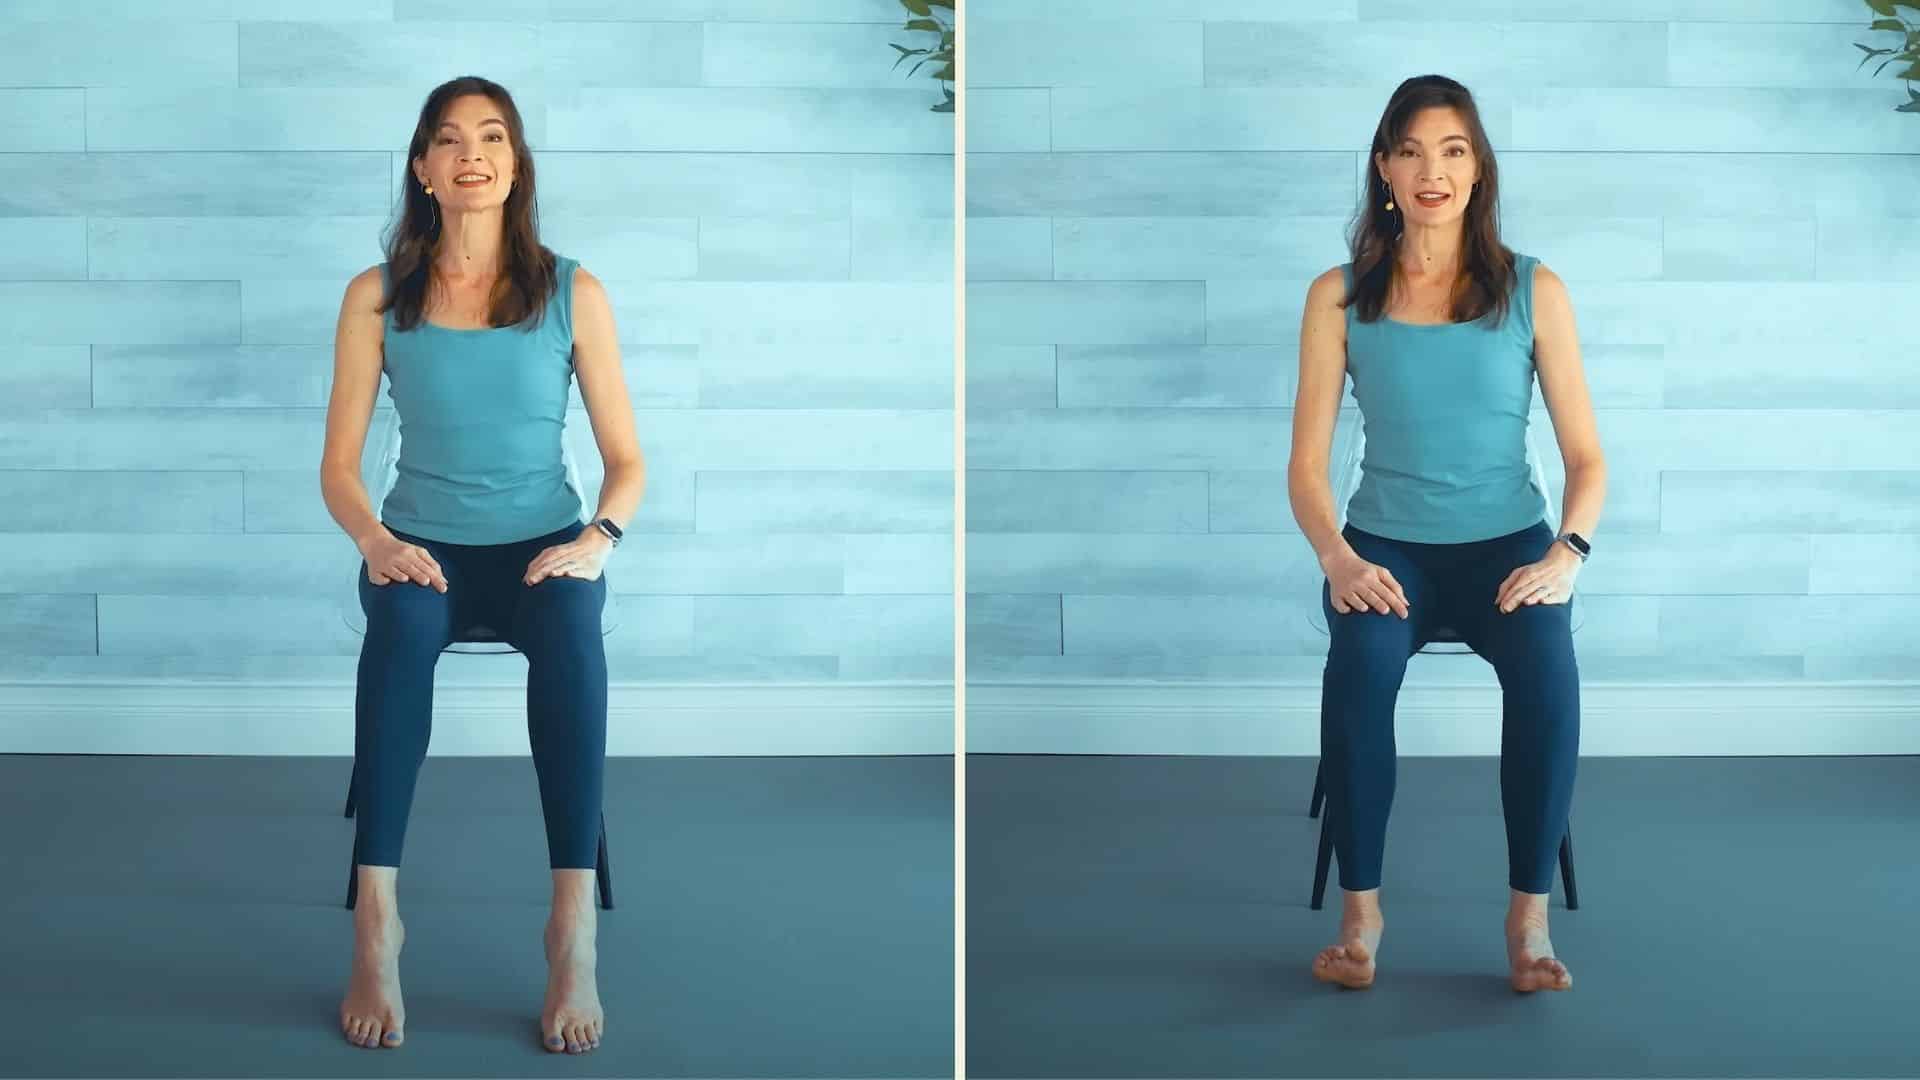
Step 6: Inner Thigh and Glute Activation
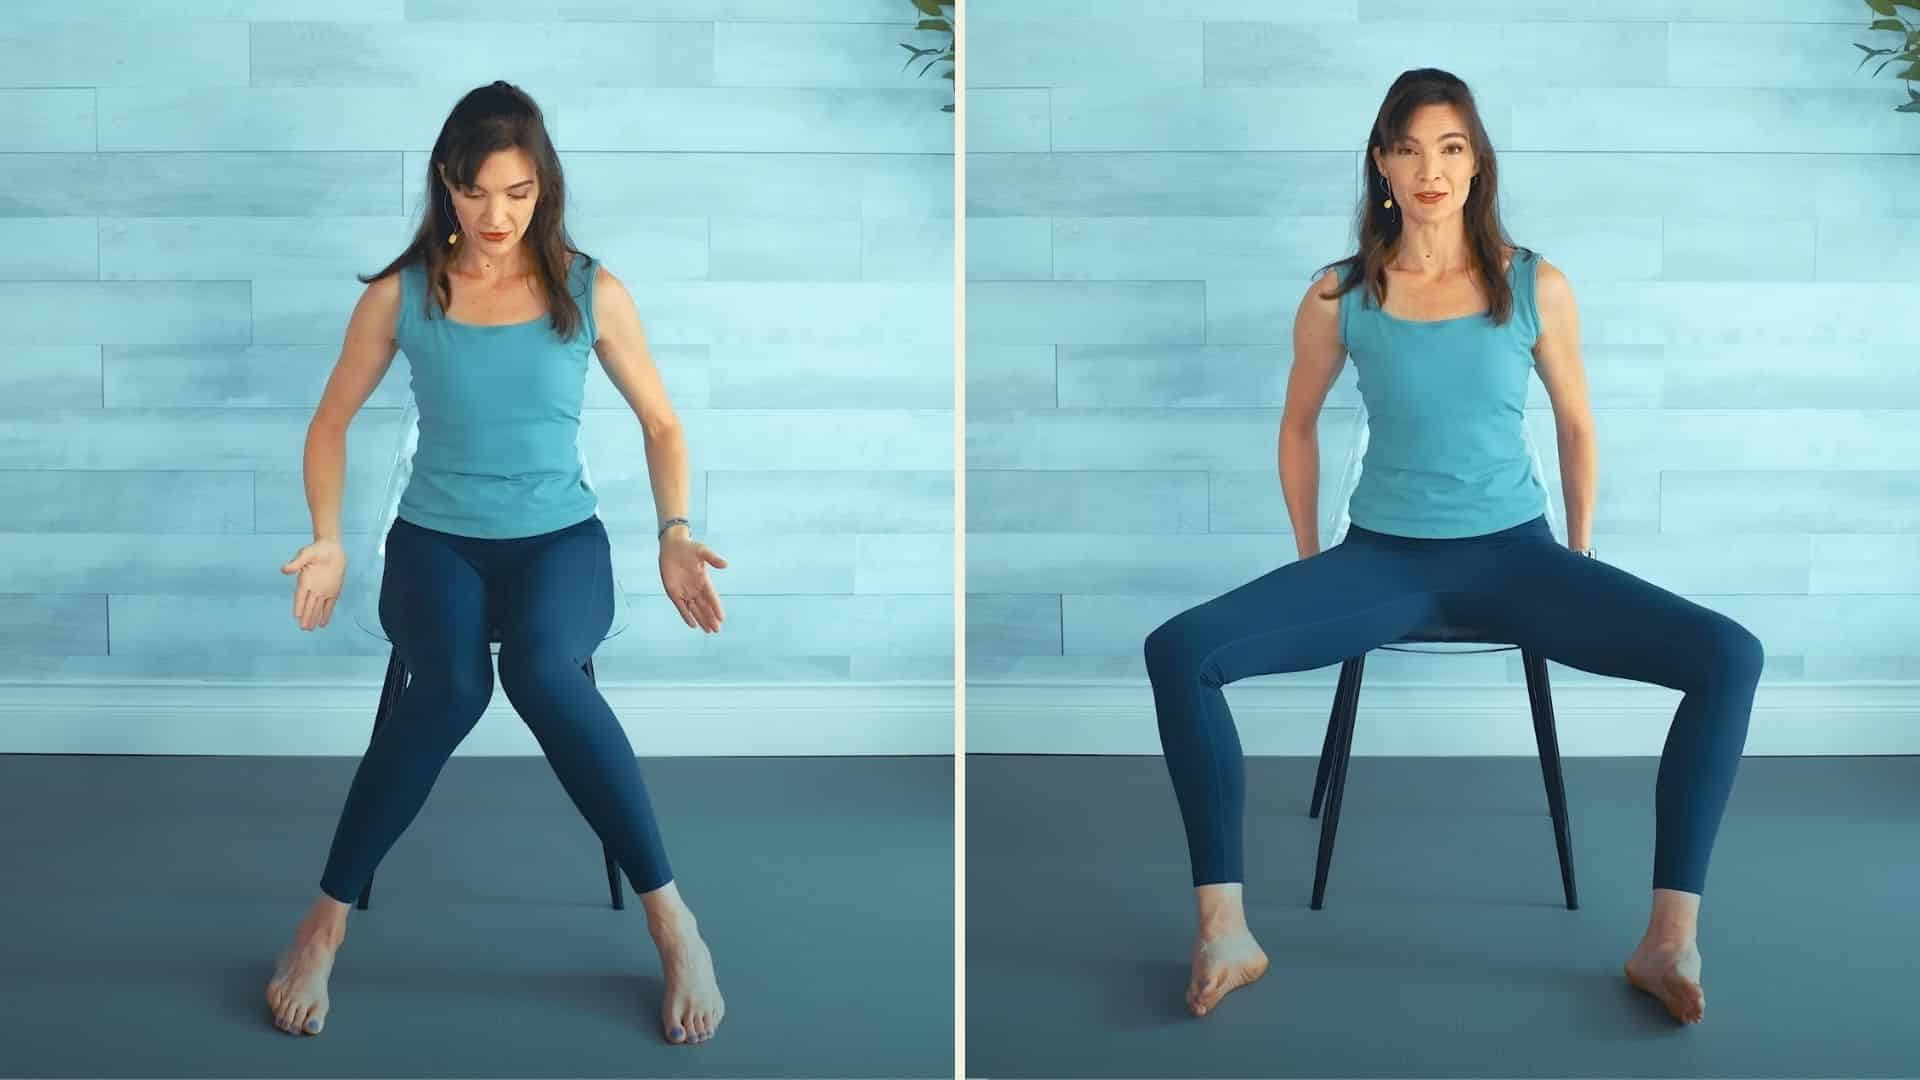
Bring your knees together, squeezing them tight. Then open them wide like butterfly wings, rolling onto the sides of your feet.
Keep your feet planted as your knees move in and out.
Squeeze your knees together, feeling the outer hips and glutes work. Open them wide, stretching your inner thighs. Do this several times.
Step 7: Seated Side Stretch
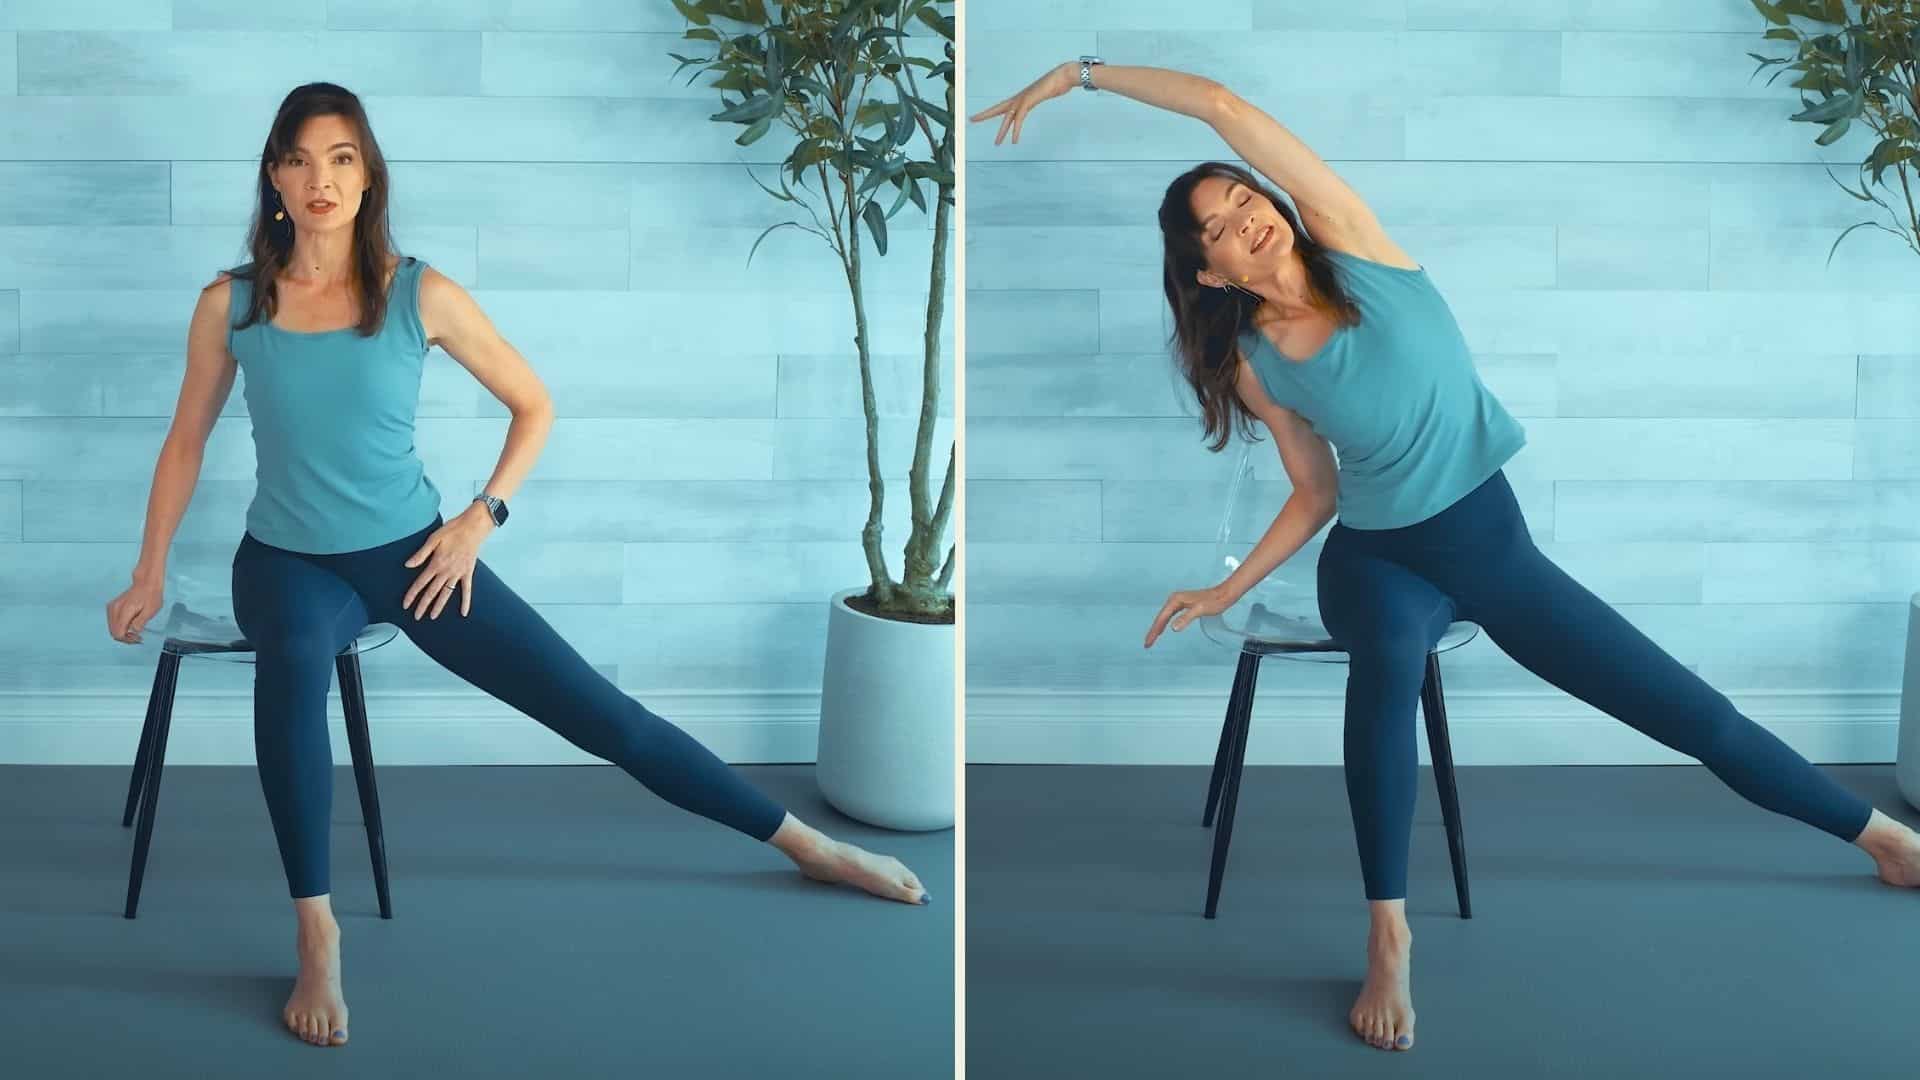
Sit sideways on your chair. Your left leg stays bent at 90 degrees in front of you. Extend your right leg out to the side, it’s okay if it bends a little.
Reach your arms out to the sides. Lean your torso over the extended leg. Then reach up and over to the opposite side for a side stretch. Come back to center. Do this a few times, then switch sides.
Step 8: Upper Back Strengthener (Scapular Retraction)
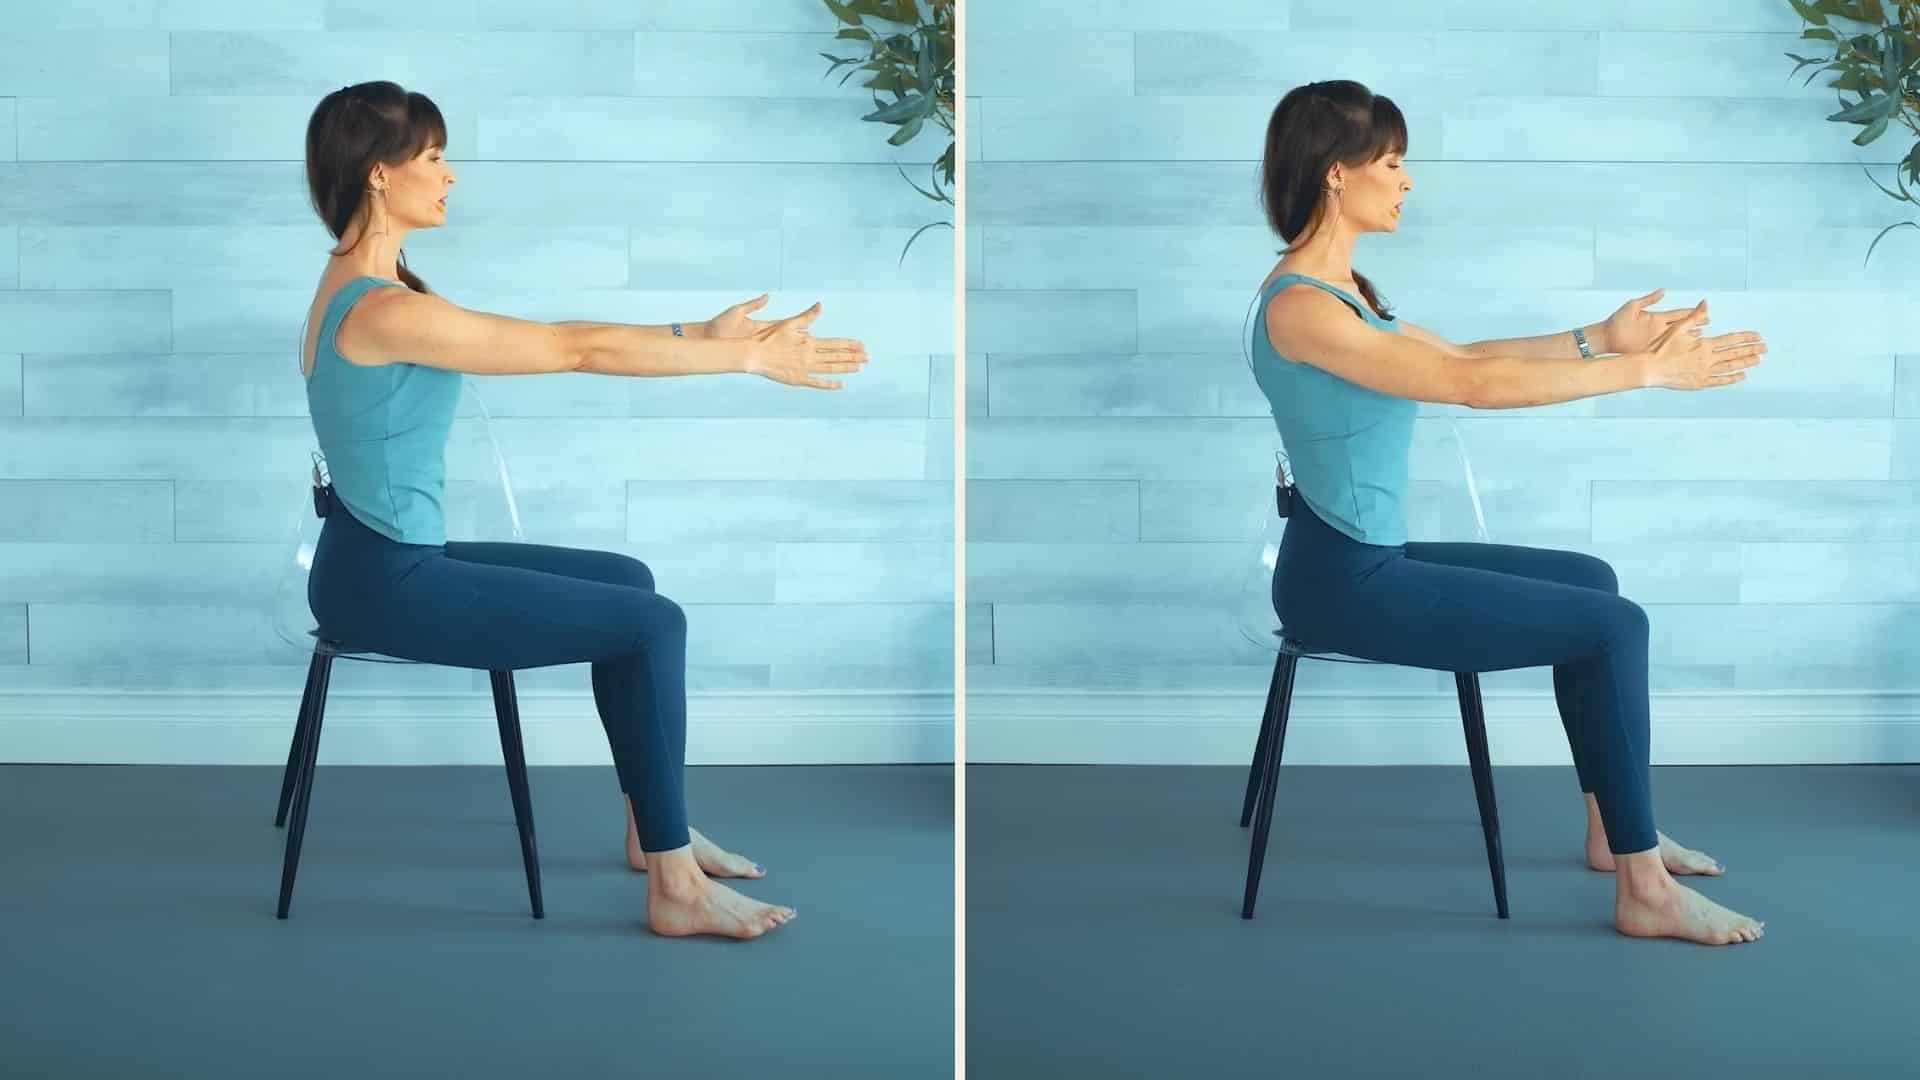
Reach both arms straight forward at shoulder height. Keep your back straight, don’t round forward.
Pull your arms back using just your shoulder blades. It’s a small movement, only an inch or two.
Imagine you’re squeezing a pencil between your shoulder blades. Reach forward, then pull back. Repeat this eight times.
Step 9: Seated Knee Lifts with Back Stretch
Sit up tall and take a breath in. As you breathe out, draw your left knee toward your chest. You can round your back here if it feels good.
Lower your foot back down as you breathe in. Bring your arms behind you, open your chest, and arch slightly. Come back to center. Switch to your right knee and repeat. Alternate sides a few times.
Step 10: Forward Fold and Chest Opener
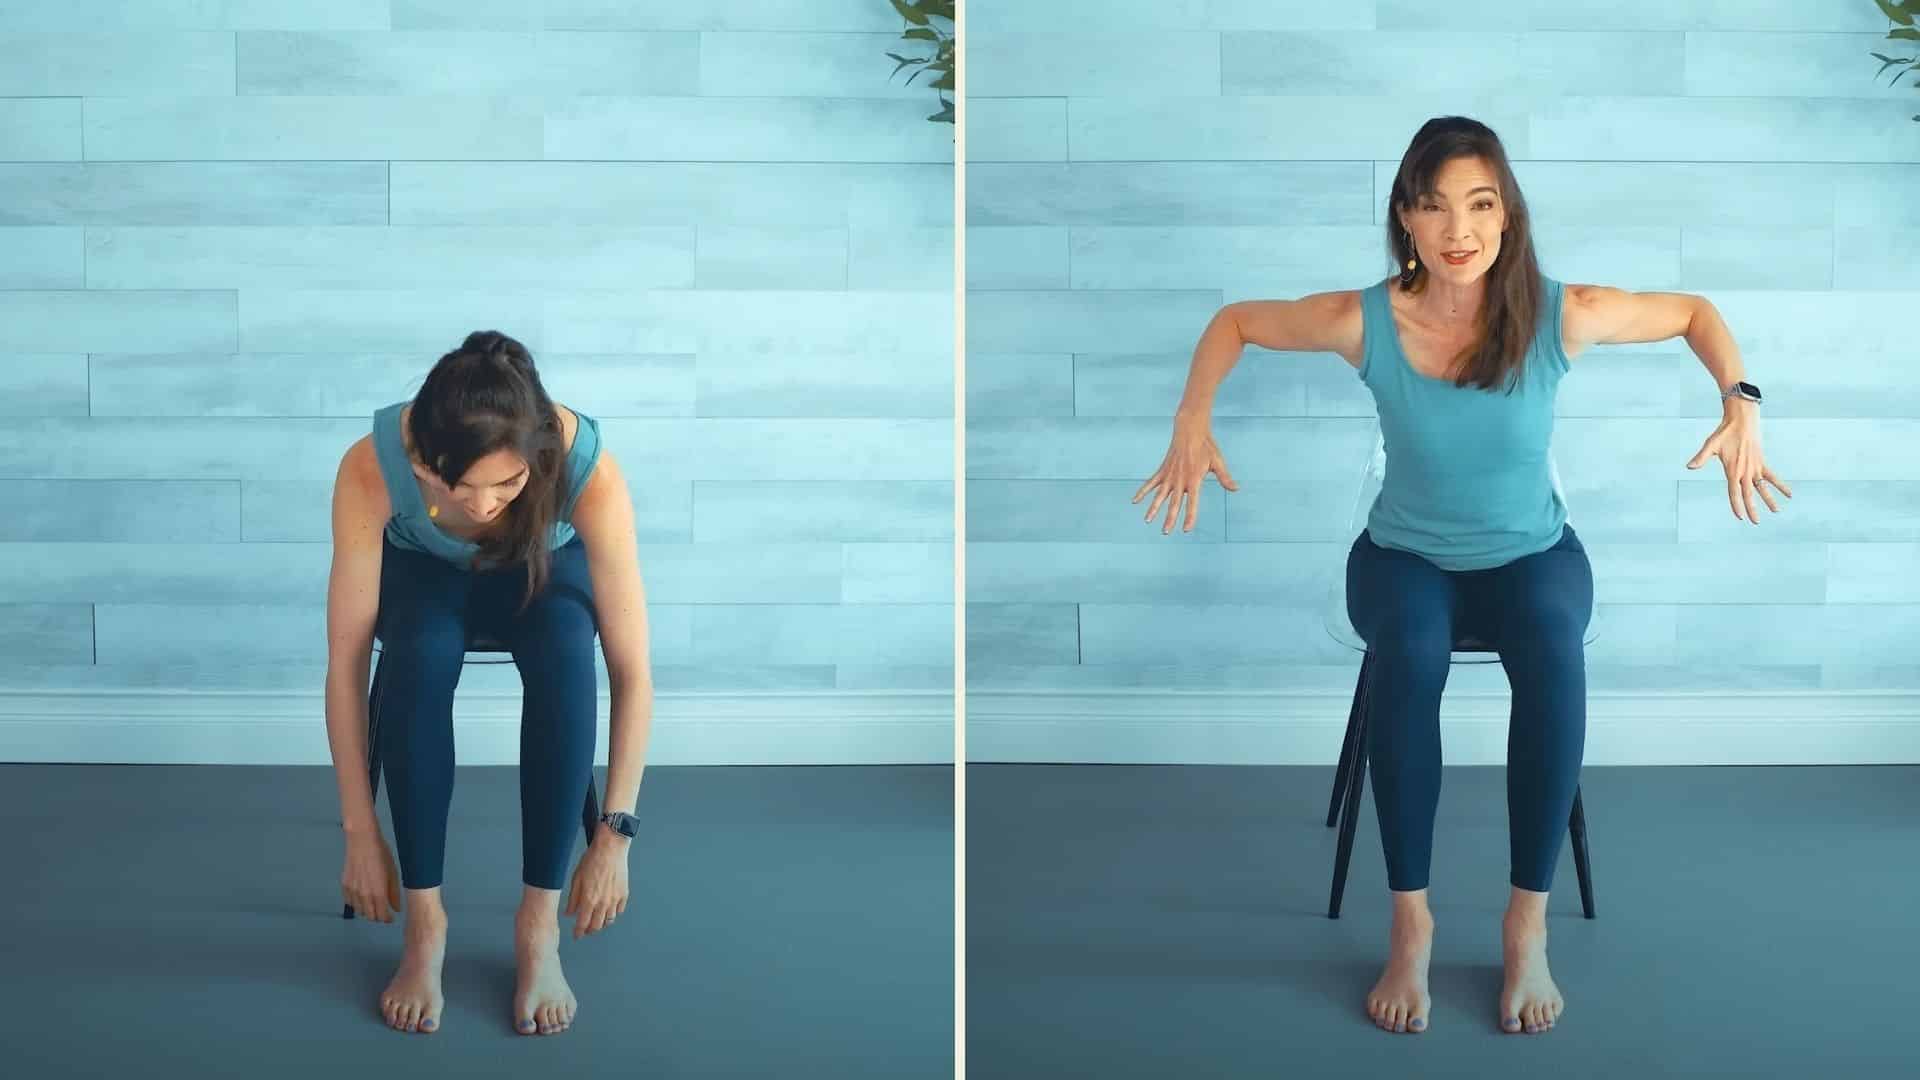
Round your back and fold forward gently. Let your arms hang down by your sides. Then come halfway up, bending your elbows like cactus arms.
Lift your chest and squeeze your shoulder blades together. Keep your belly pulled in so you’re using your core, not straining your lower back. Lower back down and repeat several times.
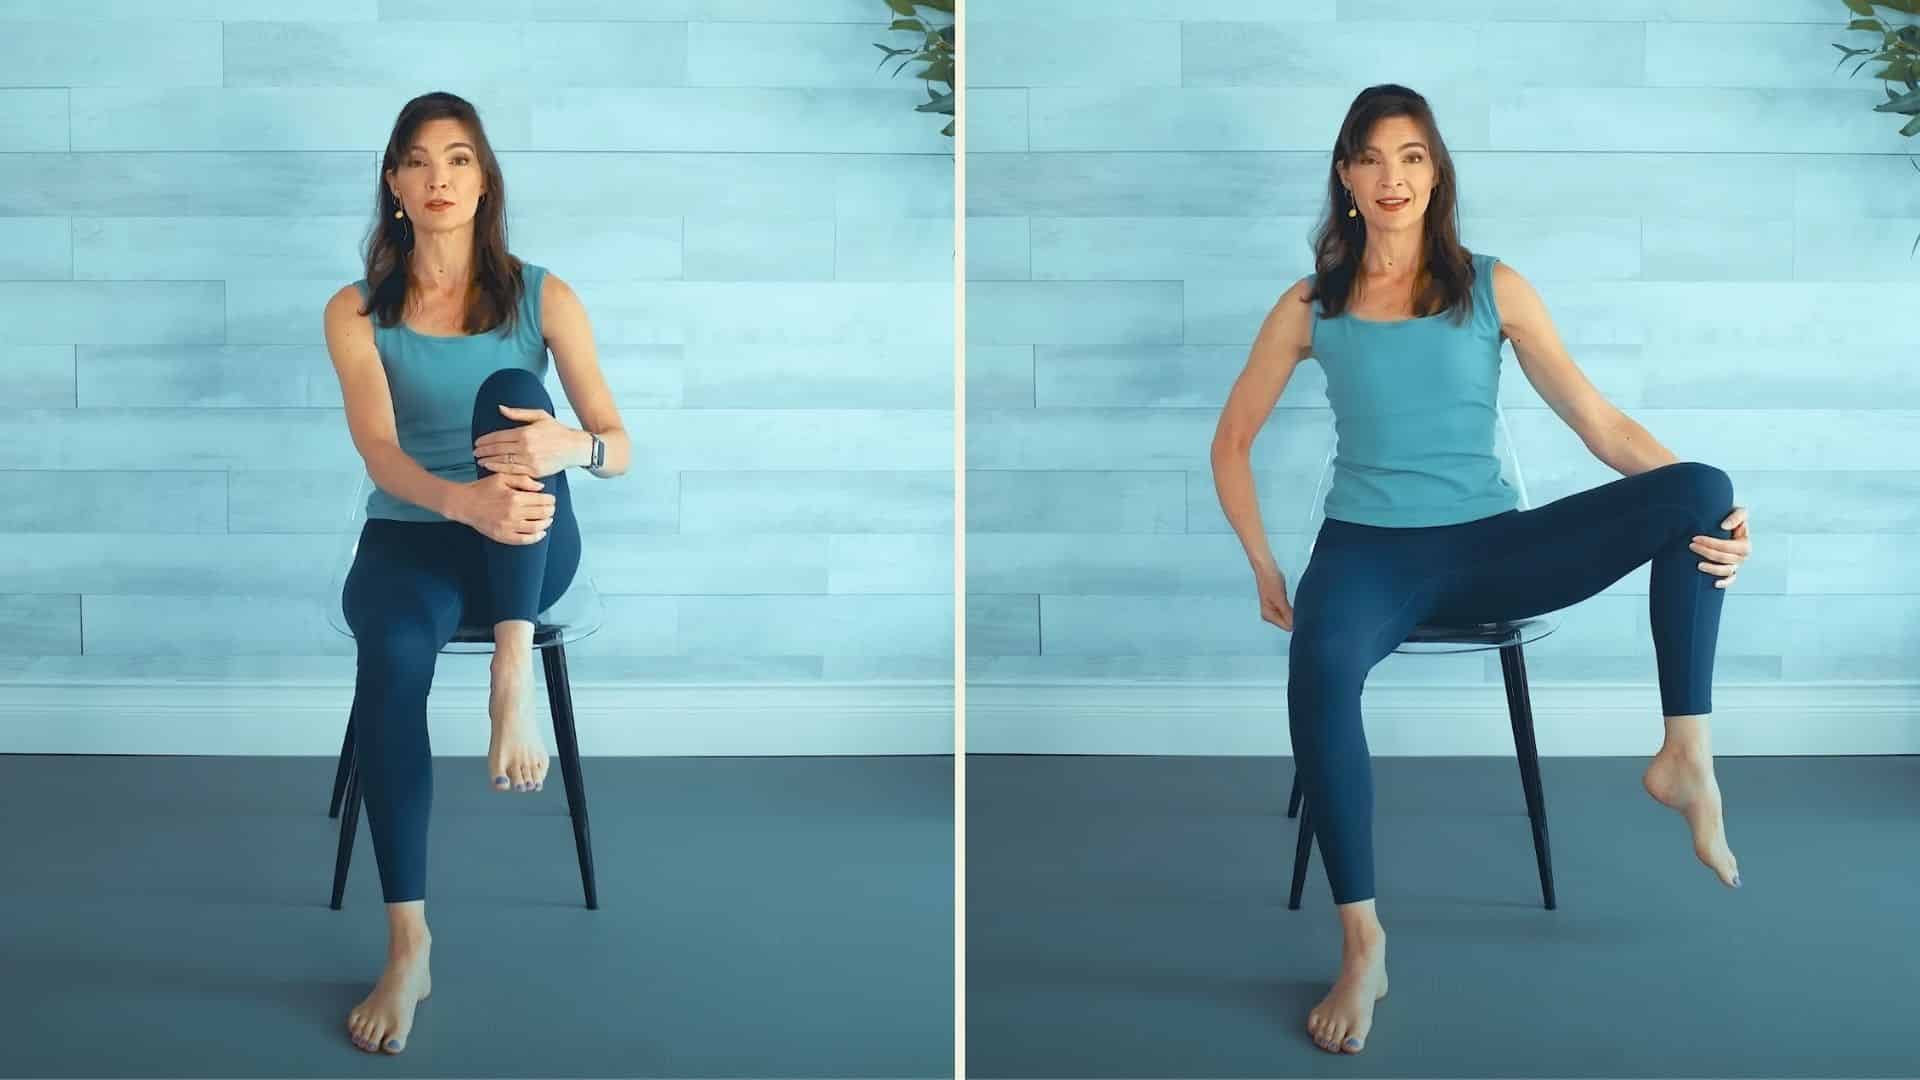
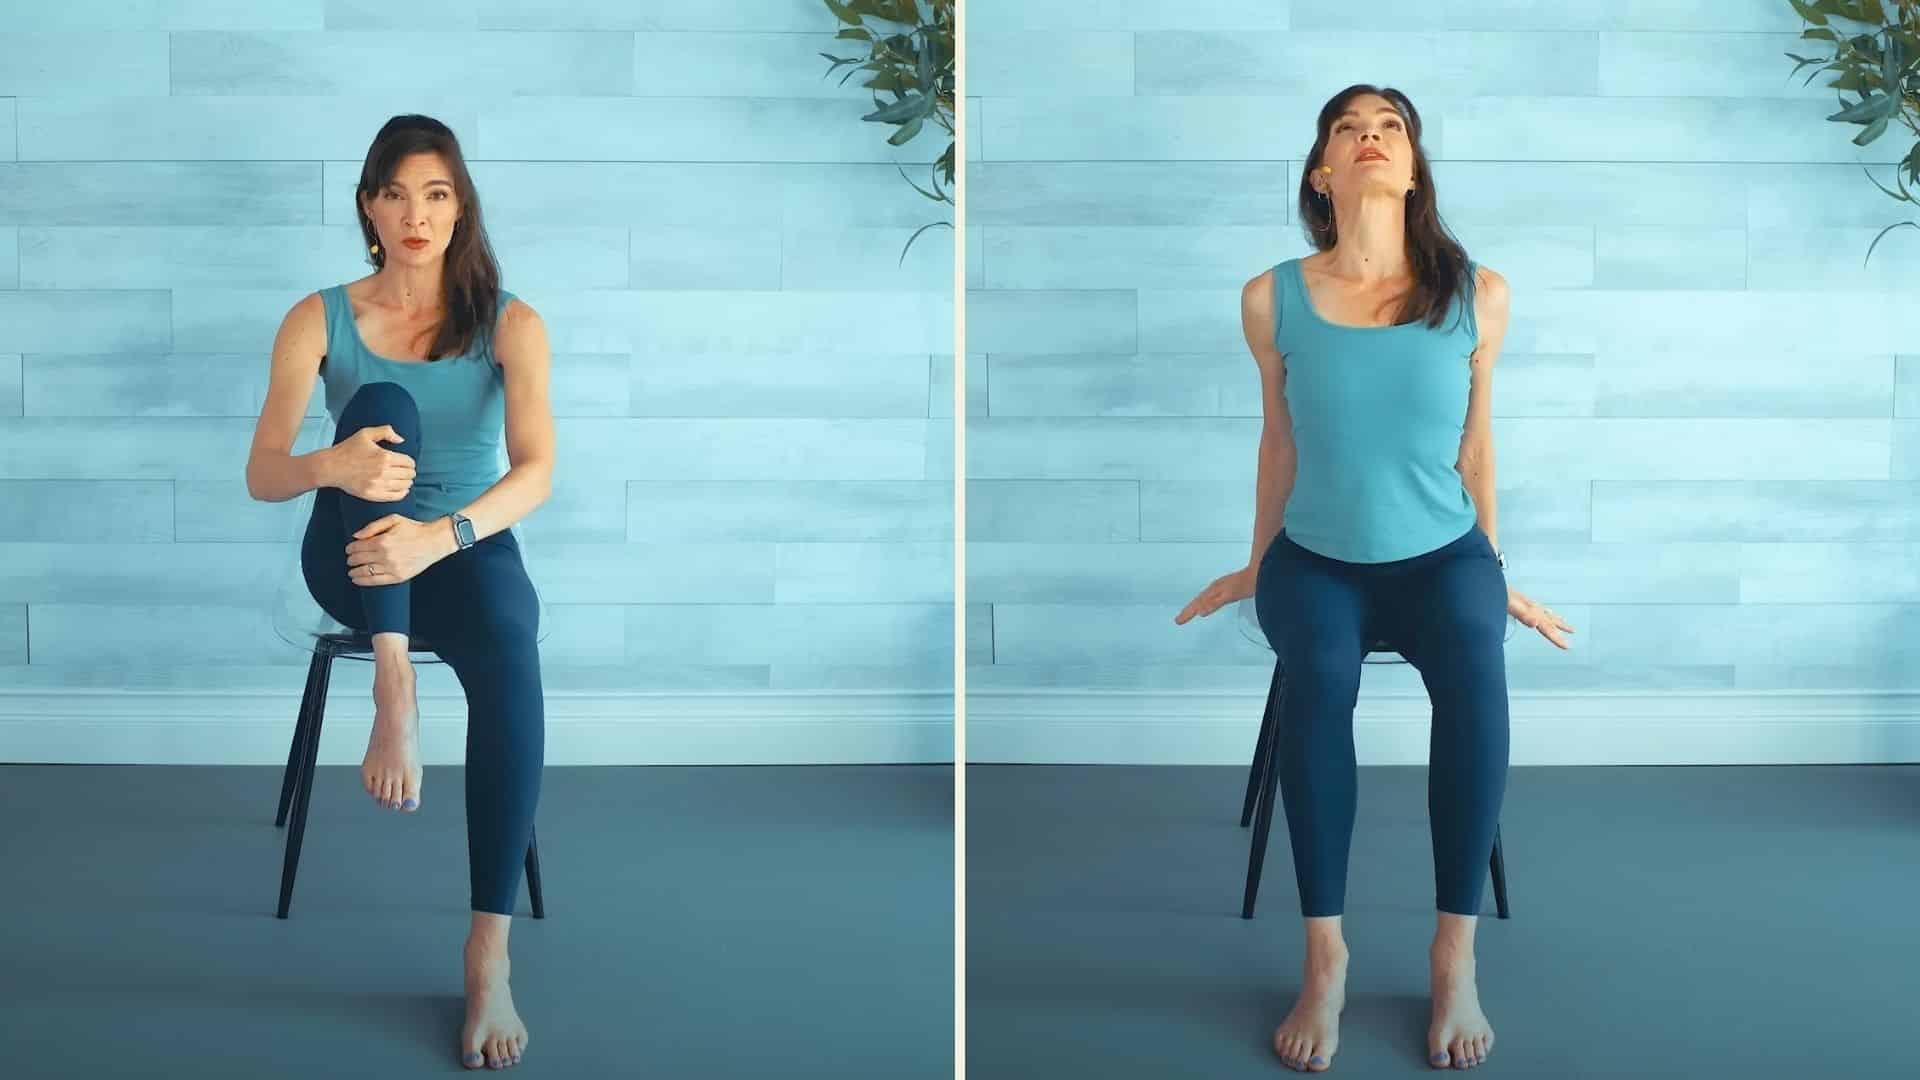
Step 11: Figure-Four Stretch
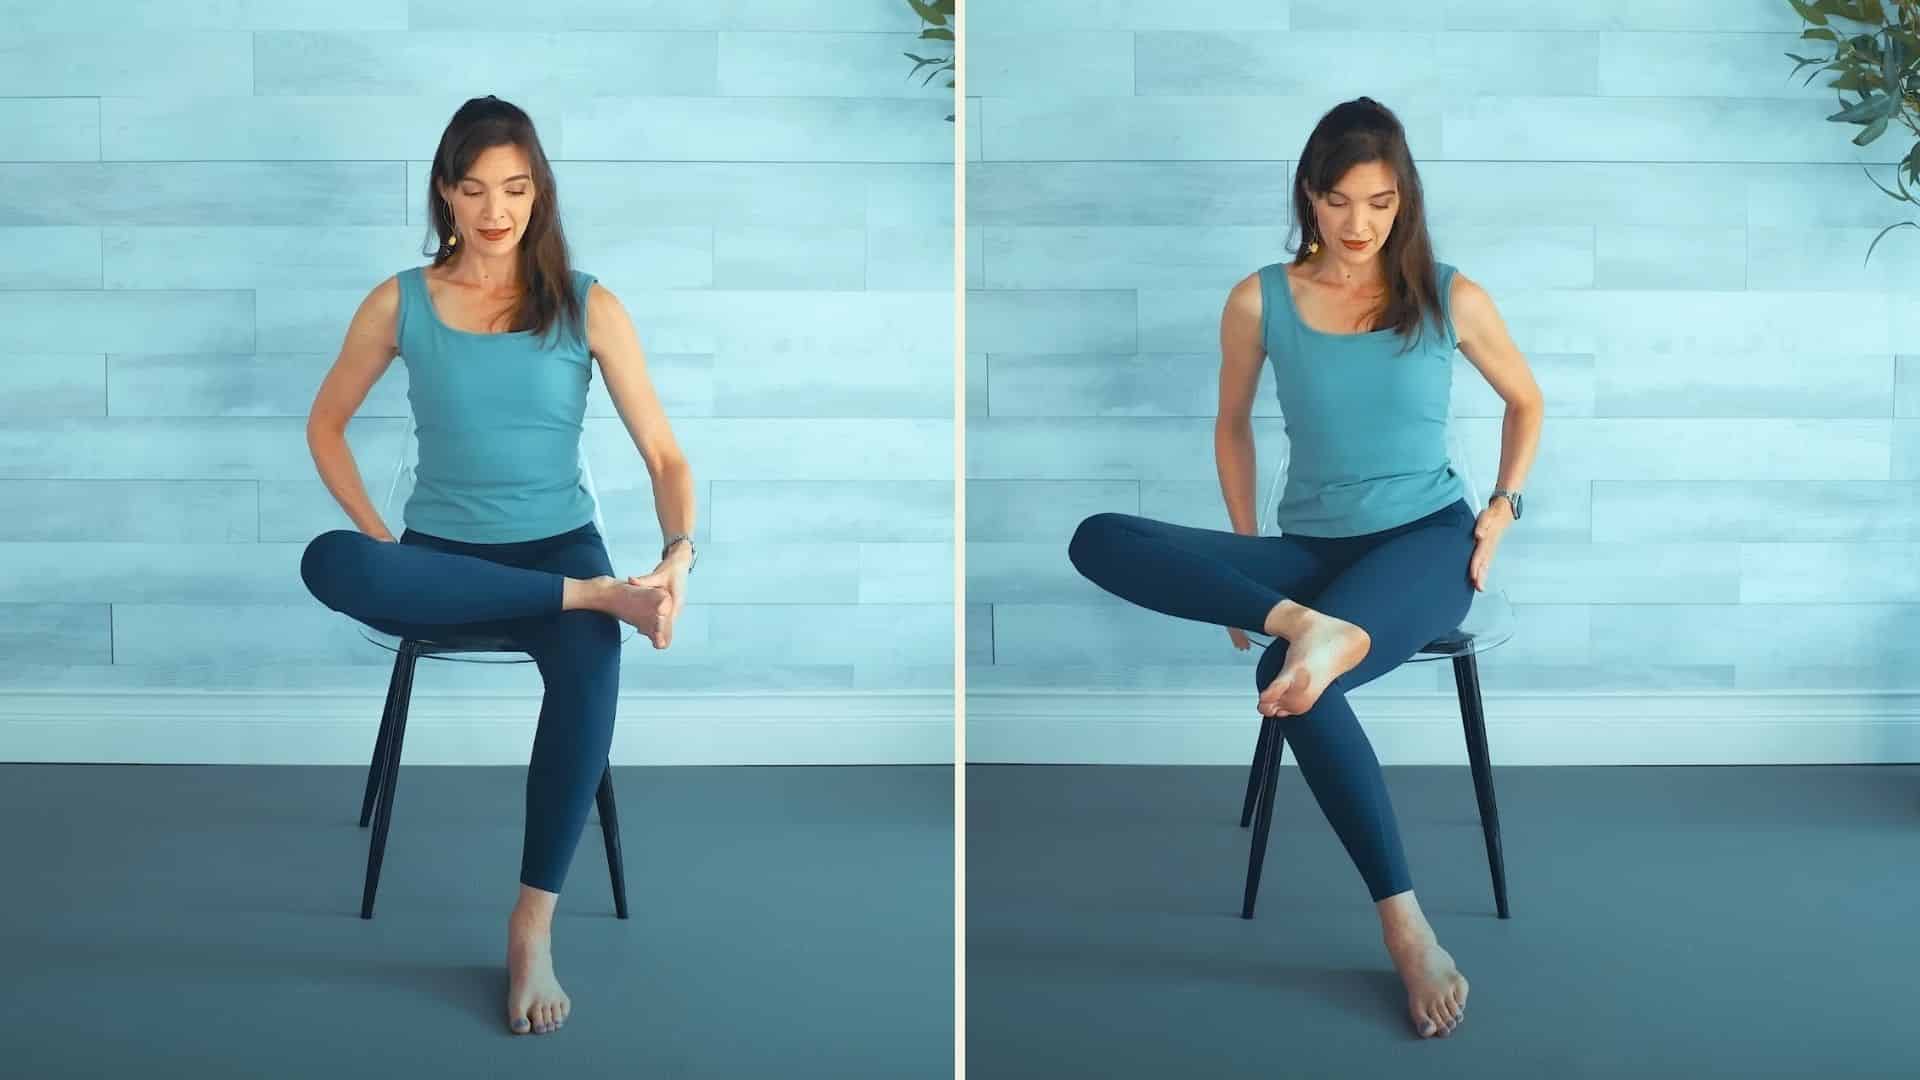
Cross your right ankle over your left knee. If that’s too much, cross at your shin or even your ankle. Flex your foot.
Sit tall and hold this position. For a deeper stretch, lean forward slightly. You can also move your knees side to side in a windshield wiper motion.
Hold for a few breaths, then switch to the other leg.
Step 12: Hamstring Stretch
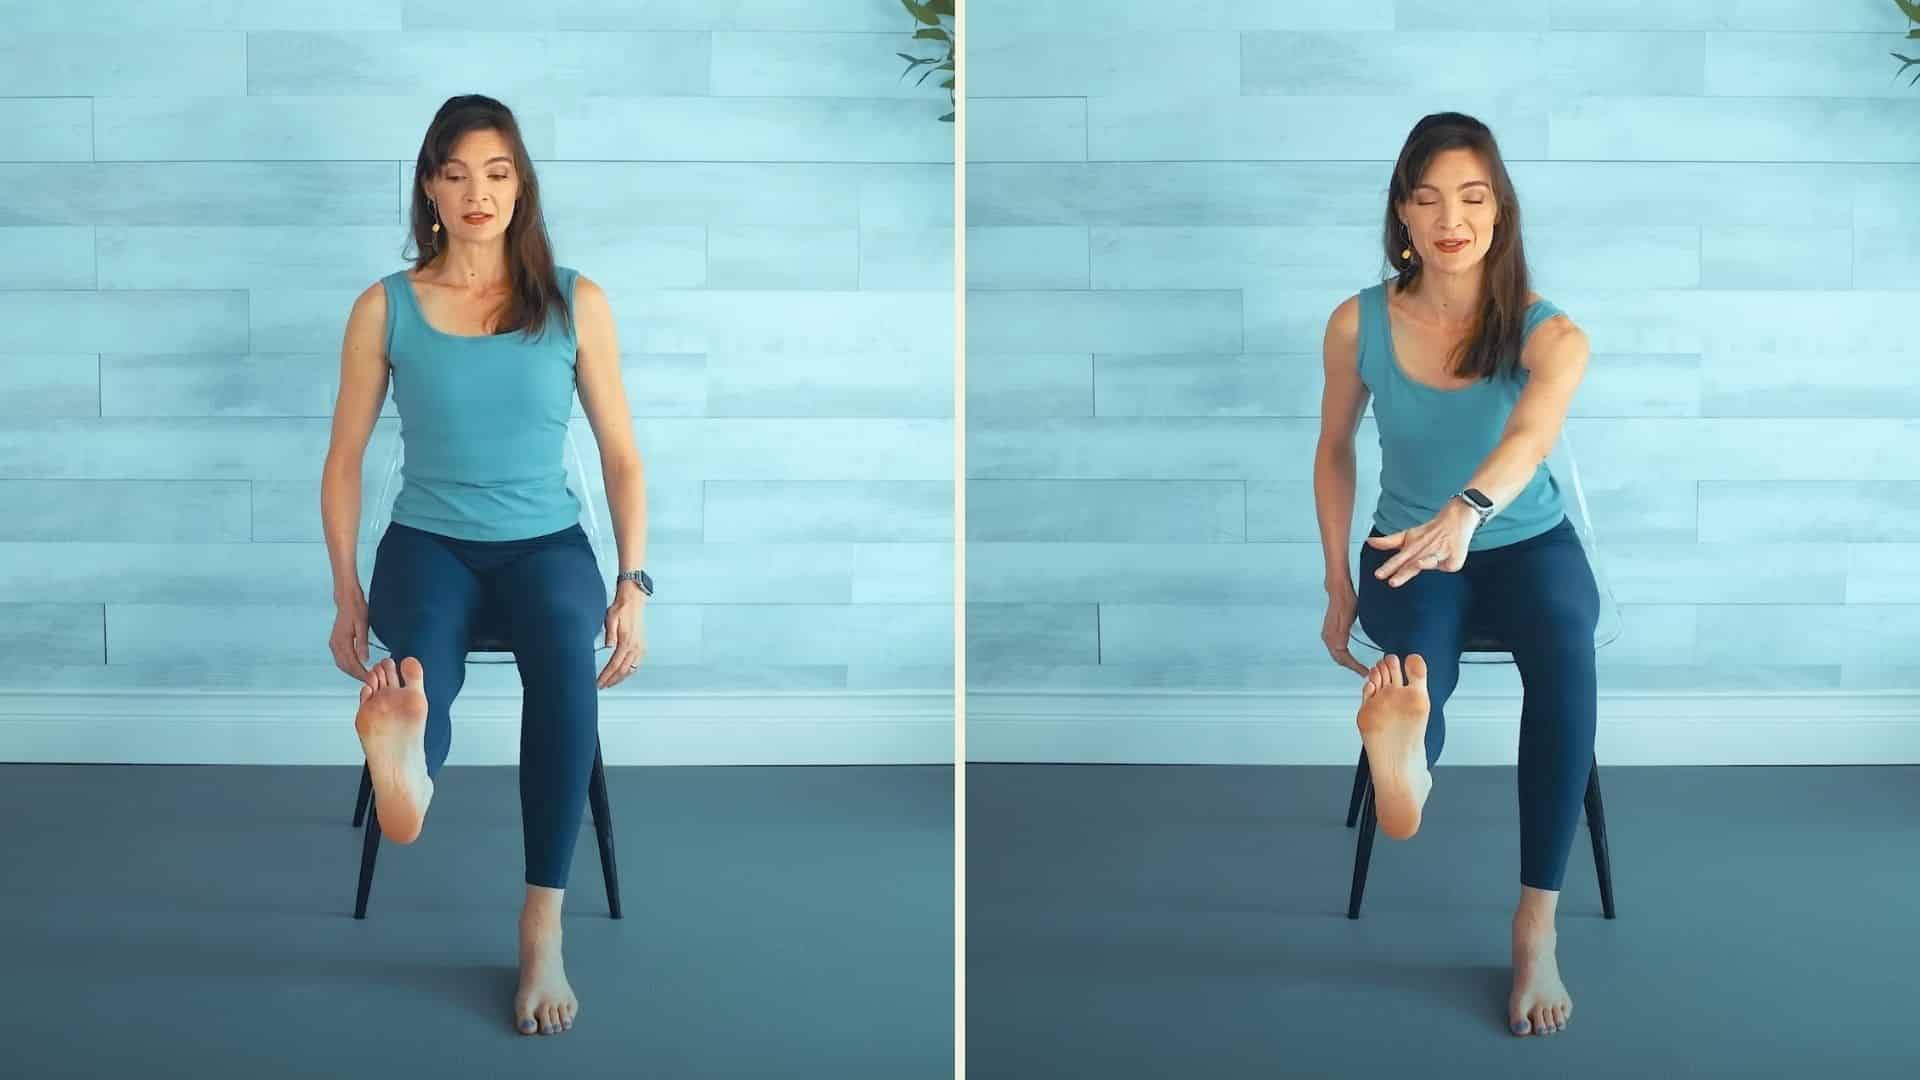
Lift your right leg and extend it forward. Flex your foot, pulling your toes back toward you. Point your toes, then flex again.
Hold the flex and reach toward your toes with your opposite hand. You’ll feel this stretch in the back of your leg.
Take a deep breath here. Lower your leg and repeat on the left side.
Step 13: Neck and Wrist Mobility
Turn your head to look over your right shoulder. Hold for a breath. Drop your chin down, then roll your head to the left shoulder.
Lift your head back up and reverse the movement.
Stretch your arms out and make circles with your wrists. Circle one direction, then reverse. Make fists and then spread your fingers wide. Touch each fingertip to your thumb one at a time.
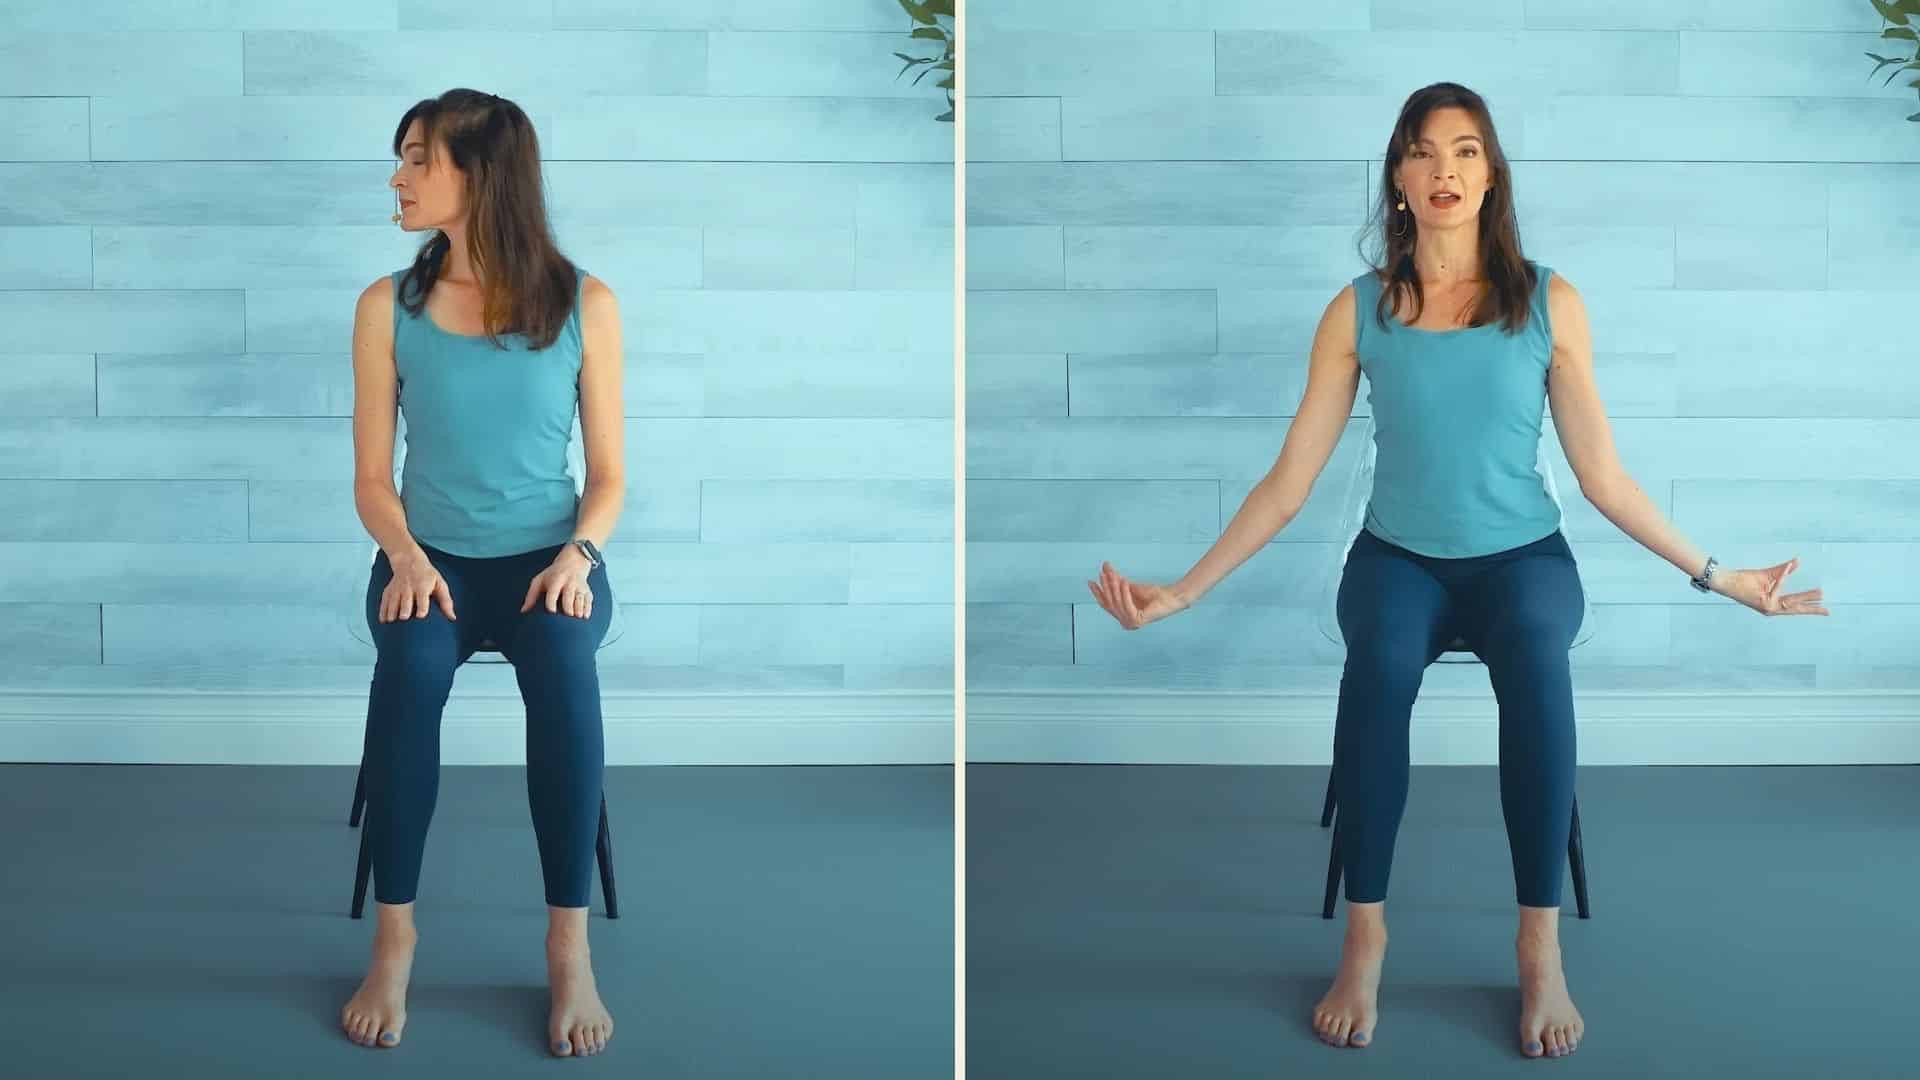
Step 14: Gentle Cooldown and Deep Breathing
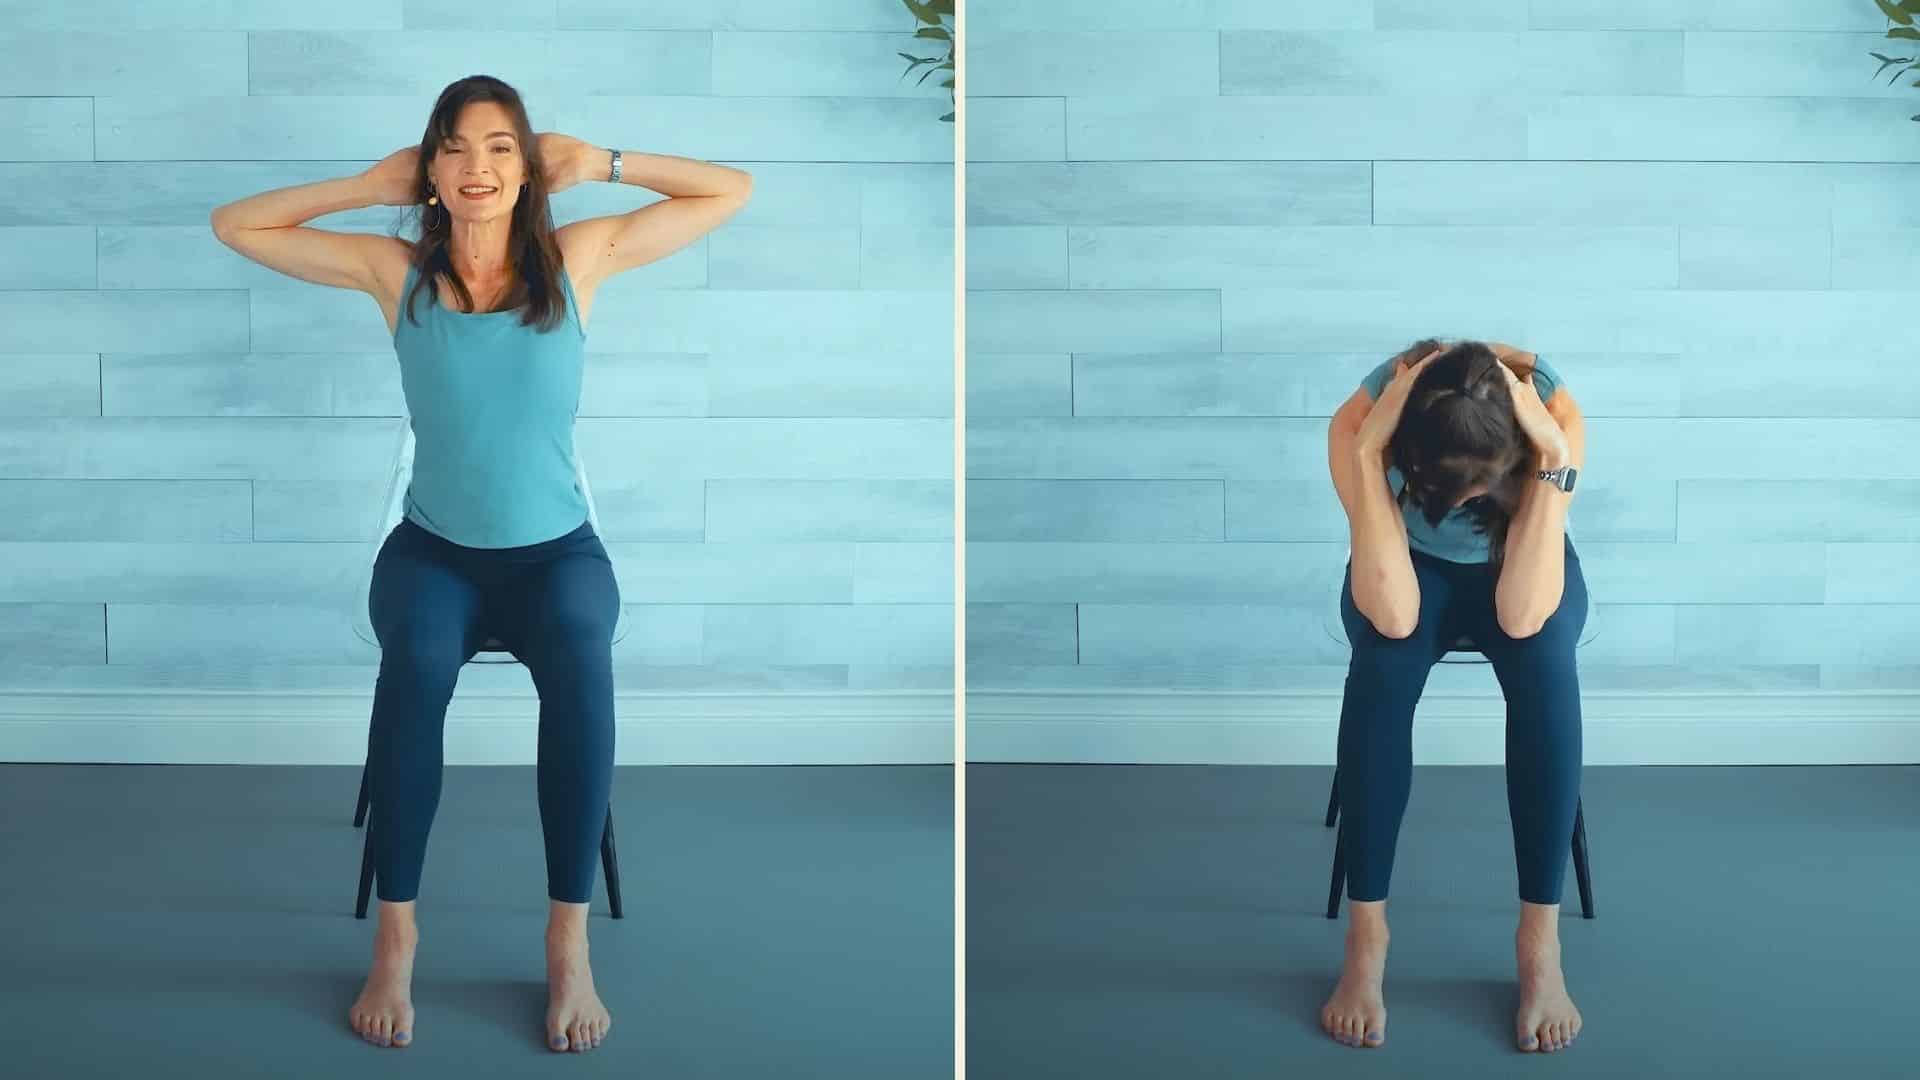
Place your hands behind your head. Round forward into a small ball, then open back up, spreading your elbows wide.
Bring your fingertips to your shoulders and make big circles with your elbows. Let your shoulders release any leftover tension.
Finally, sit tall with your hands on your thighs. Close your eyes if you like. Take three slow, deep breaths in and out.
Video Tutorial
I’d like to acknowledge SeniorShape Fitness for the insightful video, which was a key reference in putting this guide together.
Benefits of Regular Chair Yoga Practice
When you practice chair yoga consistently, you’ll begin to notice changes in how your body feels and moves. Here’s what regular practice can do for you:
- Enhances mobility and flexibility without straining joints: Your range of motion improves gradually. You can reach further, twist more easily, and move more freely in your daily activities.
- Supports posture and balance: Sitting up straight becomes more natural. Your core gets stronger, which helps you stay stable when standing or walking.
- Boosts circulation and reduces stiffness: Movement gets blood flowing to areas that feel tight or achy. Your muscles warm up and tension melts away.
- Improves mood and relaxation through mindful breathing: Taking slow, deep breaths calms your nervous system. You feel less stressed and more centered after each session.
| How Often Should Seniors Practice Chair Yoga?
Start with 10 to 20 minutes, three times per week. This gives your body time to adapt without feeling overwhelmed. As you get more comfortable, you can add more days or extend your sessions. What matters most is showing up regularly. Even short sessions add up over time. If something doesn’t feel right, skip it or modify the movement. |
Wrapping It Up
Free chair yoga for seniors gives you a practical way to move your body every day.
You don’t need a gym membership or special clothes.
Simply follow the steps above whenever your schedule allows.
The routine works whether you do it in the morning, afternoon, or evening.
Small efforts repeated often bring the best results.
You’ll notice improvements in flexibility and reduced stiffness within a few weeks of consistent practice.
Over time, these gentle movements help maintain your independence and make daily tasks easier.
Ready to feel more mobile and relaxed? Pick one movement from the list and try it today.
Even five minutes makes a difference.