Many people think yoga bolsters are just fancy pillows for those who can’t handle “real” yoga.
But after spending countless evenings hunched over laptops, dealing with tight hips and aching backs, more people are giving these supportive props a real try.
What they find completely changes their flexibility practice. These bolster poses don’t just help you stretch deeper, but they also make stretching feel good instead of painful.
You can finally hold poses long enough actually to feel your muscles release and lengthen. No more forcing your way through uncomfortable stretches or giving up after 30 seconds.
Here I’ll show you simple restorative yoga poses with a bolster that make flexibility feel effortless. You’ll learn exactly how to use this supportive prop to open tight hips, ease back pain, and finally hold poses long enough to see real results.
What is a Yoga Bolster and Why Use It?
A yoga bolster is a firm, large pillow that supports your body during yoga poses. Most bolsters come in rectangular or round shapes and are much sturdier than regular cushions.
This makes them perfect for holding poses longer without losing support.
Key Benefits of Using a Yoga Bolster Include:
- Better relaxation – The bolster helps you settle deeper into poses, making it easier to release muscle tension
- Longer holds – You can stay in poses for extended periods (10-15 minutes) without discomfort
- Pain relief – Great for easing lower back pain, tight hips, and shoulder stress
- More comfort – Makes challenging poses accessible for all skill levels
- Better alignment – Helps maintain proper form while your body relaxes
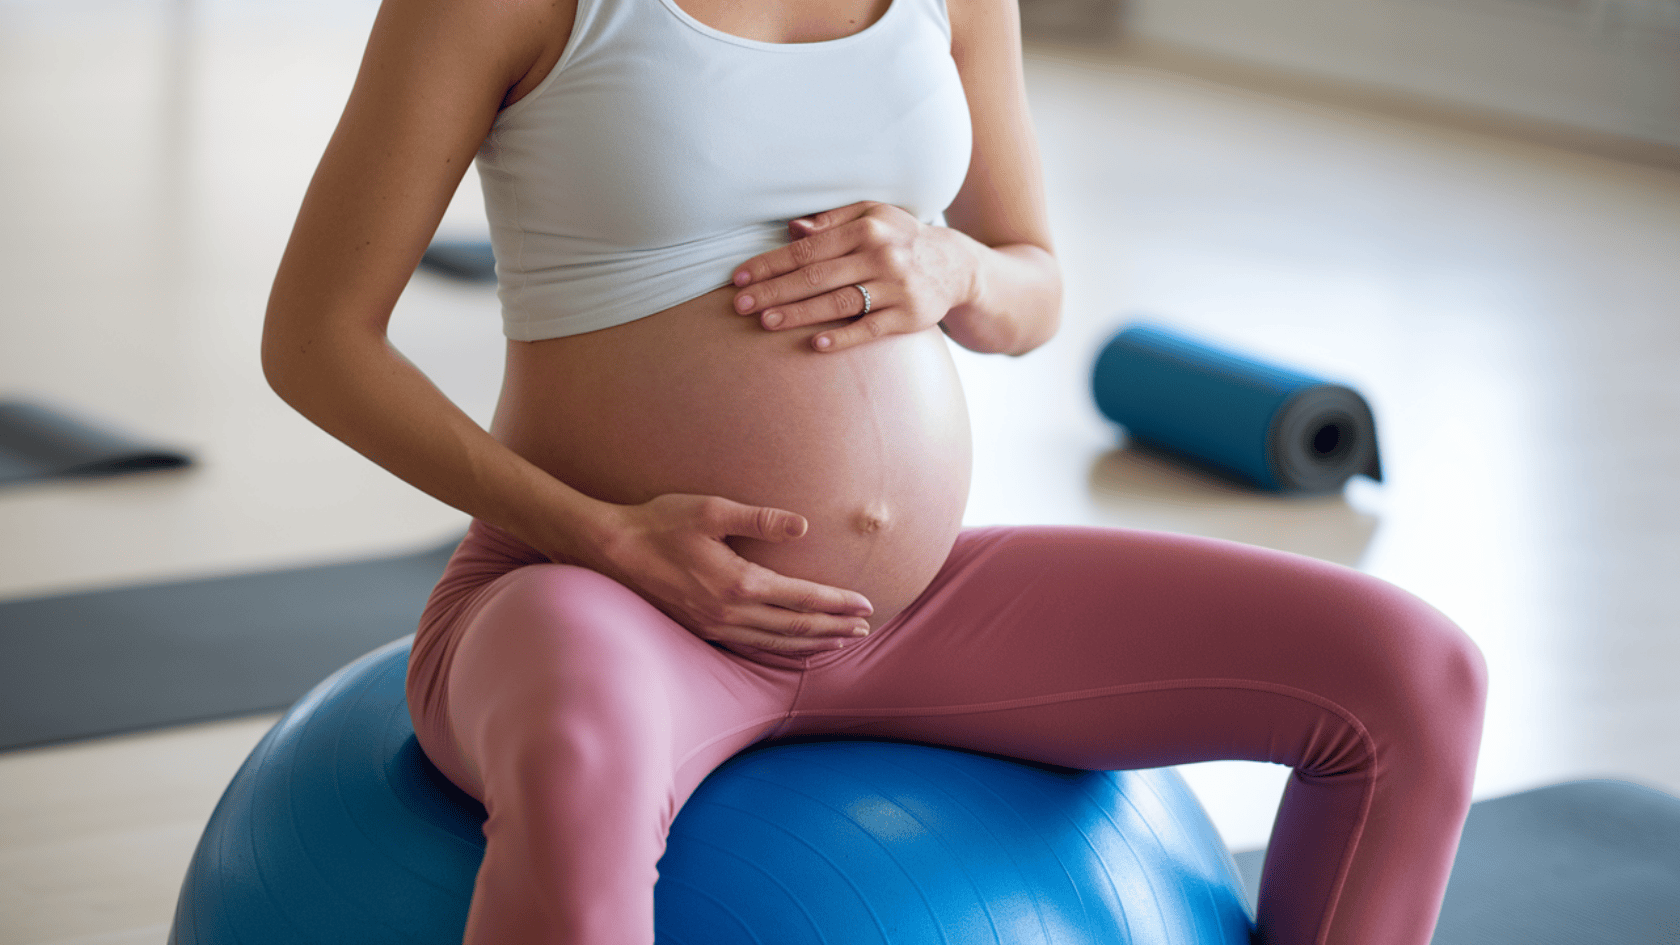
Bolsters work well for many yoga styles. They’re common in restorative yoga, yin yoga, and prenatal classes. Even if you spend long days at a desk or on your feet, a bolster can help reverse daily tension patterns.
Whether you’re new to yoga or have practiced for years, a bolster changes your practice from effort to ease.
Yoga Bolster Poses to Try Today
Here are 12 effective yoga bolster restorative poses that will help you relax and release tension. Each pose includes a short description and step-by-step instructions.
1. Supported Child’s Pose
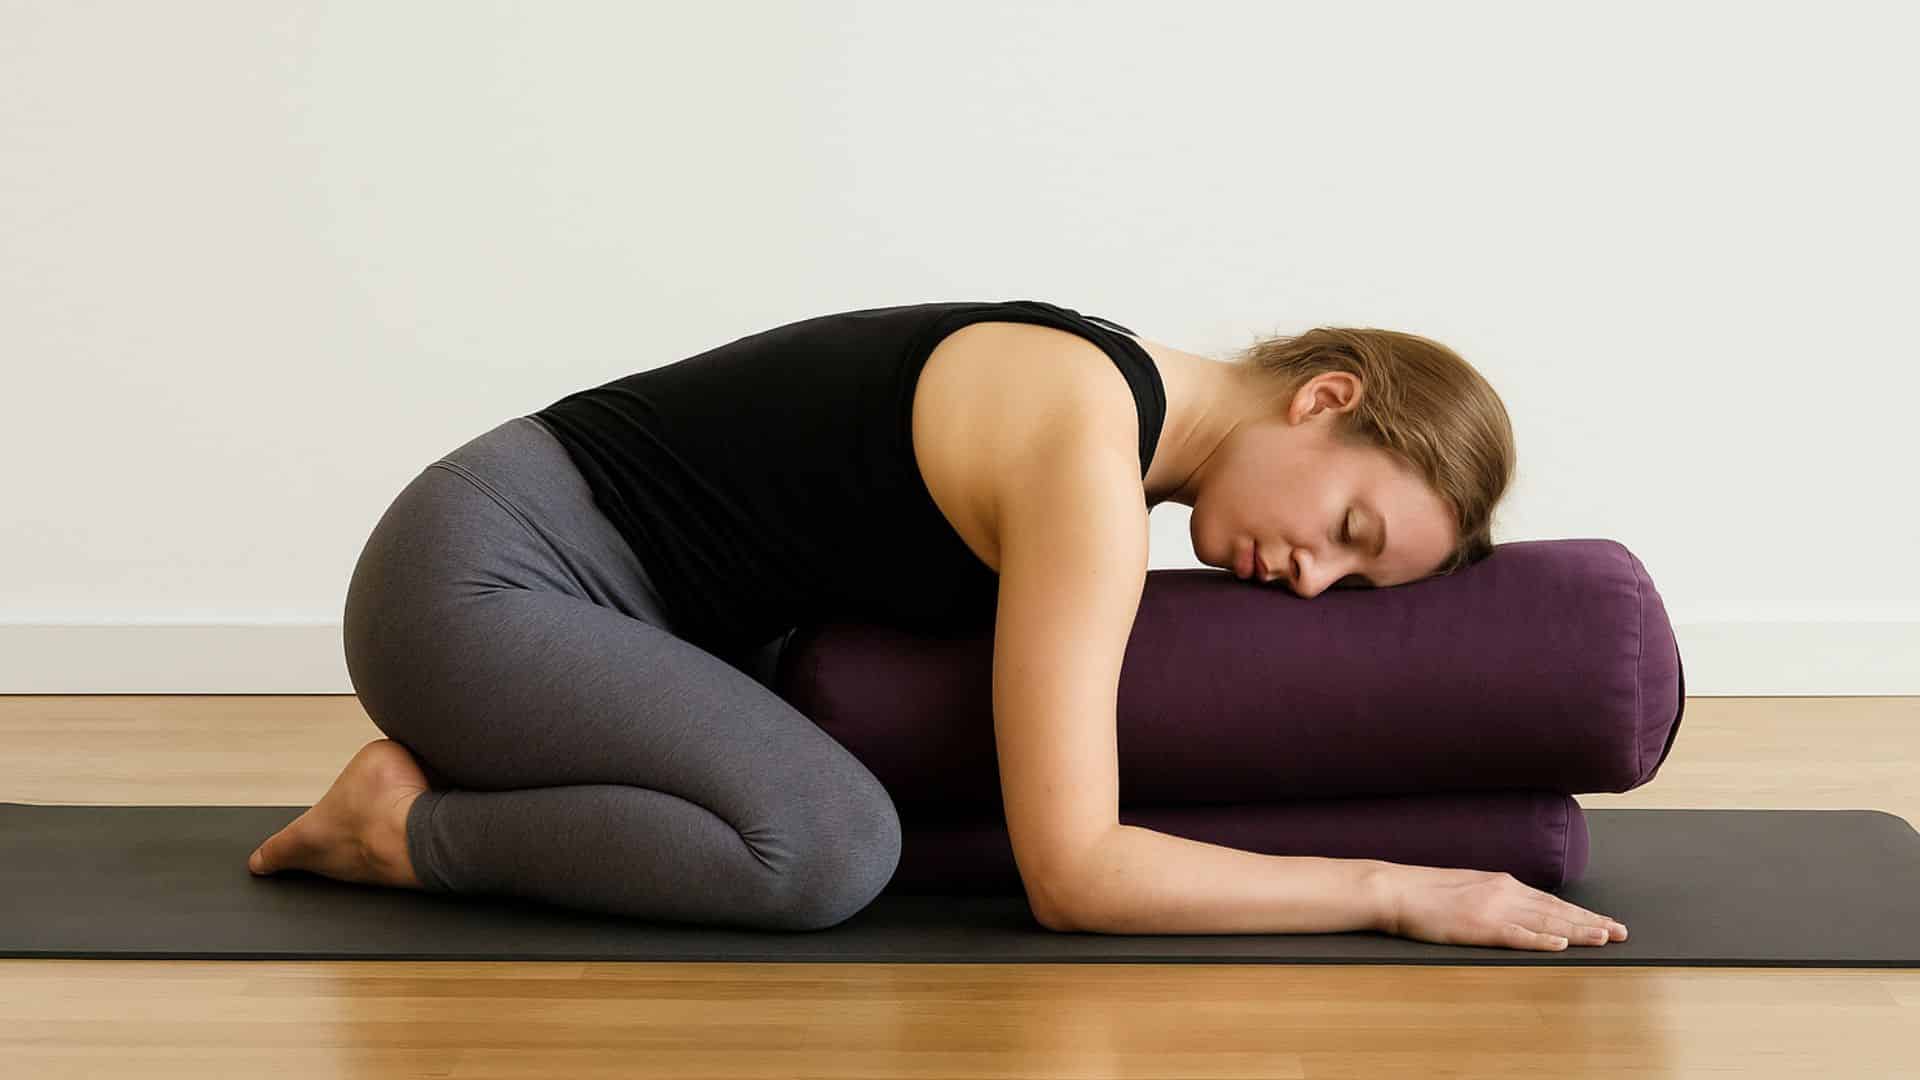
What it does: Melts away daily stress and gently opens your back and hips.
How to do it:
- Kneel on the floor with knees spread wide apart
- Place your bolster between your knees
- Fold forward and rest your upper body on the bolster
- Turn your head to one side, then switch halfway through
- Relax your arms beside the bolster
2. Legs Up the Wall Pose
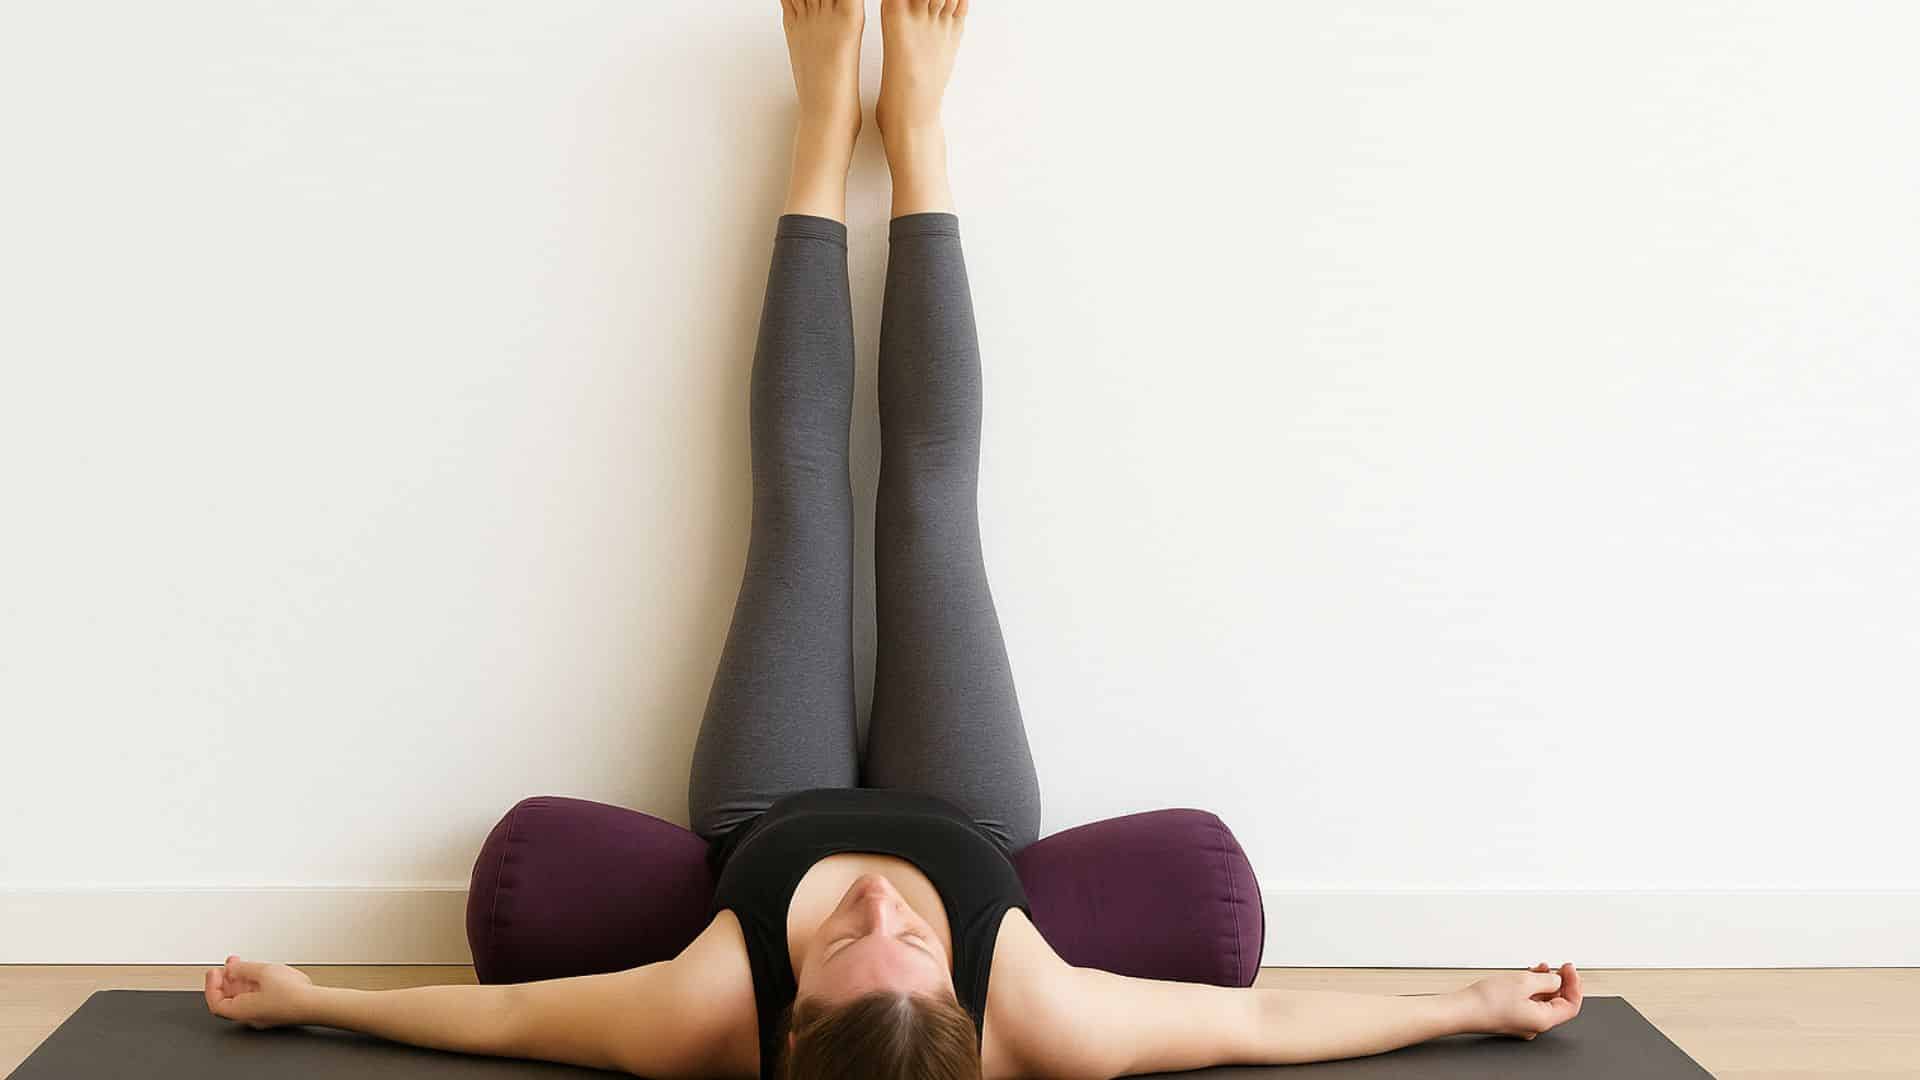
What it does: Helps tired legs feel fresh and boosts blood flow while relieving lower back tension.
How to do it:
- Lie on your back near a wall
- Place the bolster under your lower back and hips
- Scoot your seat close to the wall
- Lift your legs straight up against the wall
- Rest your arms by your sides and breathe deeply
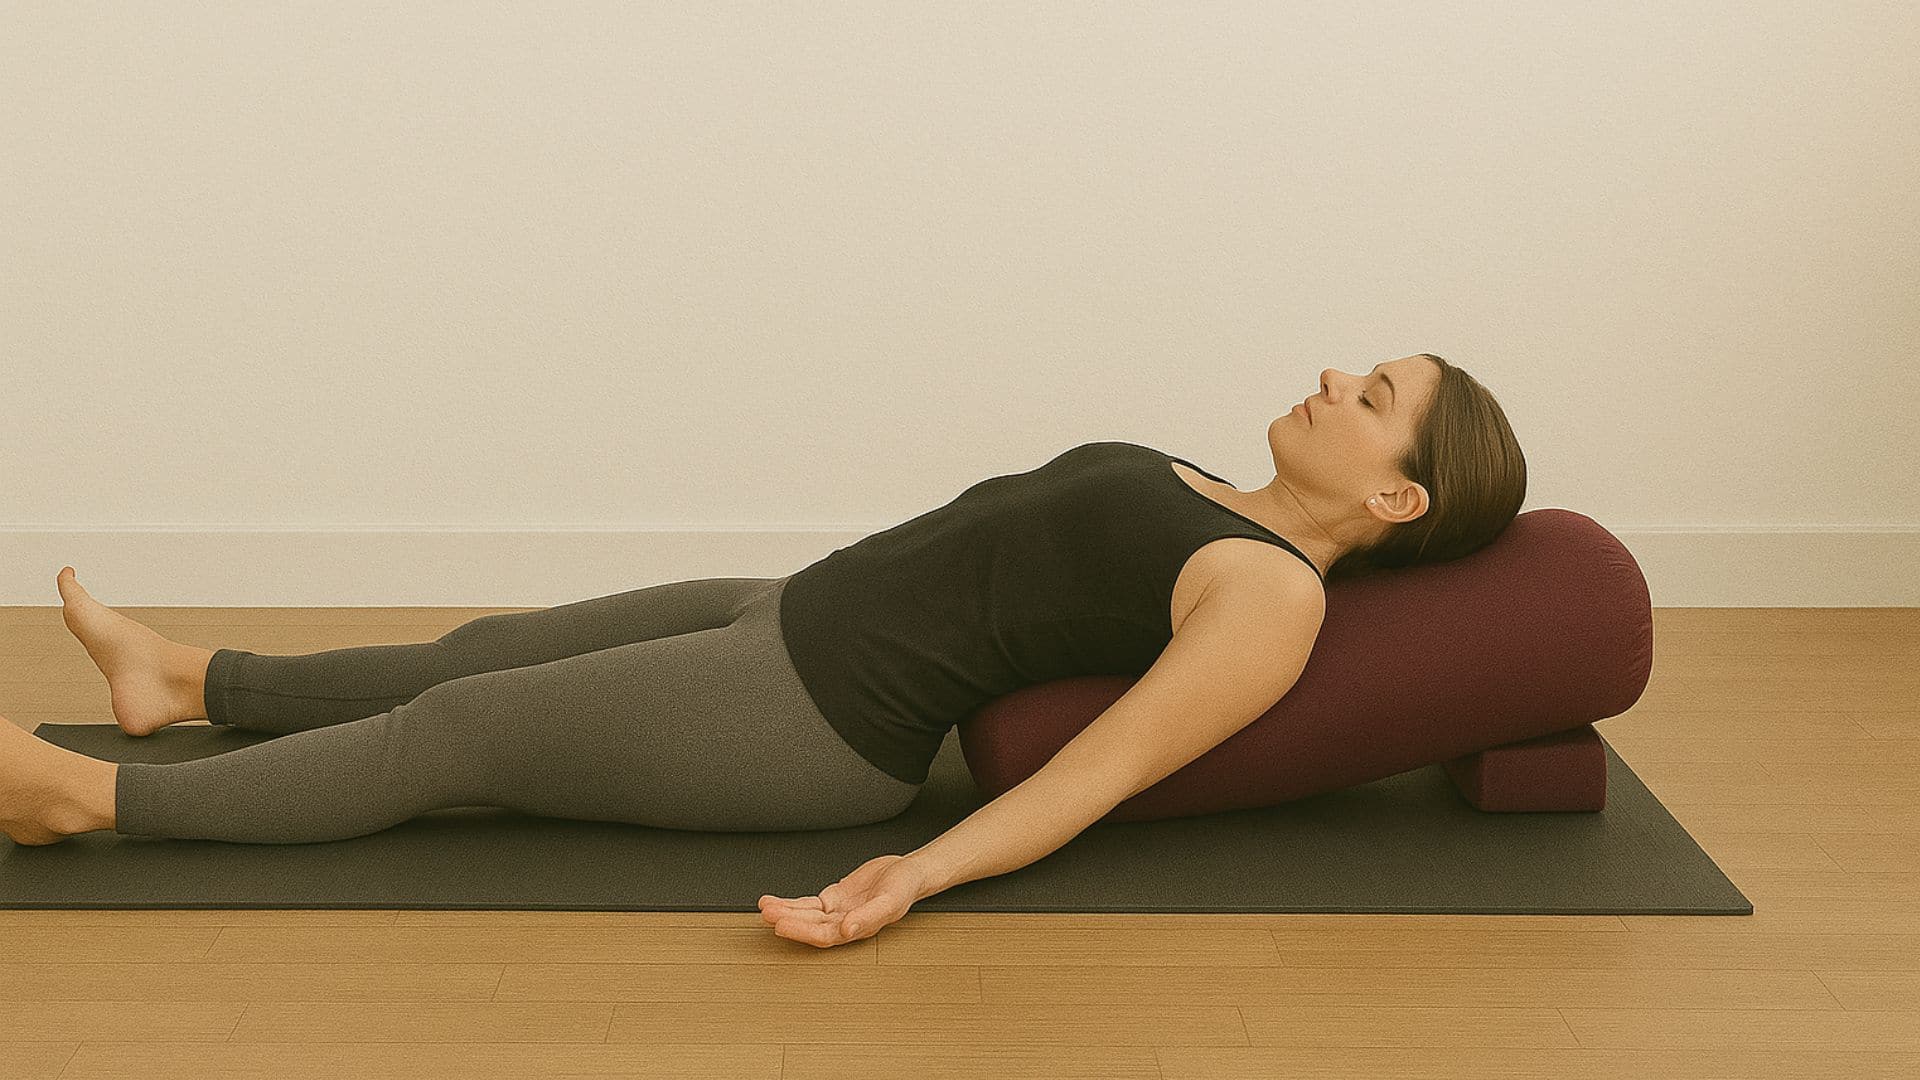
3. Supported Fish Pose
What it does: Opens your chest and reverses the effects of hunching over computers all day.
How to do it:
- Place your bolster lengthwise on your mat
- Sit with your tailbone touching the front edge
- Lean back so your shoulder blades rest near the bolster’s middle
- Let your head rest on the bolster (use a block if needed)
- Reach your arms overhead or rest them beside you
4. Supported Bridge Pose
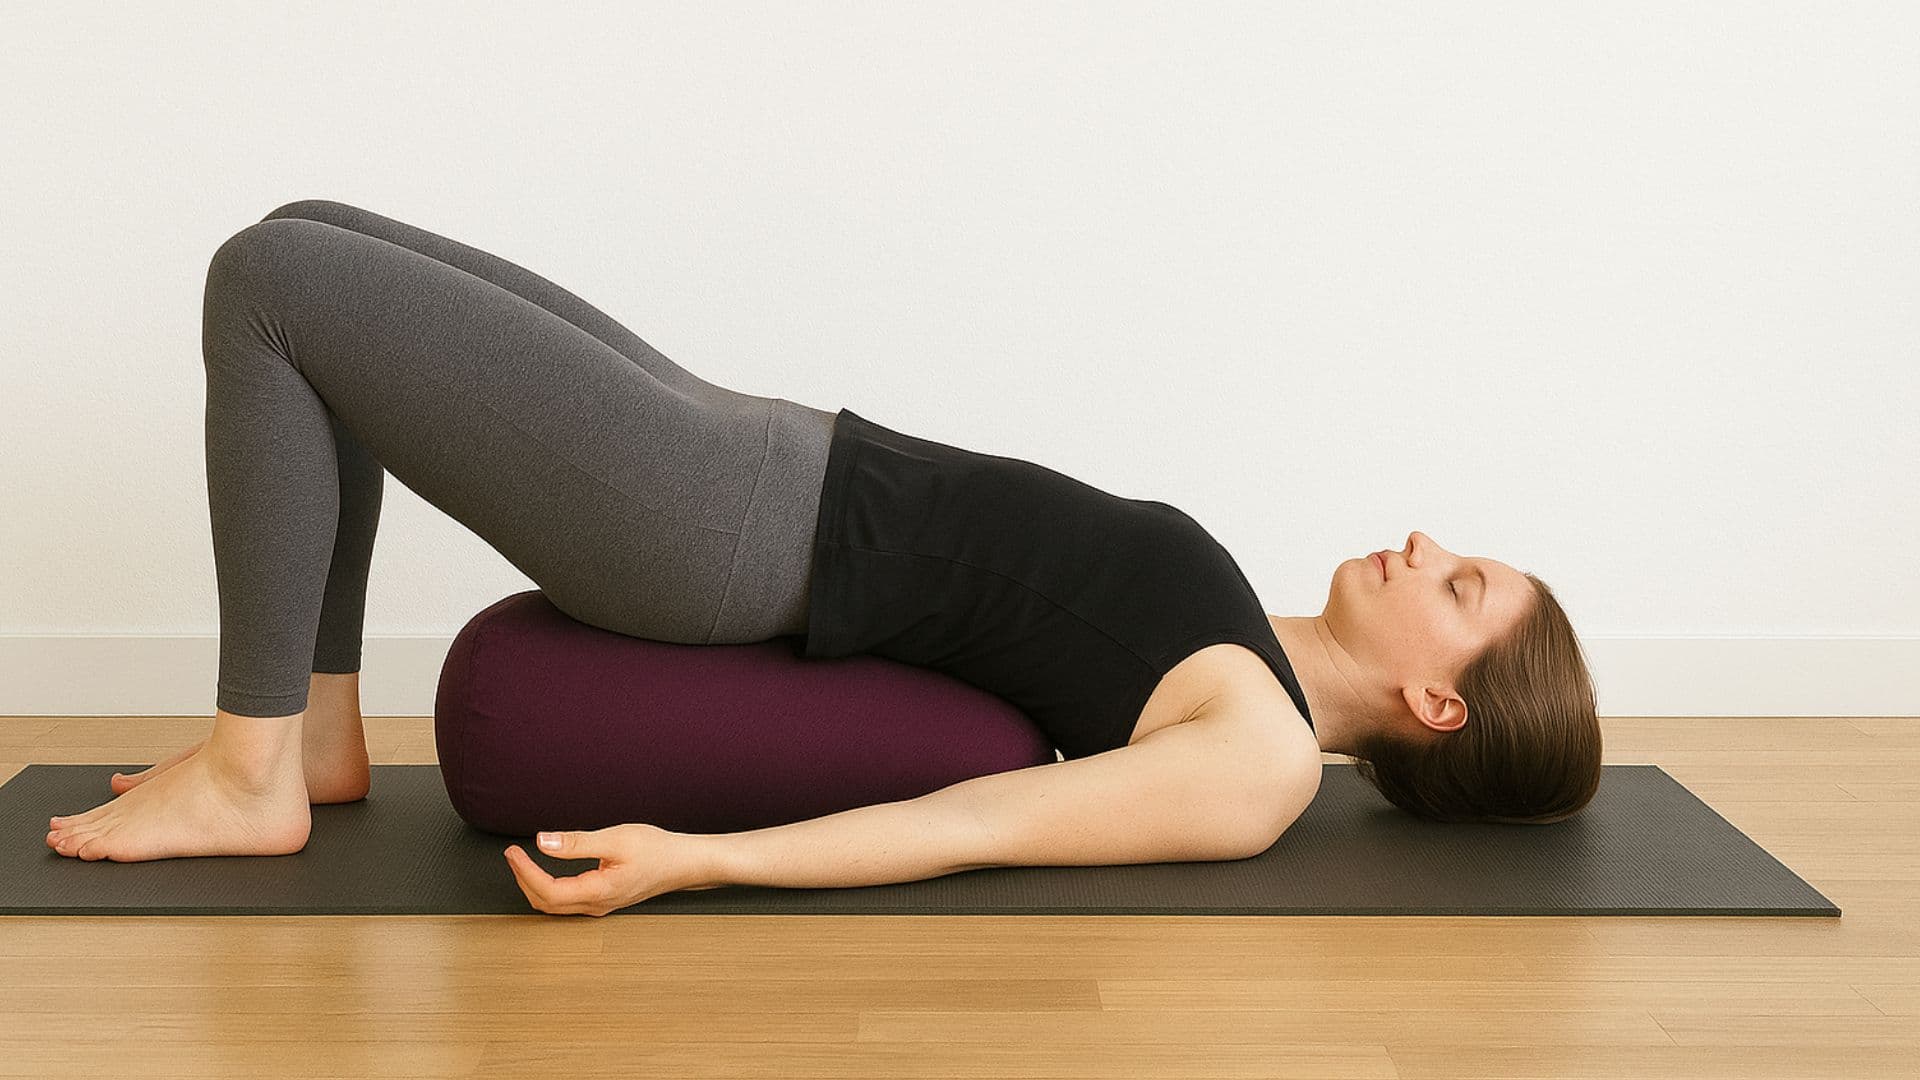
What it does: Gently stretches hip flexors and chest while supporting your spine.
How to do it:
- Lie on your back with your knees bent
- Lift your hips and slide the bolster underneath
- Rest your pelvis on the bolster
- Keep your feet flat on the floor
- Let your arms relax by your sides
5. Reclined Butterfly Pose
What it does: Opens hips and stretches your chest and inner thighs.
How to do it:
- Sit in front of your bolster
- Bring the soles of your feet together
- Lean back onto the bolster
- Let your knees fall to either side
- Add pillows under your knees if needed for comfort
6. Supported Pigeon Pose
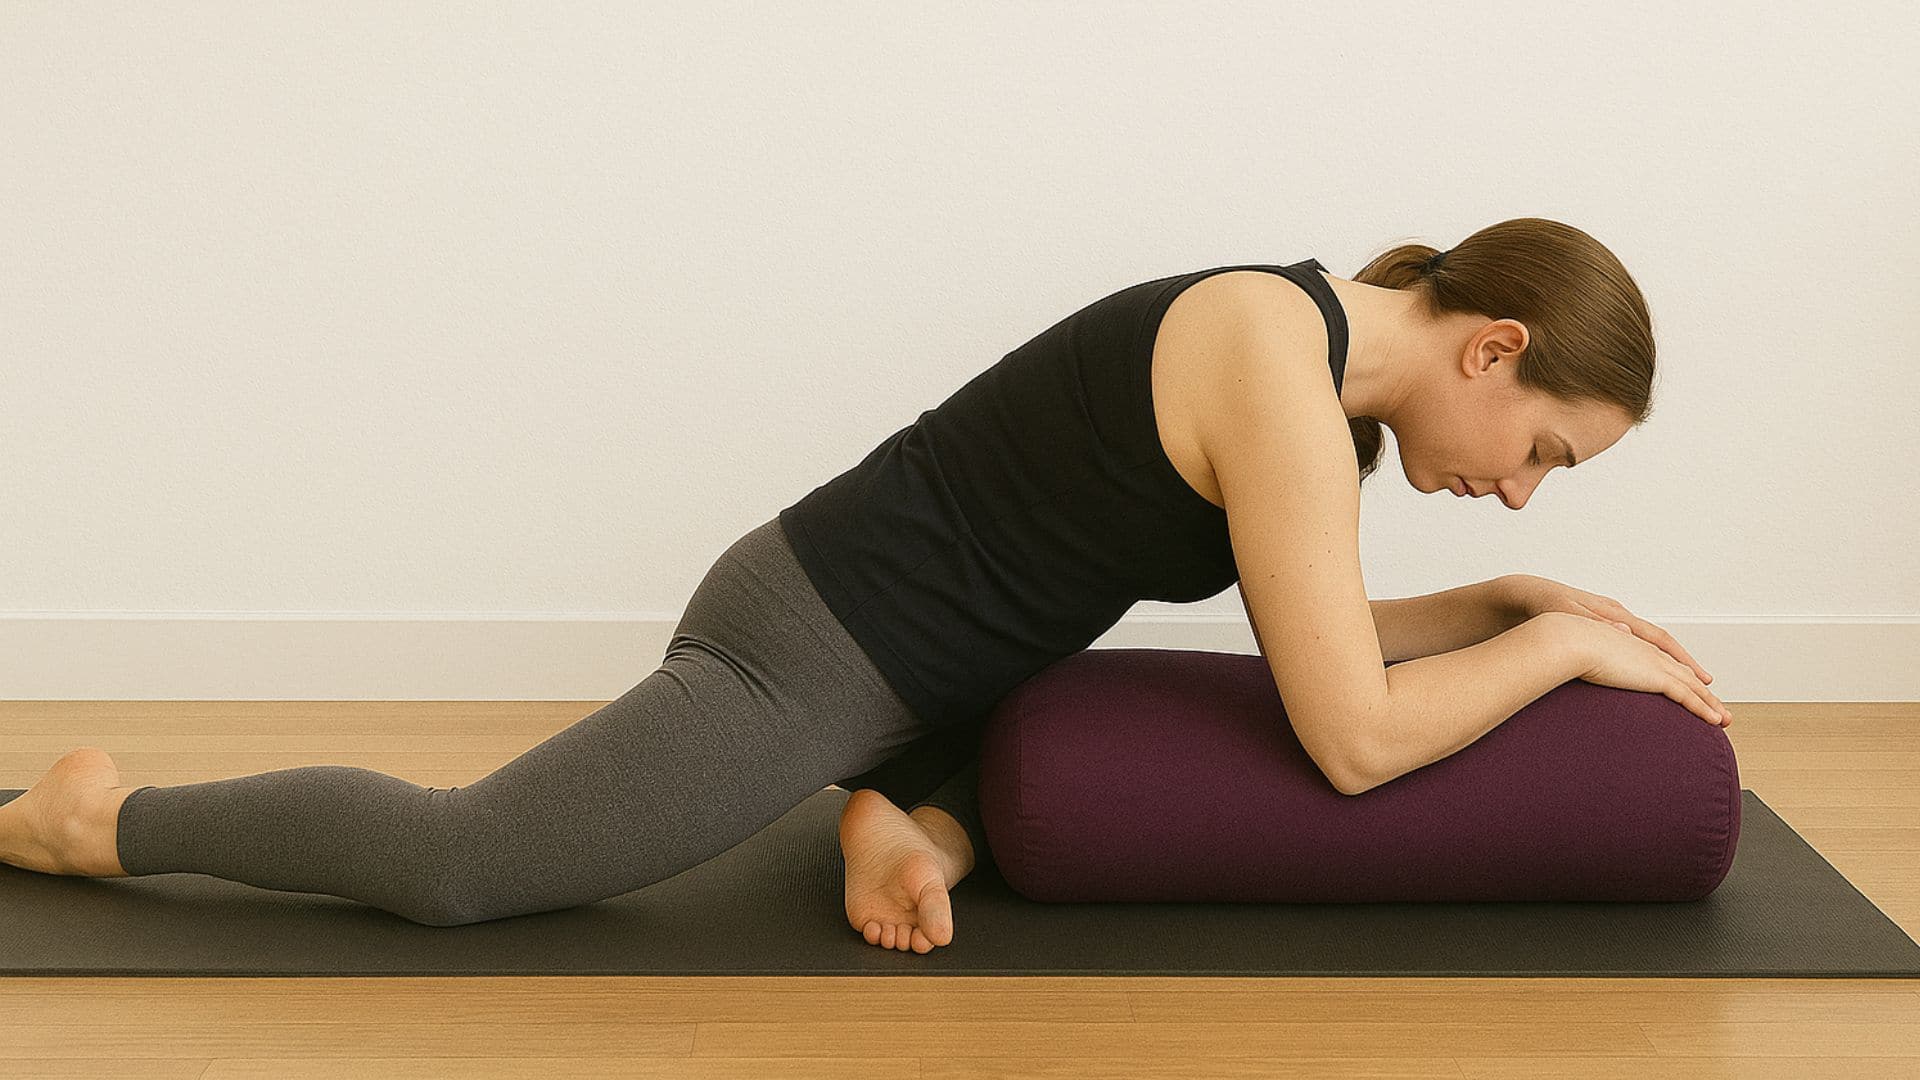
What it does: Makes the pigeon pose comfortable and opens tight hips gently.
How to do it:
- Start in tabletop position
- Bring your right knee forward between your hands
- Place the bolster in front of your bent leg
- Fold forward over the bolster
- Rest your forehead on the bolster
- Repeat on the other side
7. Seated Forward Fold
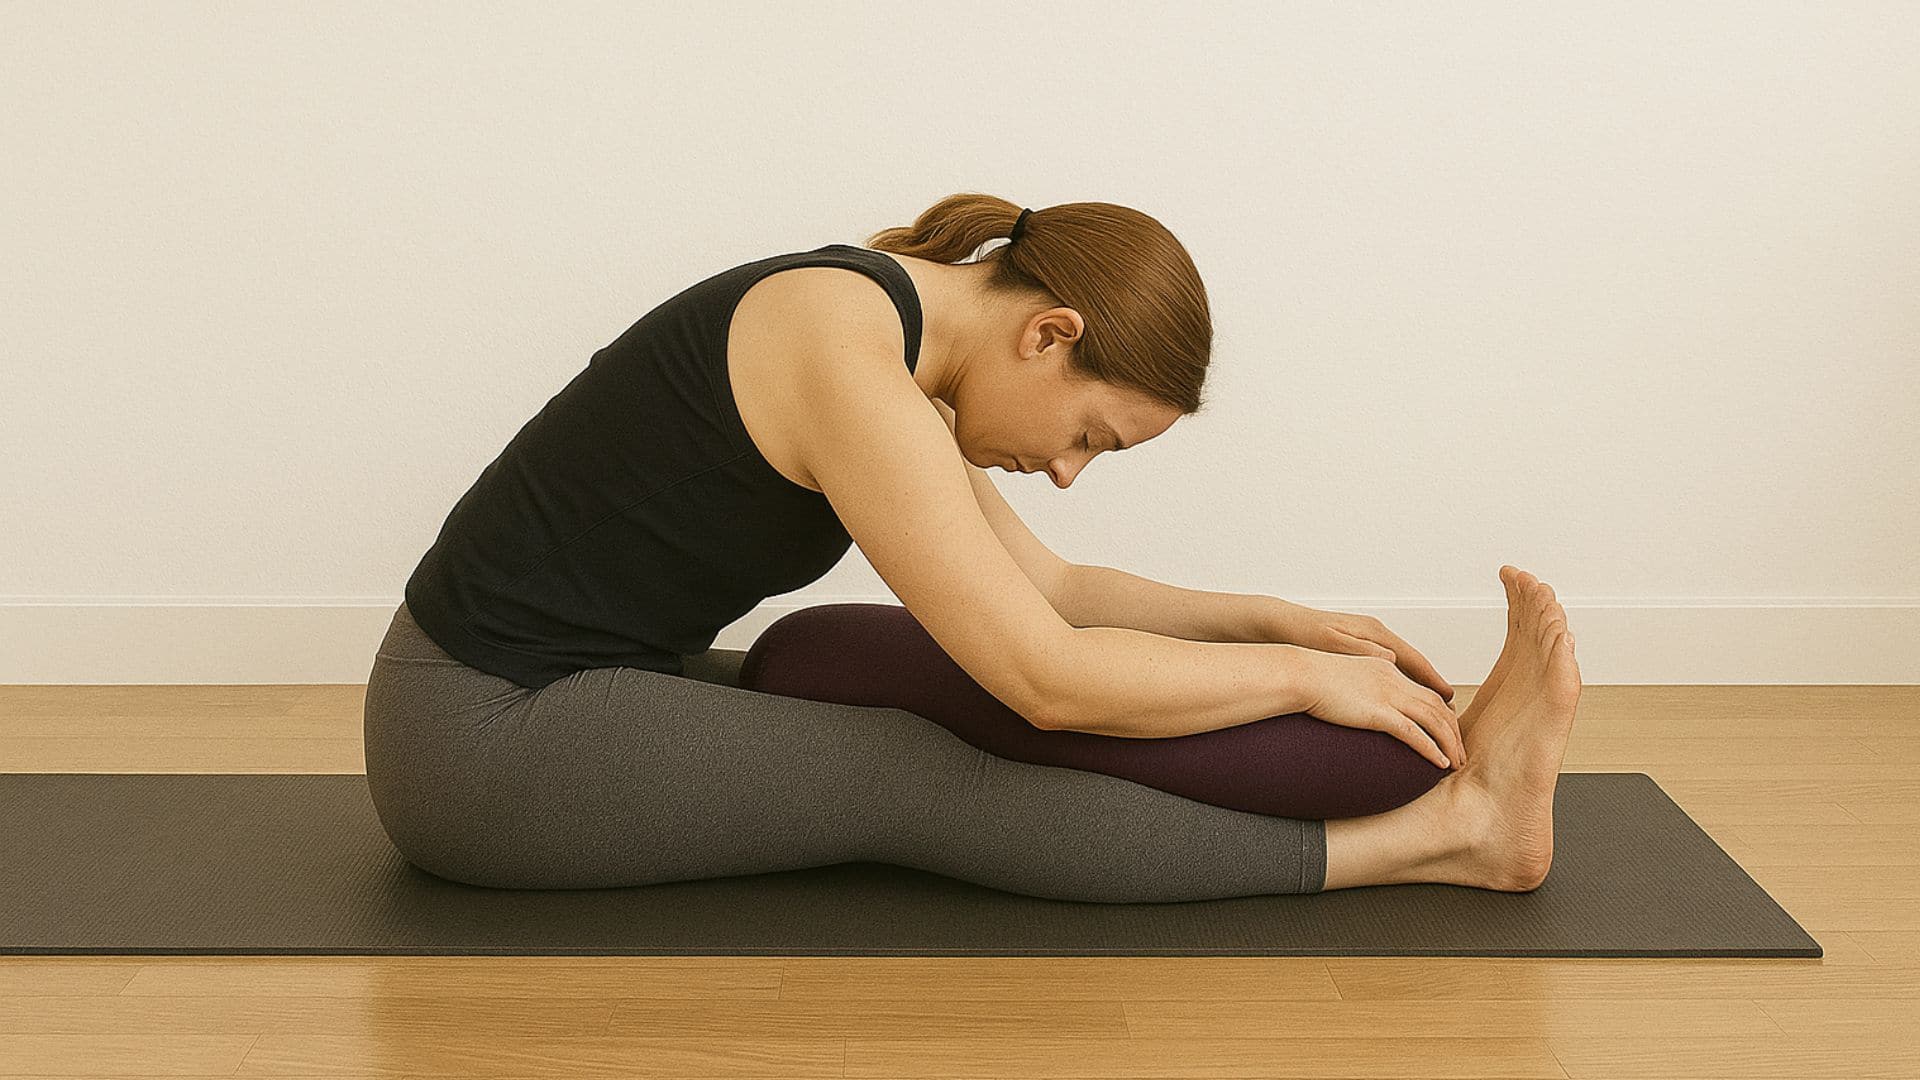
What it does: Stretches hamstrings and your entire back without strain.
How to do it:
- Sit with legs extended straight in front
- Place the bolster on your thighs
- Slowly fold forward over the bolster
- Rest your forehead on the bolster
- Let your arms relax beside your legs
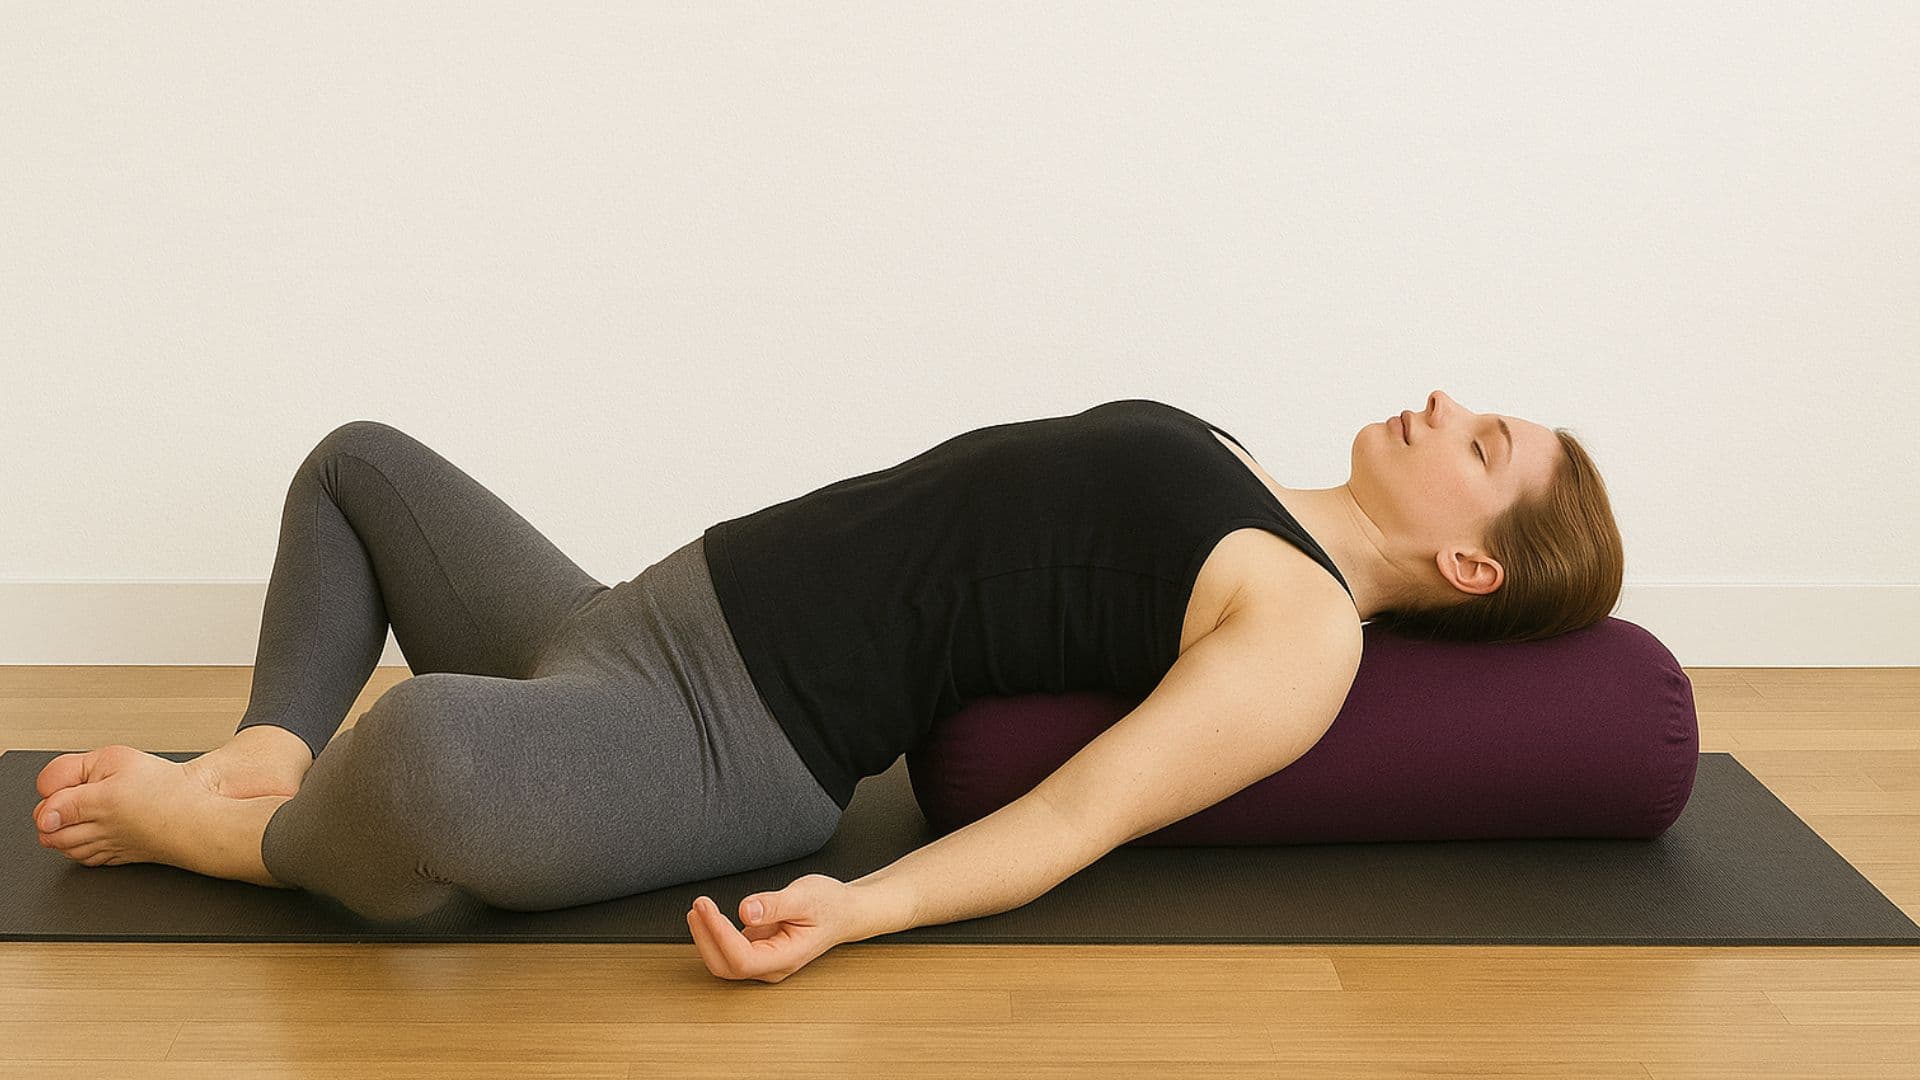
8. Supported Spinal Twist
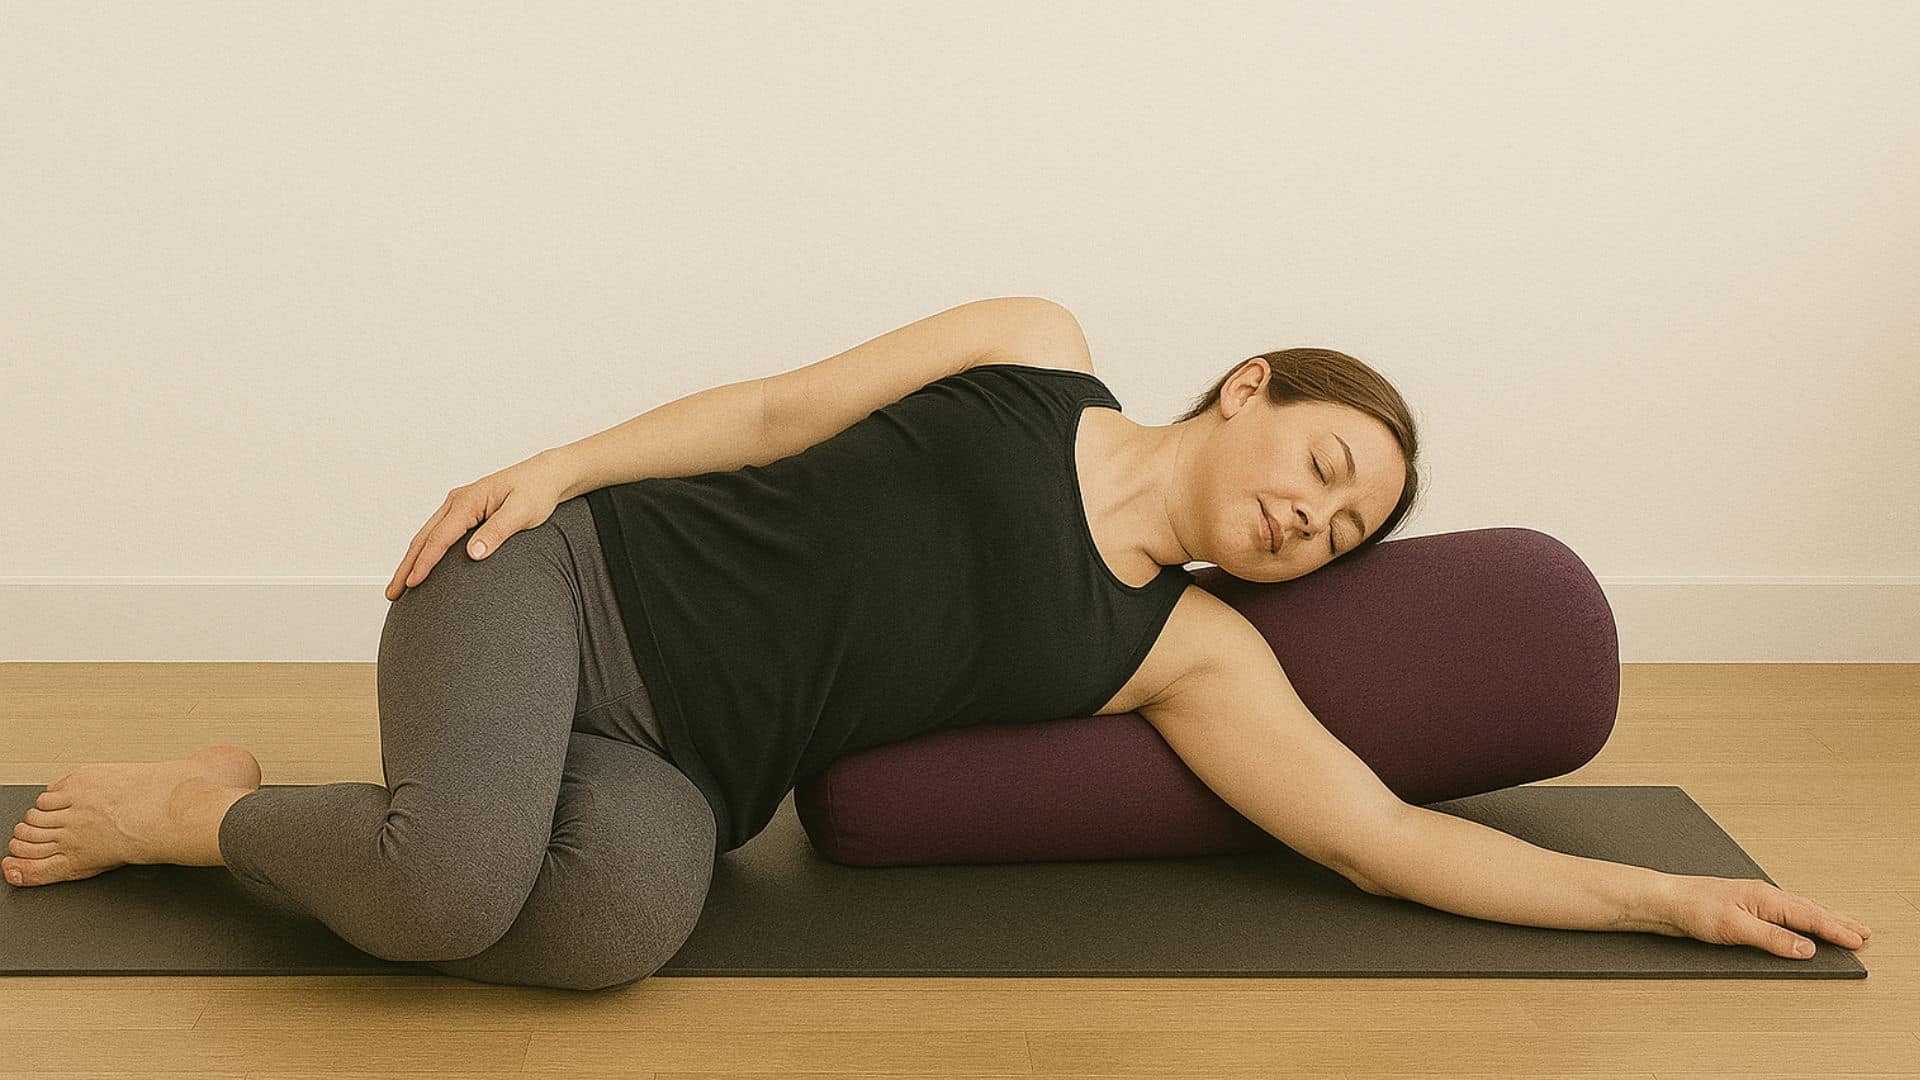
What it does: Helps your spine feel mobile and releases back tension.
How to do it:
- Sit with the bolster next to your right hip
- Turn your upper body toward the bolster
- Lower yourself over the bolster, facing down
- Use a blanket between your knees for comfort
- Hold, then repeat on the other side
9. Wide-Legged Forward Bend
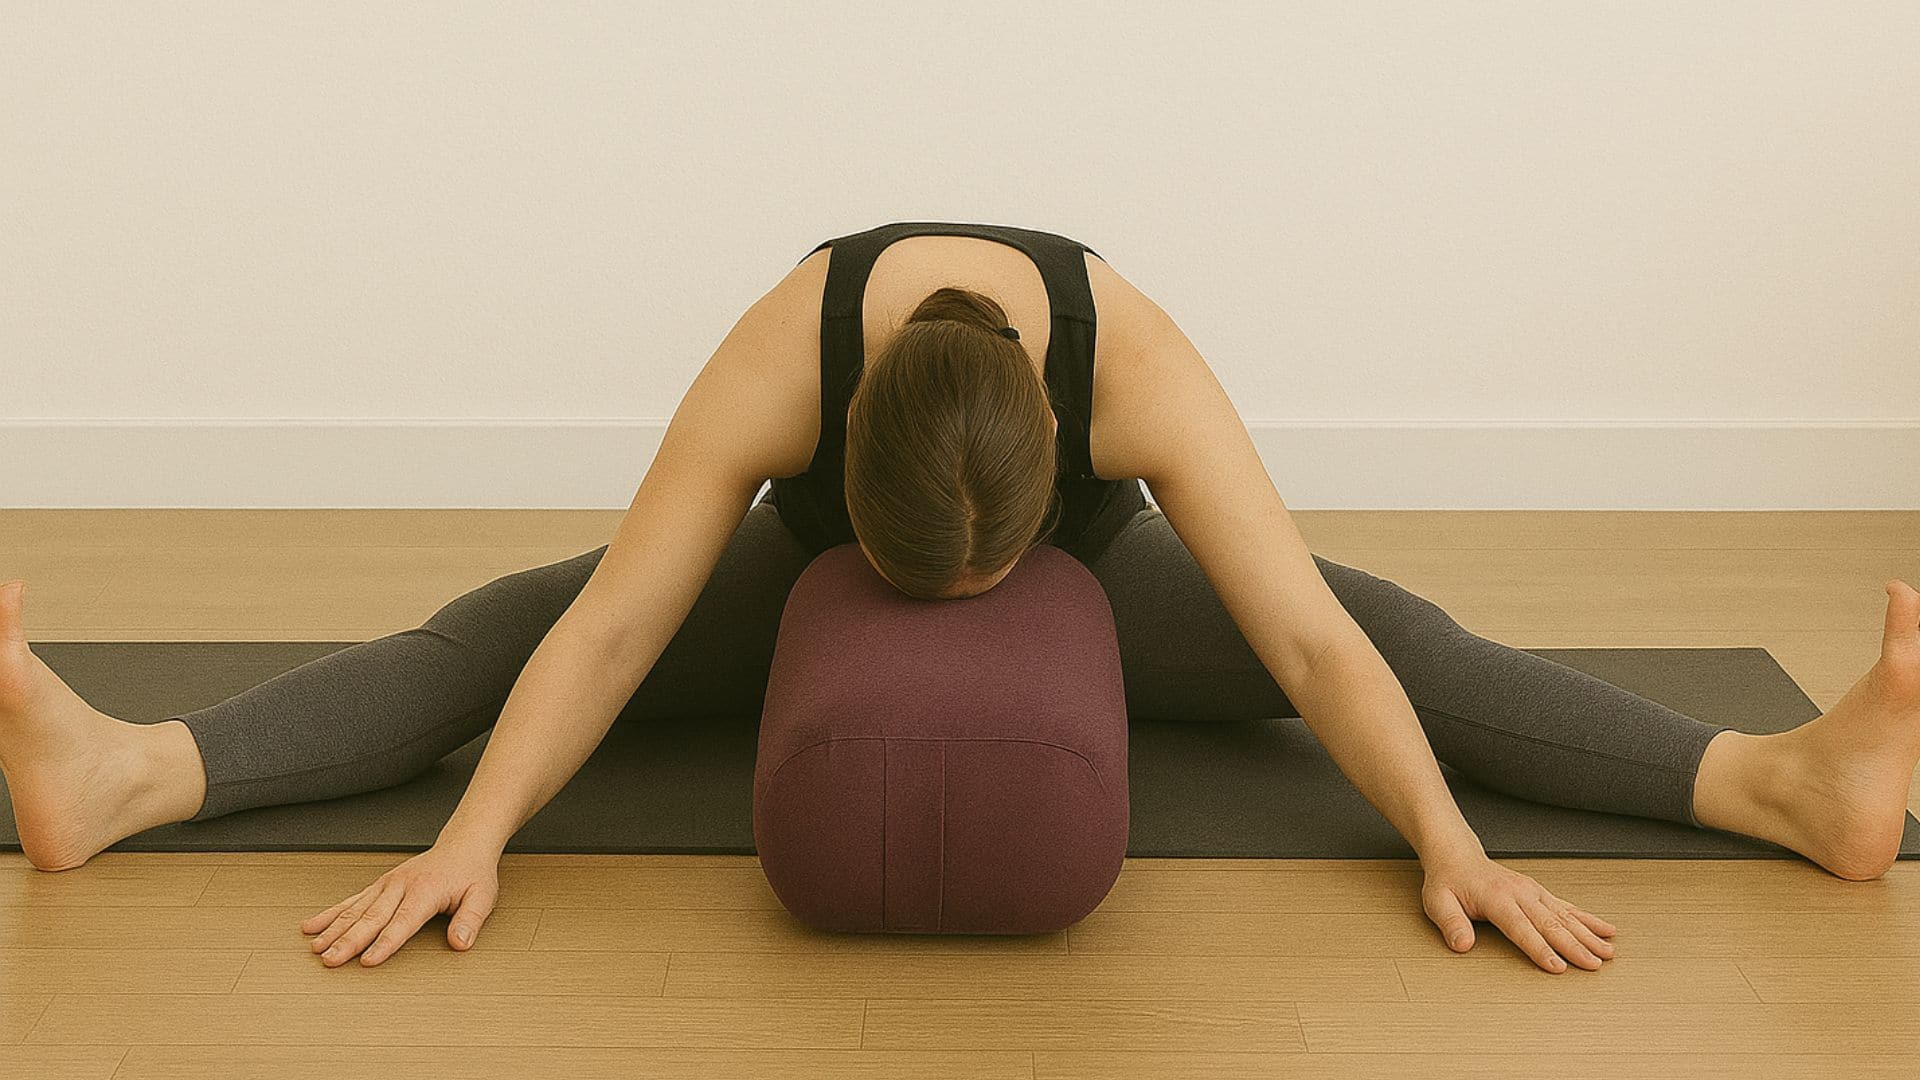
What it does: Gently stretches inner legs and lower back.
How to do it:
- Sit with legs spread wide in a V shape
- Place your bolster in front of you
- Slowly fold forward over the bolster
- Rest your upper body on the bolster
- Use blocks under the bolster if you need more height
10. Downward Dog with Head Support
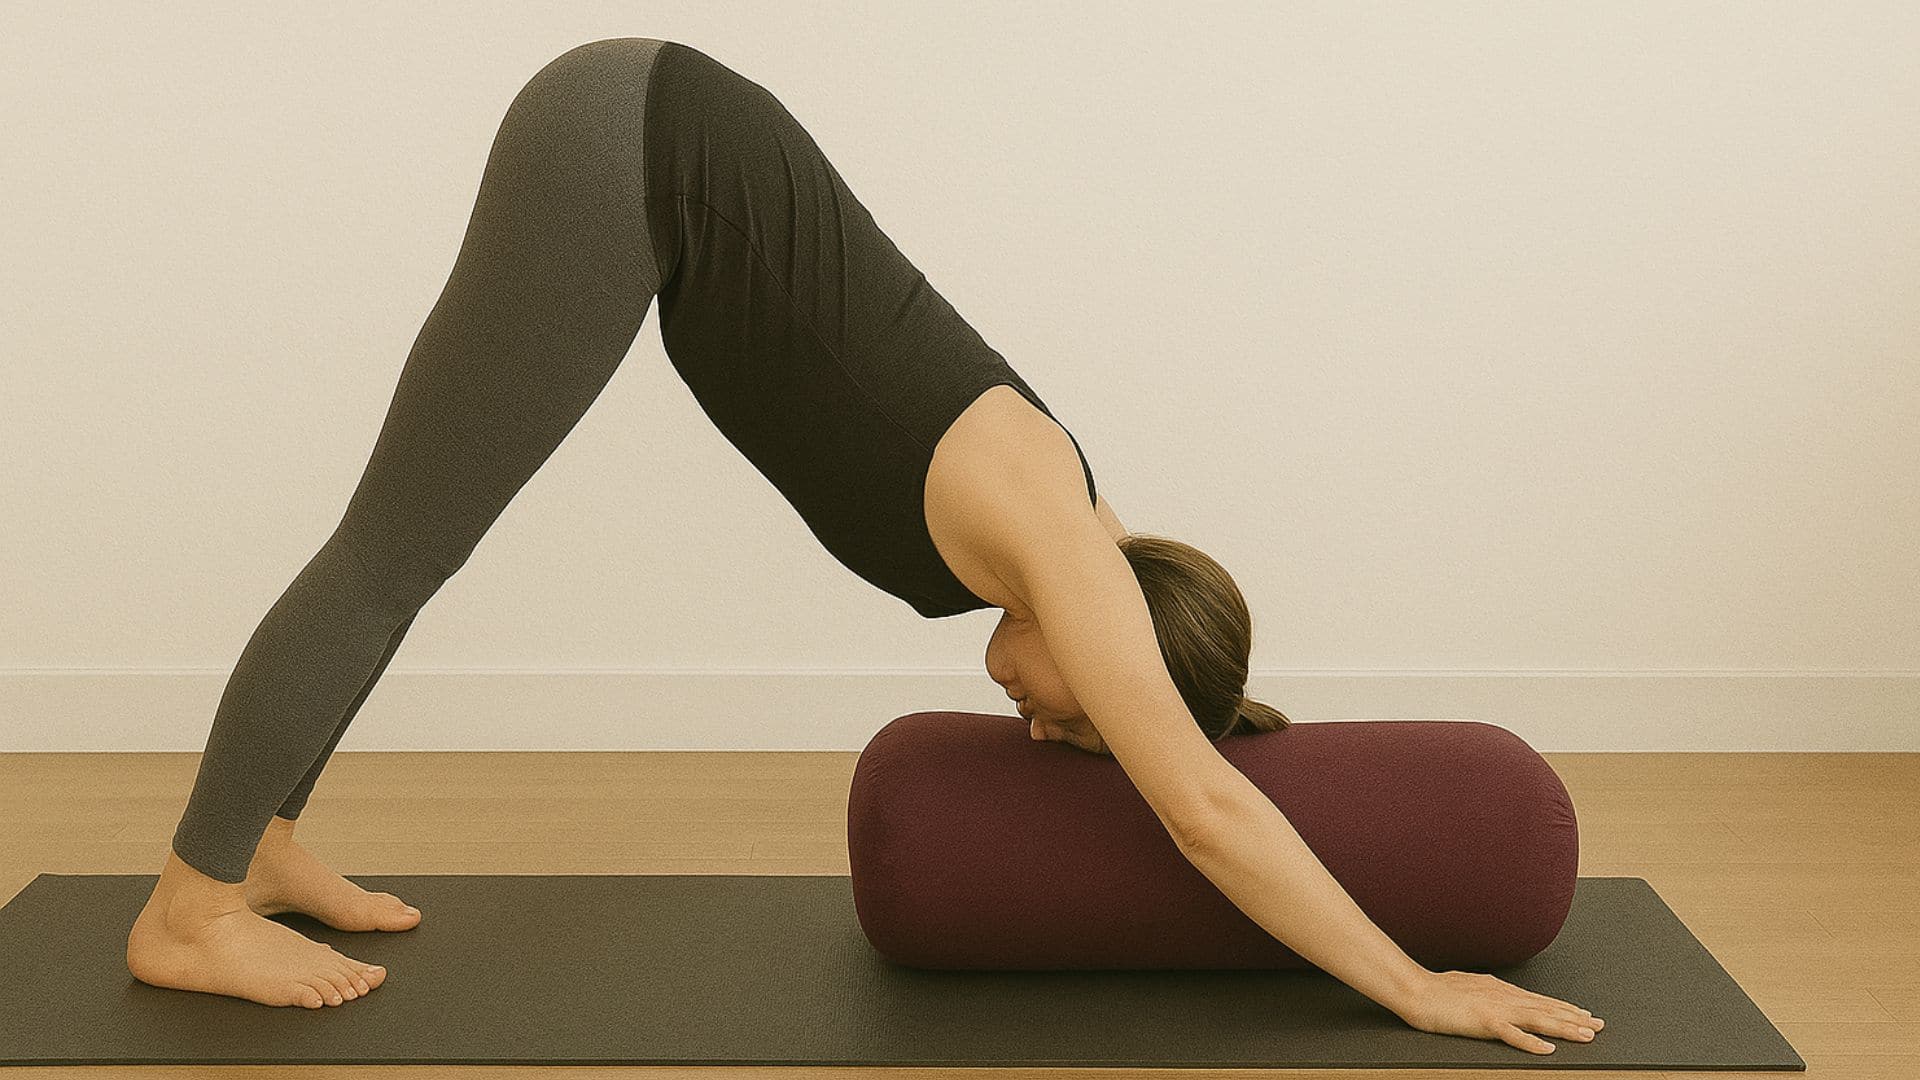
What it does: Makes downward dog more restful and helps you hold it longer.
How to do it:
- Come into the downward-facing dog position
- Place your bolster where your head can rest
- Lower your head onto the bolster
- Keep your arms and legs active
- Stay for 5 breaths or as long as comfortable
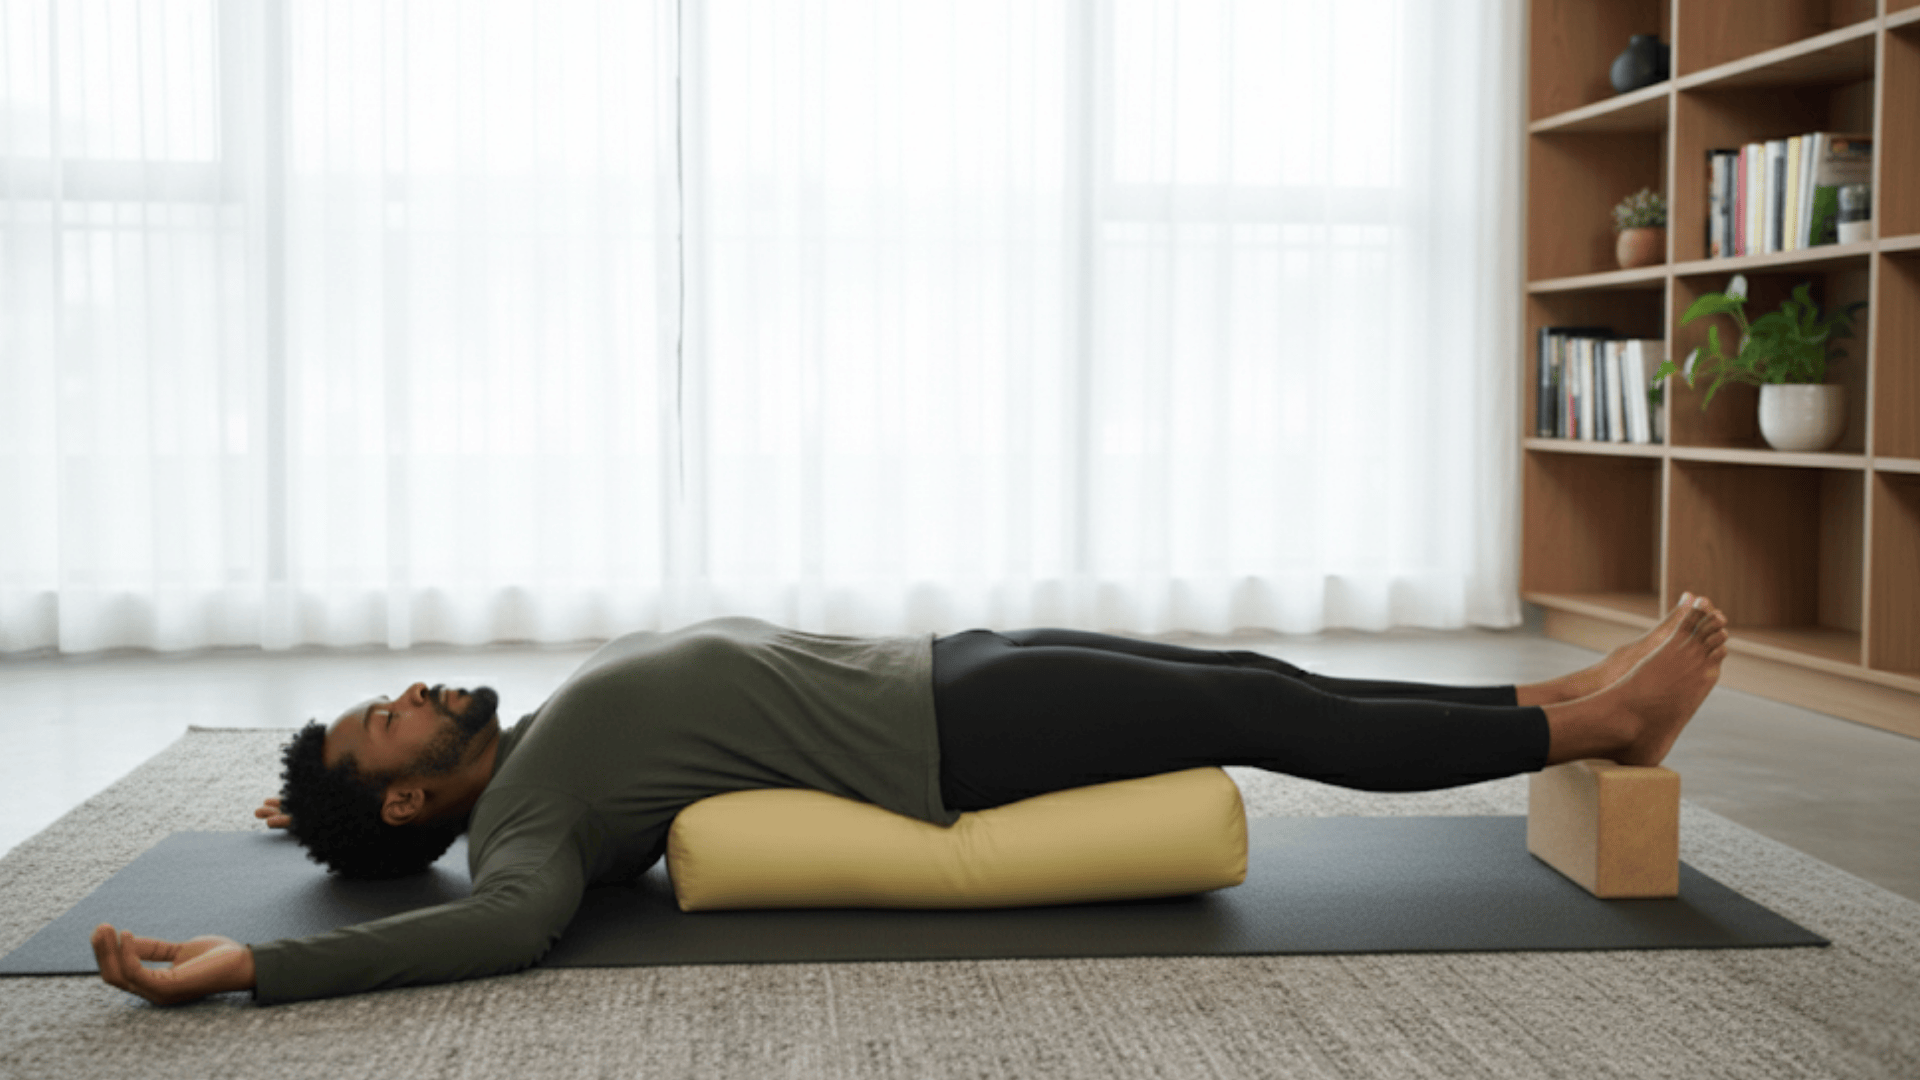
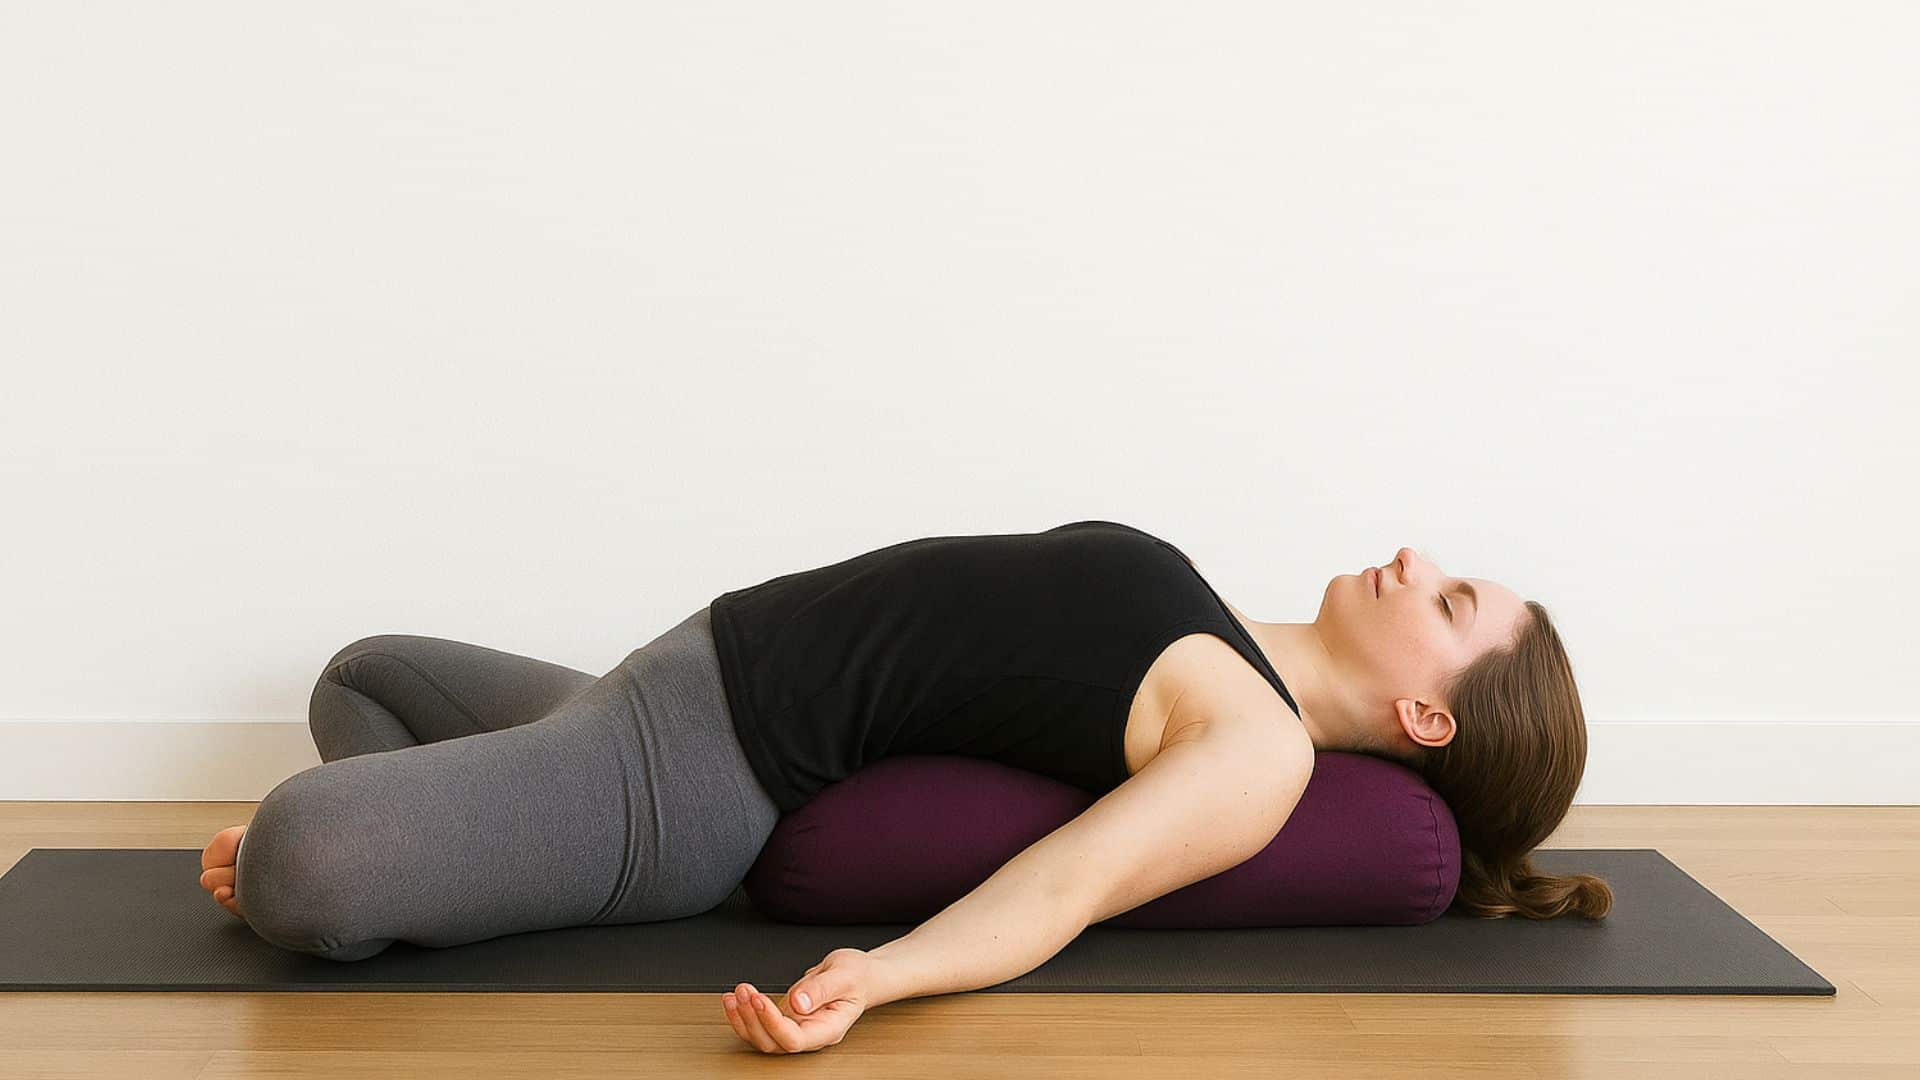
11. Supported Savasana
What it does: Helps your lower back release completely during final relaxation.
How to do it:
- Lie flat on your back
- Place the bolster under your knees
- Let your legs completely relax
- Rest your arms by your sides with palms up
- Close your eyes and breathe naturally
12. Hero Pose Variation
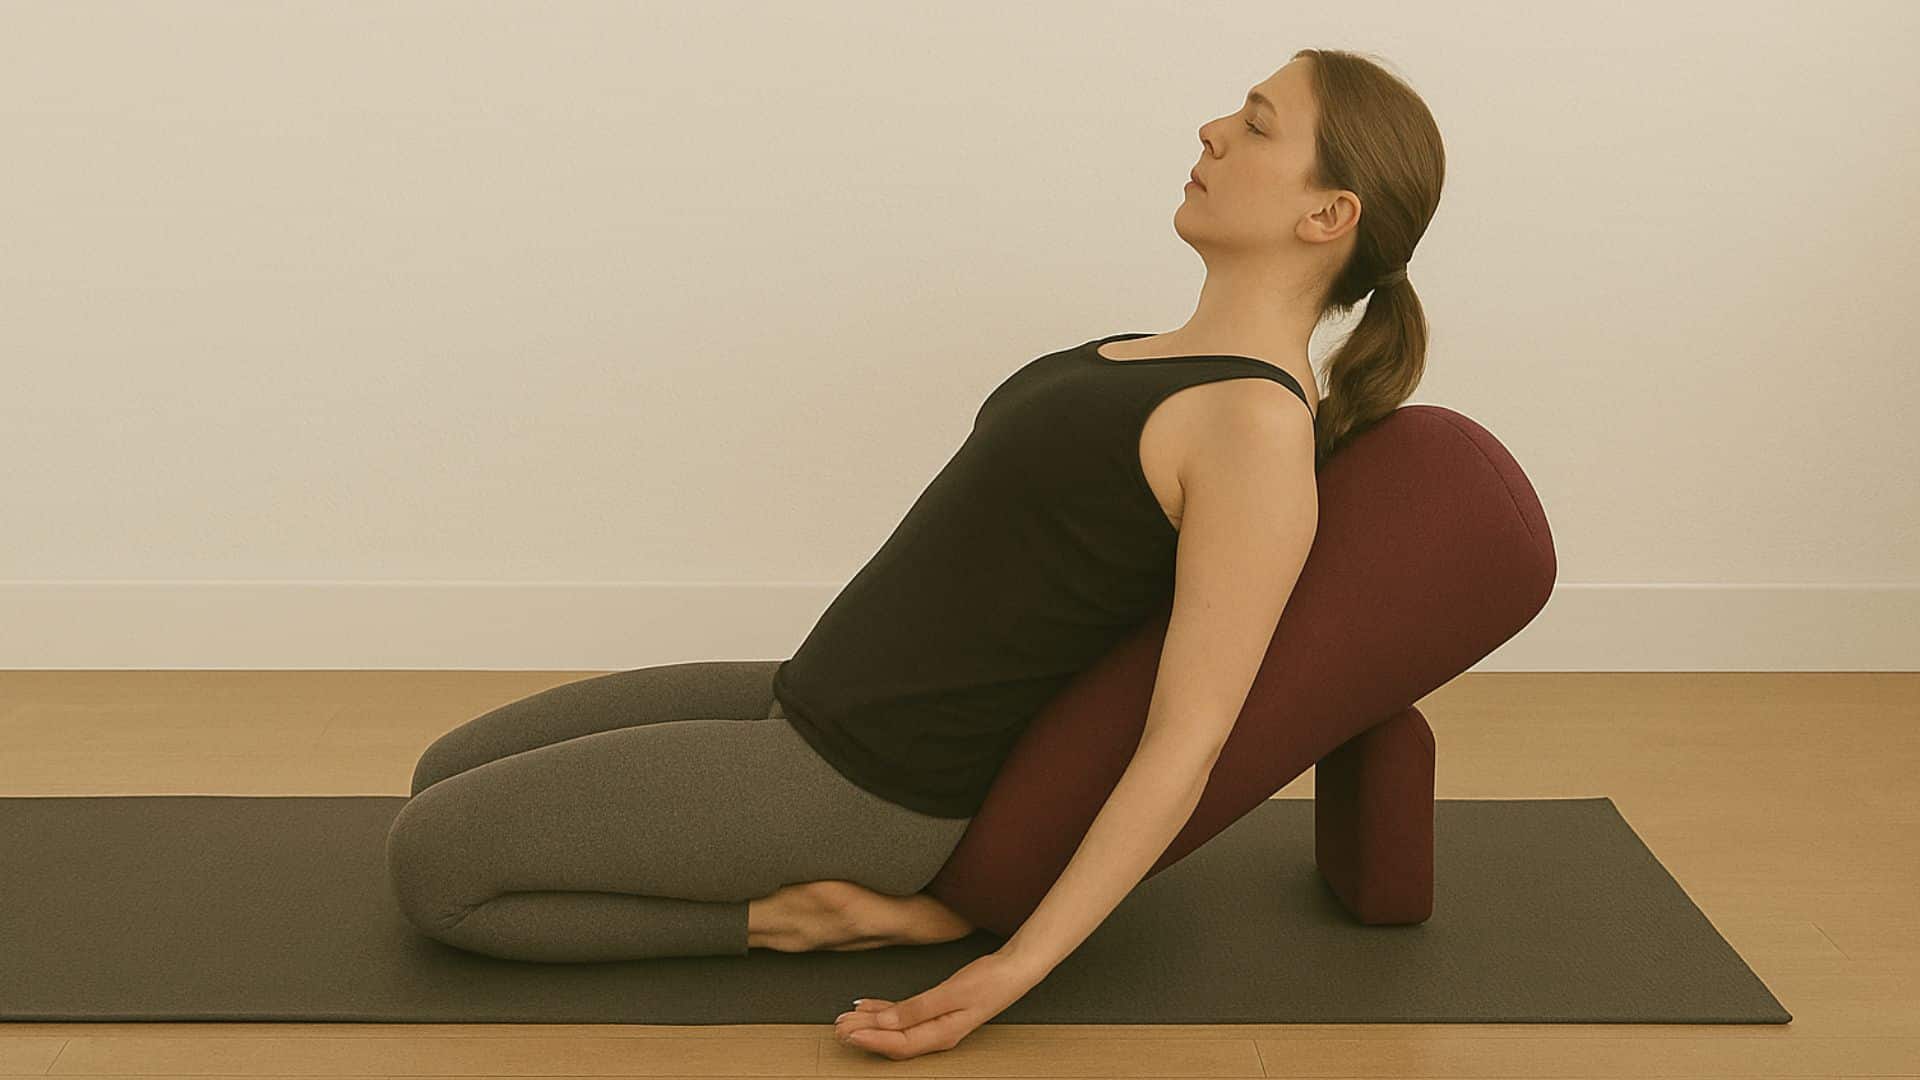
What it does: Makes seated meditation more comfortable for longer periods.
How to do it:
- Kneel with your shins on the floor
- Sit back on your heels
- Place the bolster behind you for back support
- For a backbend variation, lean back onto the bolster
- Keep your spine long and breathe deeply
Pro Tip: Hold each pose for 5-15 minutes to get the full benefits. Listen to your body and adjust as needed. If anything feels uncomfortable, try using additional props like blocks or blankets for extra support.
Tips for Practicing Safely with a Yoga Bolster
Following these safety guidelines will help you get the most from your bolster practice while avoiding injury. Remember, the goal is relaxation and comfort, not pushing your limits.
- Start with shorter hold times and build gradually: Begin with 3-5 minute holds before working up to longer sessions because the body needs time to adapt to deep relaxation poses.
- Ensure your bolster is properly positioned for support: Take the time to find the right placement before settling in.
- Use additional props when your body needs extra comfort: Don’t hesitate to grab blankets, blocks, or eye pillows; combining props creates the perfect setup for your unique body needs today.
- Exit poses slowly and give your body time to readjust: Move slowly when coming out of poses after long holds, and take a moment to notice how you feel before transitioning.
- Skip any pose that doesn’t feel right for your body today. Your body’s needs change daily based on stress and fatigue, so modify your practice to match how you feel right now.
Conclusion
These yoga bolster poses can transform how you approach flexibility training. From supported child’s pose to gentle spinal twists, each position helps your muscles release naturally without force or strain.
The key is patience and allowing your body time to open up gradually while the bolster provides steady support.
Your flexibility doesn’t have to be a constant battle. These poses show that gentle, supported stretching often works better than pushing through discomfort.
Start with just 2-3 poses that feel good to your body today. Hold them for 5-10 minutes each and notice the difference.
Ready to make flexibility feel effortless? Try one of these bolster poses tonight and feel the tension melt away. Your body will thank you for choosing comfort over struggle.
What’s your biggest flexibility challenge? Share in the comments below.