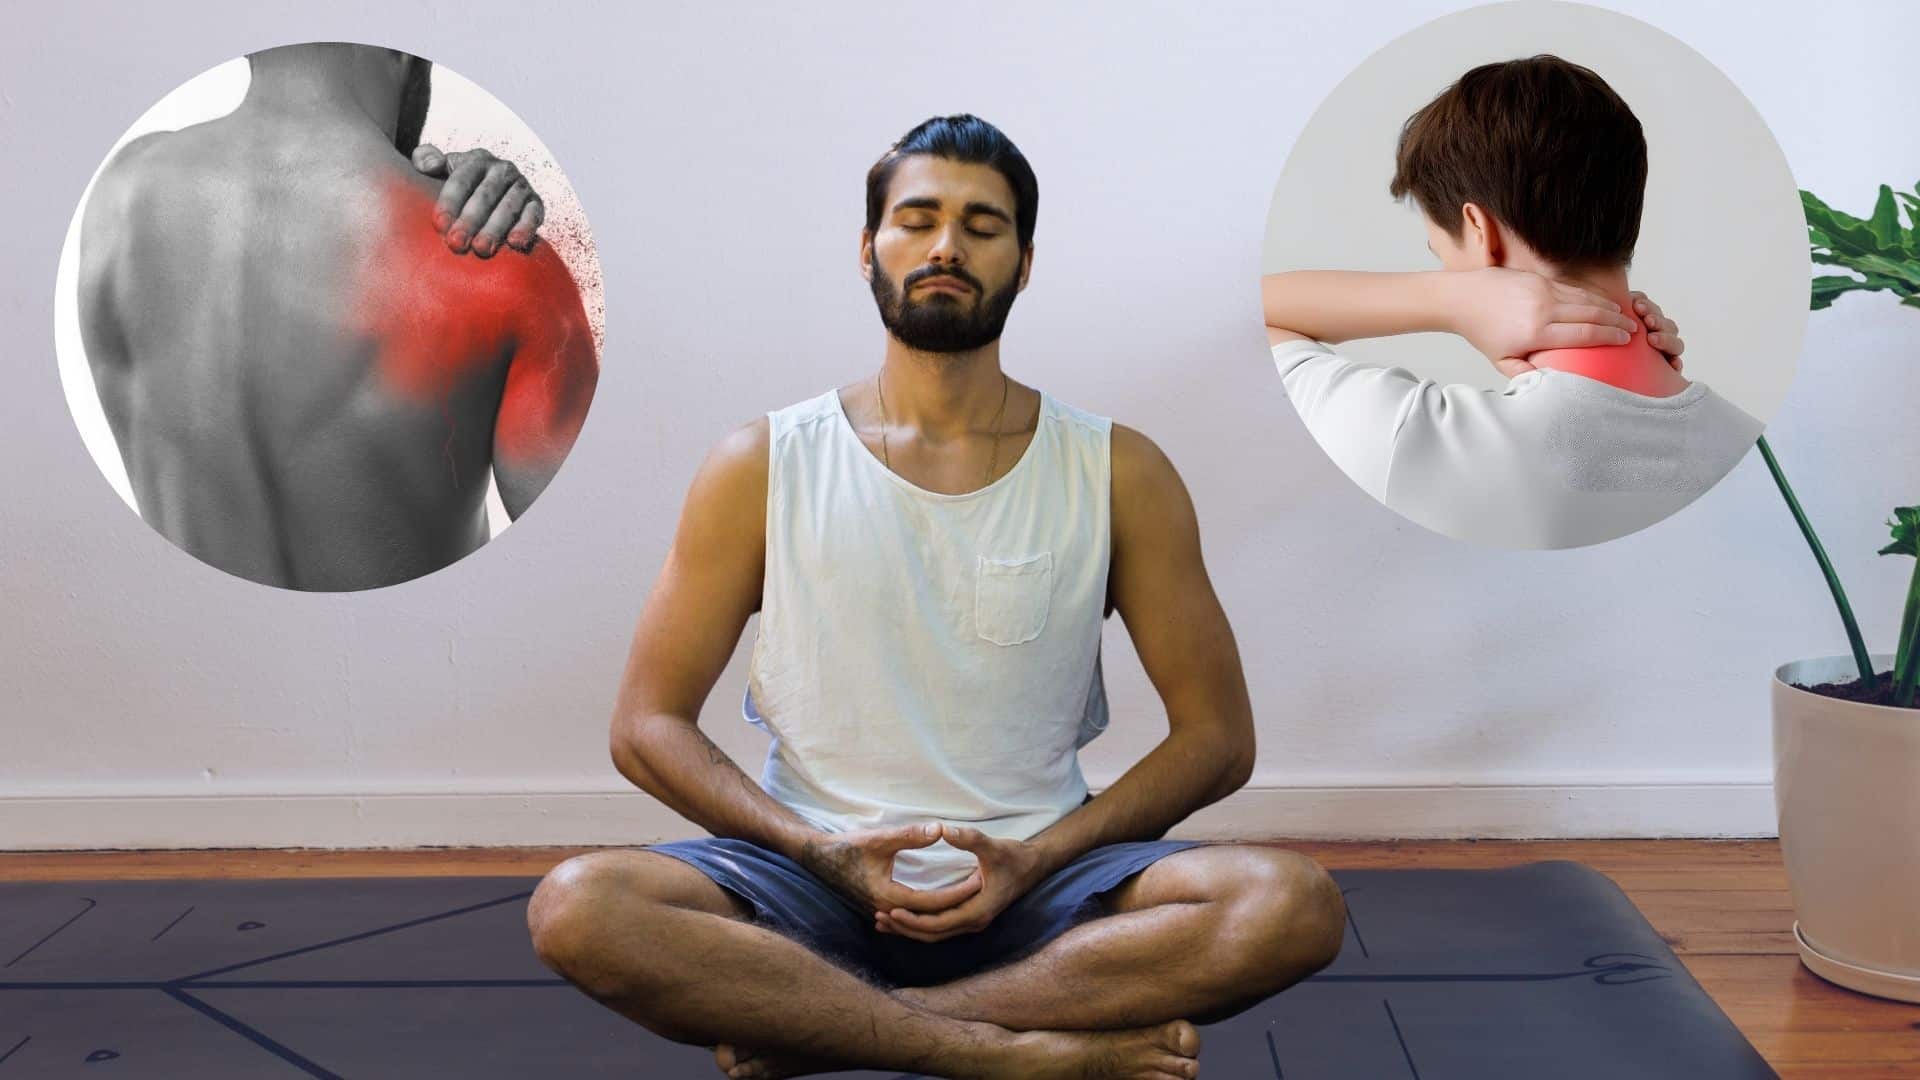
Flexibility feels impossible when you’re starting yoga. Your hamstrings scream when you try to touch your toes.
Your shoulders refuse to move past certain angles. Every pose looks easy until you attempt it yourself.
A yoga strap changes everything. This simple tool acts like an extension of your arms, making challenging stretches suddenly achievable.
Instead of forcing your body into uncomfortable positions, you can ease into poses safely and gradually build flexibility.
This guide covers beginner-friendly yoga strap stretches that target every major muscle group.
You’ll master proper strap techniques, with step-by-step instructions, and create a daily routine that fits your schedule. No prior yoga experience needed, just five minutes daily.
Why Use a Yoga Strap?
New yoga students hit the same walls. Tight hamstrings that won’t budge. Shoulders that refuse to move. You watch others fold forward with ease while you struggle to reach your knees.
A yoga strap changes everything. This simple tool extends your reach, making impossible poses suddenly achievable.
Instead of forcing uncomfortable positions, the strap helps you stretch safely without pulling muscles or straining joints.
Think of it as training wheels for flexibility. Regular use gradually improves your range of motion. What starts as gentle assistance becomes unnecessary as your body opens naturally.
The strap makes yoga accessible and sustainable for years to come.
How to Choose & Use a Yoga Strap?
Discover how to select the ideal yoga strap, explore simple alternatives, and practice safely as a beginner.
| Aspect | Recommendations | Notes for Beginners |
|---|---|---|
| Length | Standard: 6 ft (ideal for most beginners). Taller practitioners: 8–10 ft. | Longer straps provide more flexibility for advanced poses. |
| Material | Cotton: durable, non-slip. Nylon: lightweight, slightly slippery. Eco-friendly options: hemp or recycled fabrics. | Cotton is best for grip and control. |
| Alternatives | Belt, scarf, towel, or resistance band. | Great if you don’t own a strap yet, but ensure they’re sturdy. |
| Safety Tips |
Don’t pull aggressively. Keep joints slightly bent, not locked. Breathe steadily. Stop if you feel sharp pain. |
Straps should assist, not force flexibility. |
17 Easy Yoga Strap Stretches for Beginners
Uncover 17 easy yoga strap stretches designed for beginners to enhance flexibility, release tension, and boost confidence, with no advanced skills required.
1. Shoulder Stretch with Strap
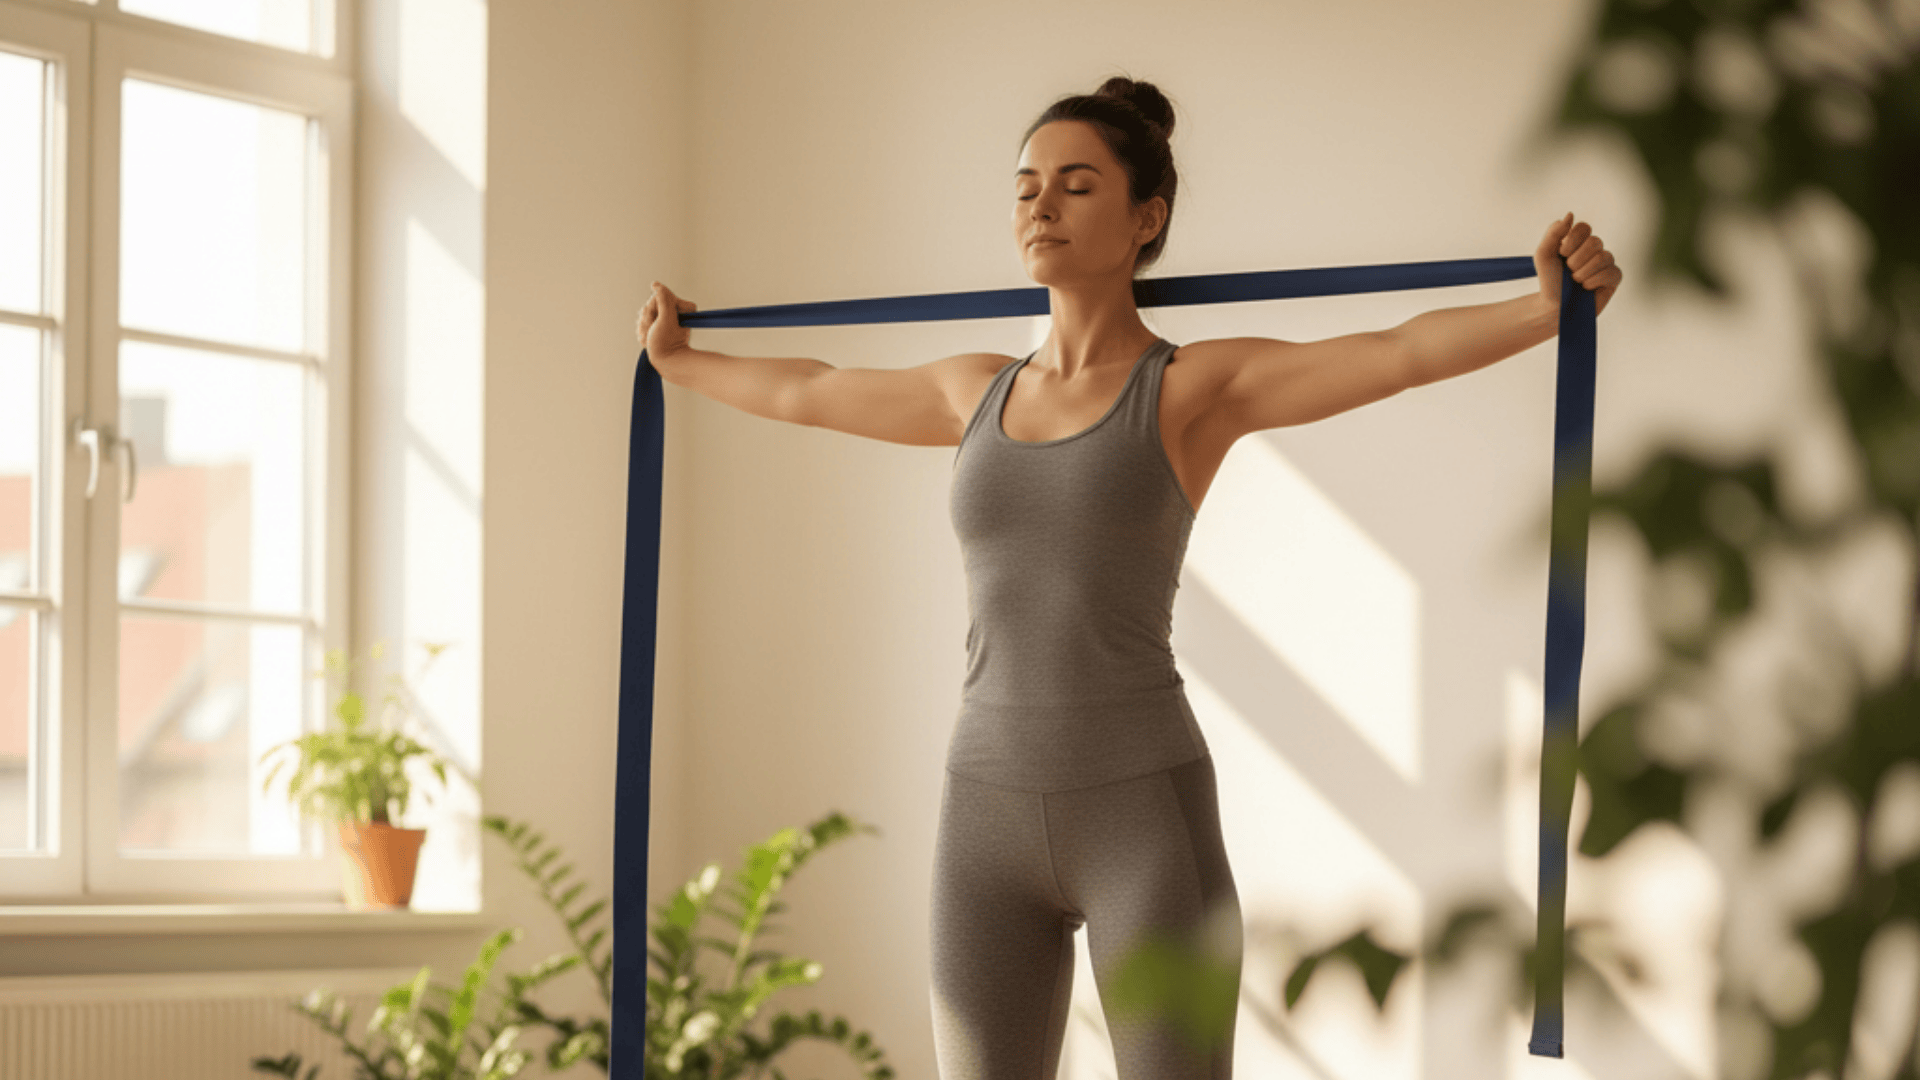
This simple stretch targets tight shoulder muscles that build up from desk work and daily stress. The strap helps you reach areas your hands can’t normally access.
It’s perfect for opening your chest and improving posture. You’ll feel relief in your upper back and shoulders almost immediately.
Step-by-Step Instructions:
- Hold the strap with both hands, arms extended in front of you
- Keep your hands wider than shoulder-width apart on the strap
- Slowly lift the strap overhead, then lower it behind your back
- Move your hands closer together on the strap as flexibility improves
- Hold for 30 seconds, breathing deeply throughout
2. Cow Face Arms (Gomukhasana Variation)
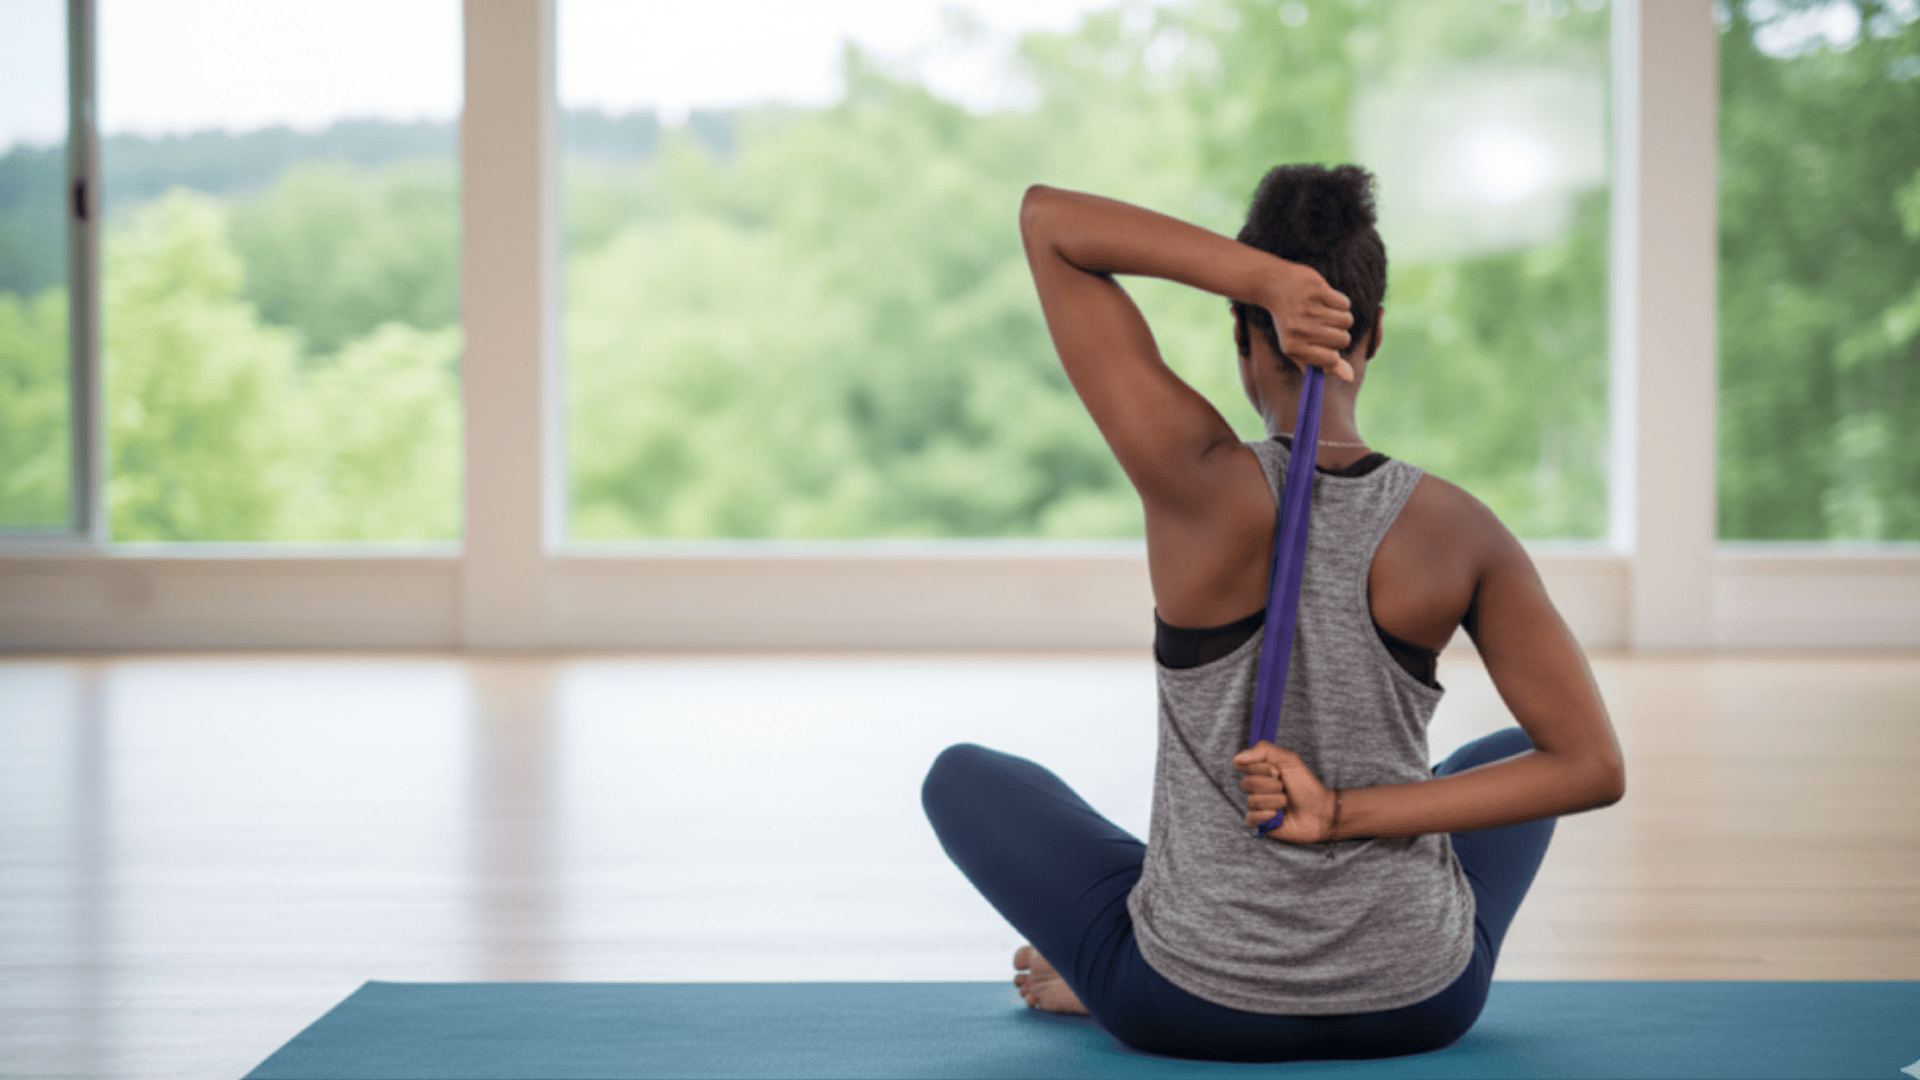
This classic yoga pose becomes accessible with a strap when your hands can’t meet behind your back. It opens tight shoulders and improves flexibility in your upper arms.
The stretch works both shoulders differently, creating balance in your body. Regular practice helps reduce tension between your shoulder blades.
Step-by-Step Instructions:
- Reach your right arm overhead, then bend your elbow so your hand drops behind your head
- Bring your left arm behind your back, reaching up from below
- Grab the strap with your top hand, let your bottom hand hold the other end
- Gently pull with your top hand to deepen the stretch
- Switch sides and repeat for equal time on both arms
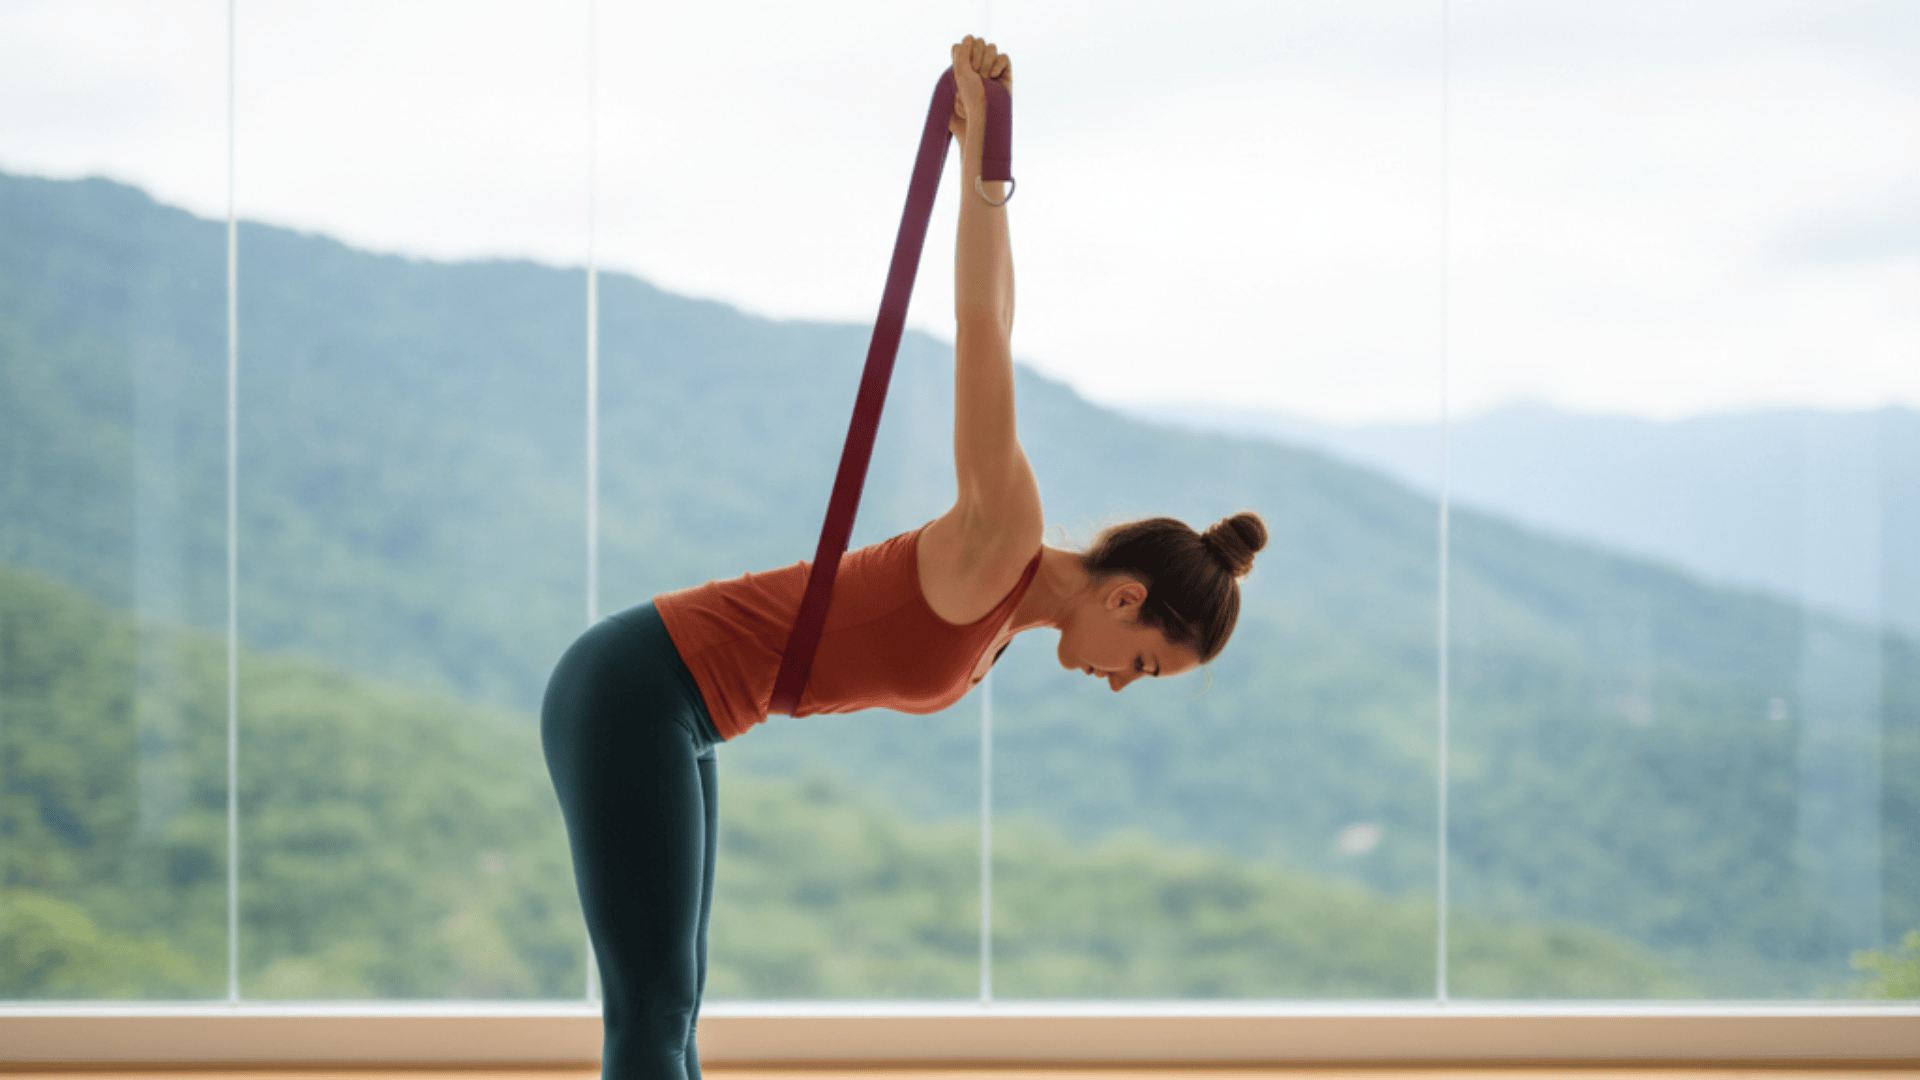
3. Overhead Strap Stretch
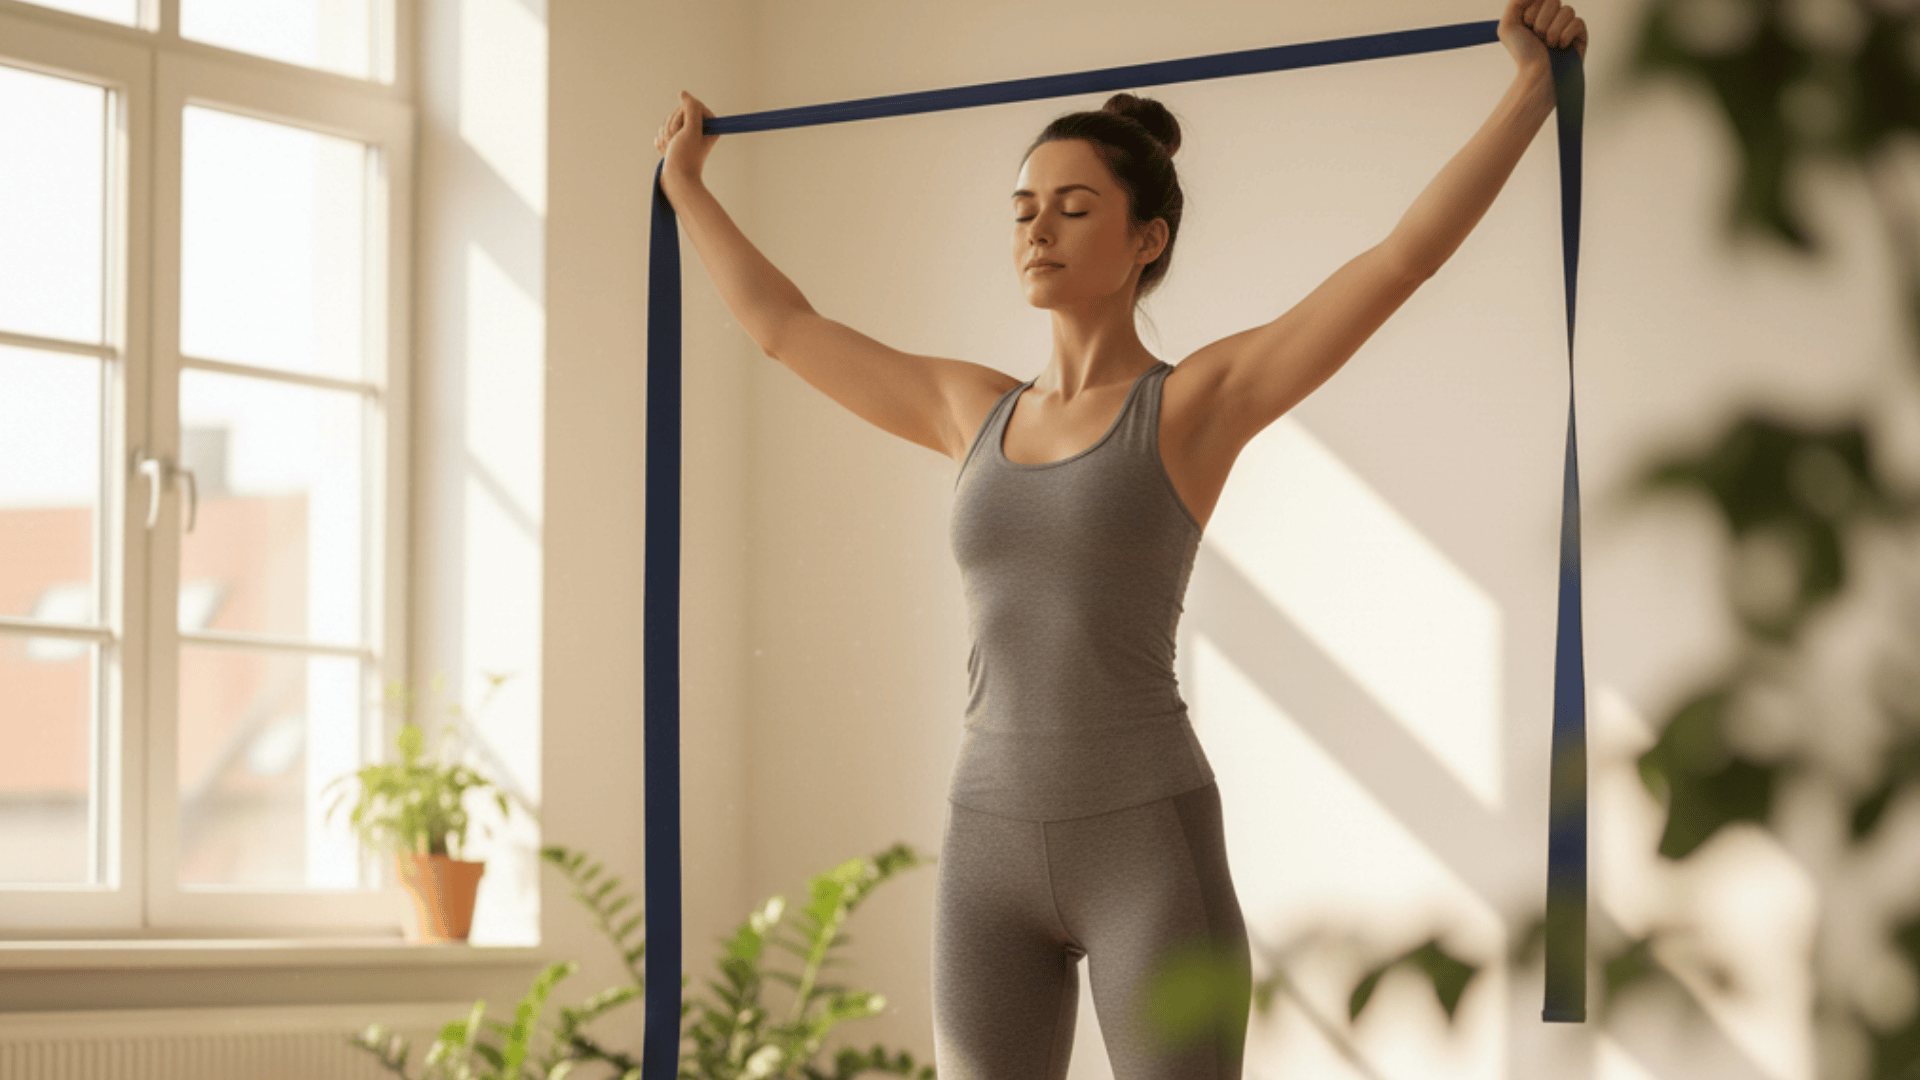
This stretch opens your entire front body while strengthening your back muscles. It’s excellent for people who spend long hours hunched over computers.
The strap provides support as you work on shoulder and chest flexibility. You’ll notice an improvement in your posture after consistent practice.
Step-by-Step Instructions:
- Hold the strap with both hands, arms straight in front of you
- Keep your hands about three feet apart on the strap
- Slowly lift your arms overhead, maintaining straight elbows
- Continue lifting behind you as far as comfortable
- Return to the starting position and repeat 5-10 times
4. Side Body Stretch with Strap
Long hours of sitting can cause your side body muscles to become compressed, making you feel stiff and cramped. This stretch lengthens your entire side from hip to armpit.
The strap helps you maintain proper alignment while getting a deeper stretch. It’s particularly good for improving breathing capacity.
Step-by-Step Instructions:
- Stand with feet hip-width apart, holding the strap overhead
- Keep your hands about shoulder-width apart on the strap
- Lean to your right side, keeping both arms straight
- Feel the stretch along your left side of your body
- Return to the center and repeat on the opposite side
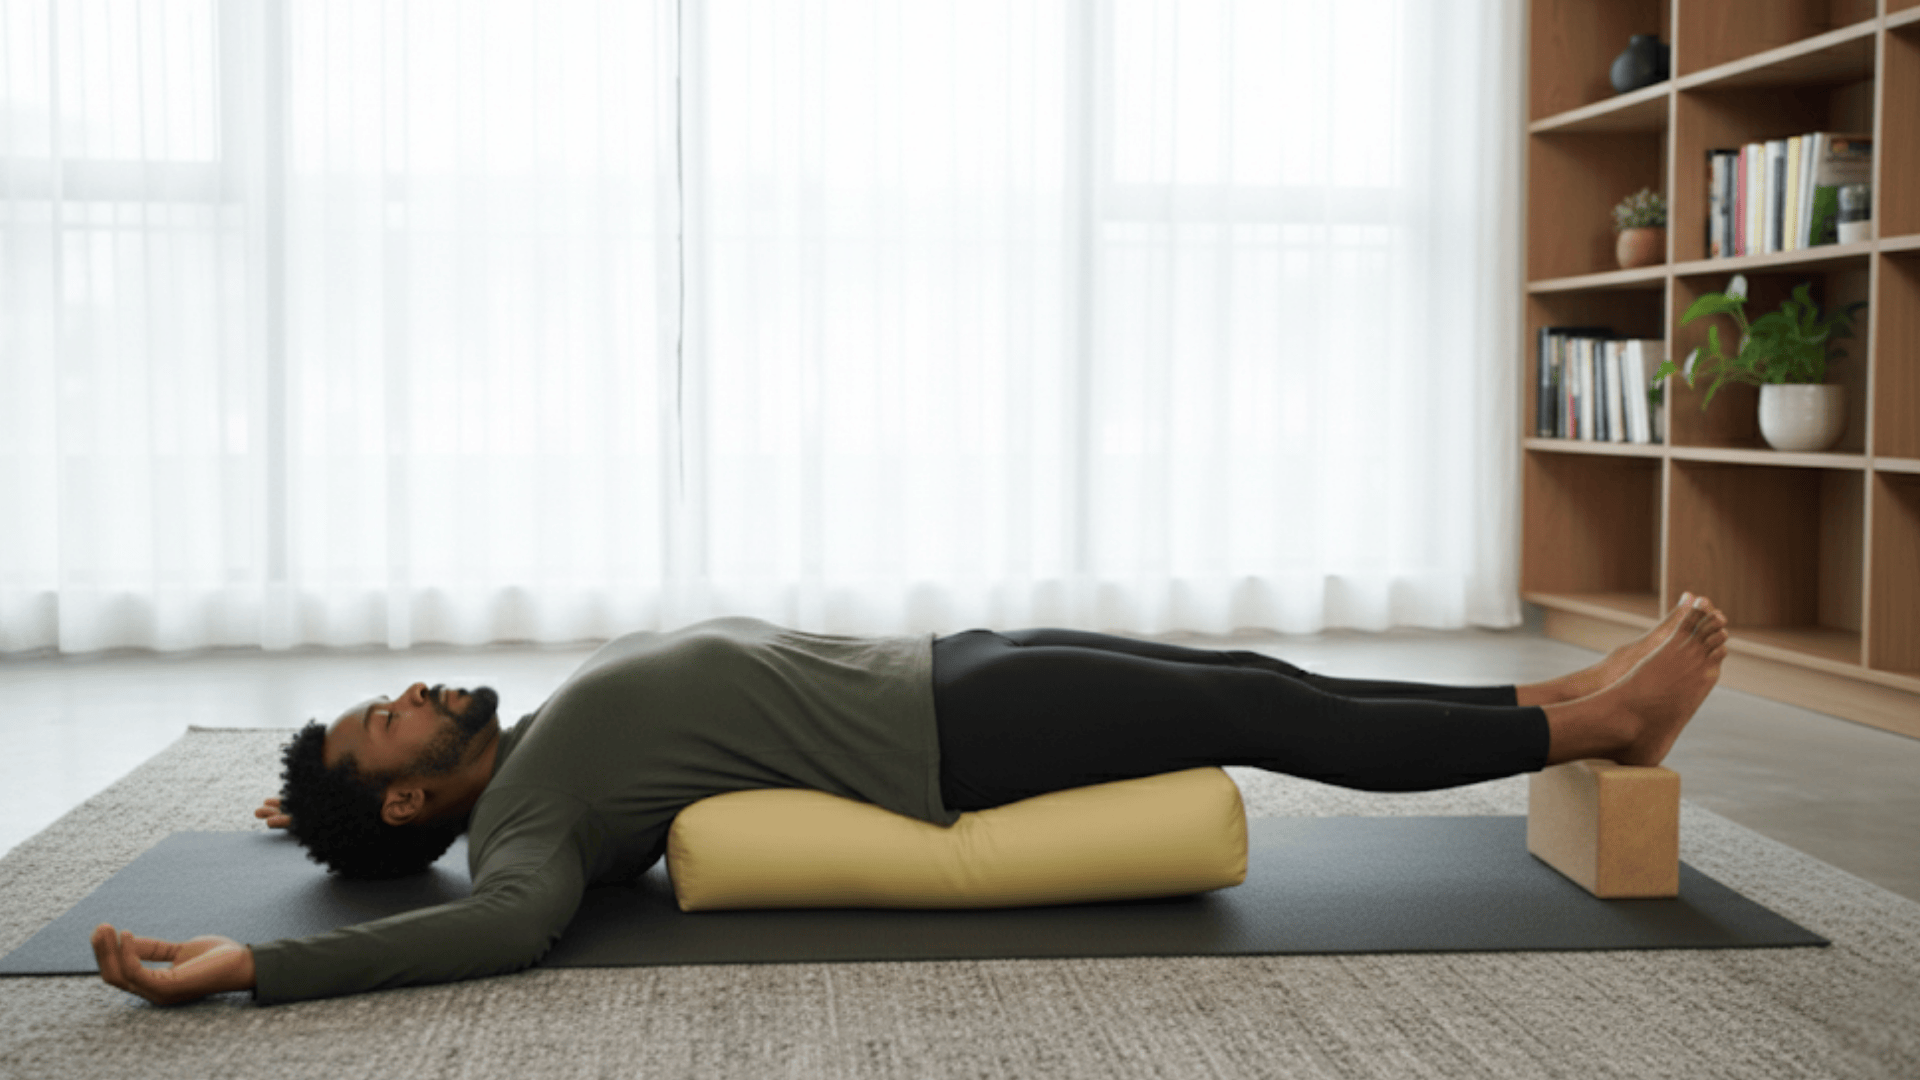
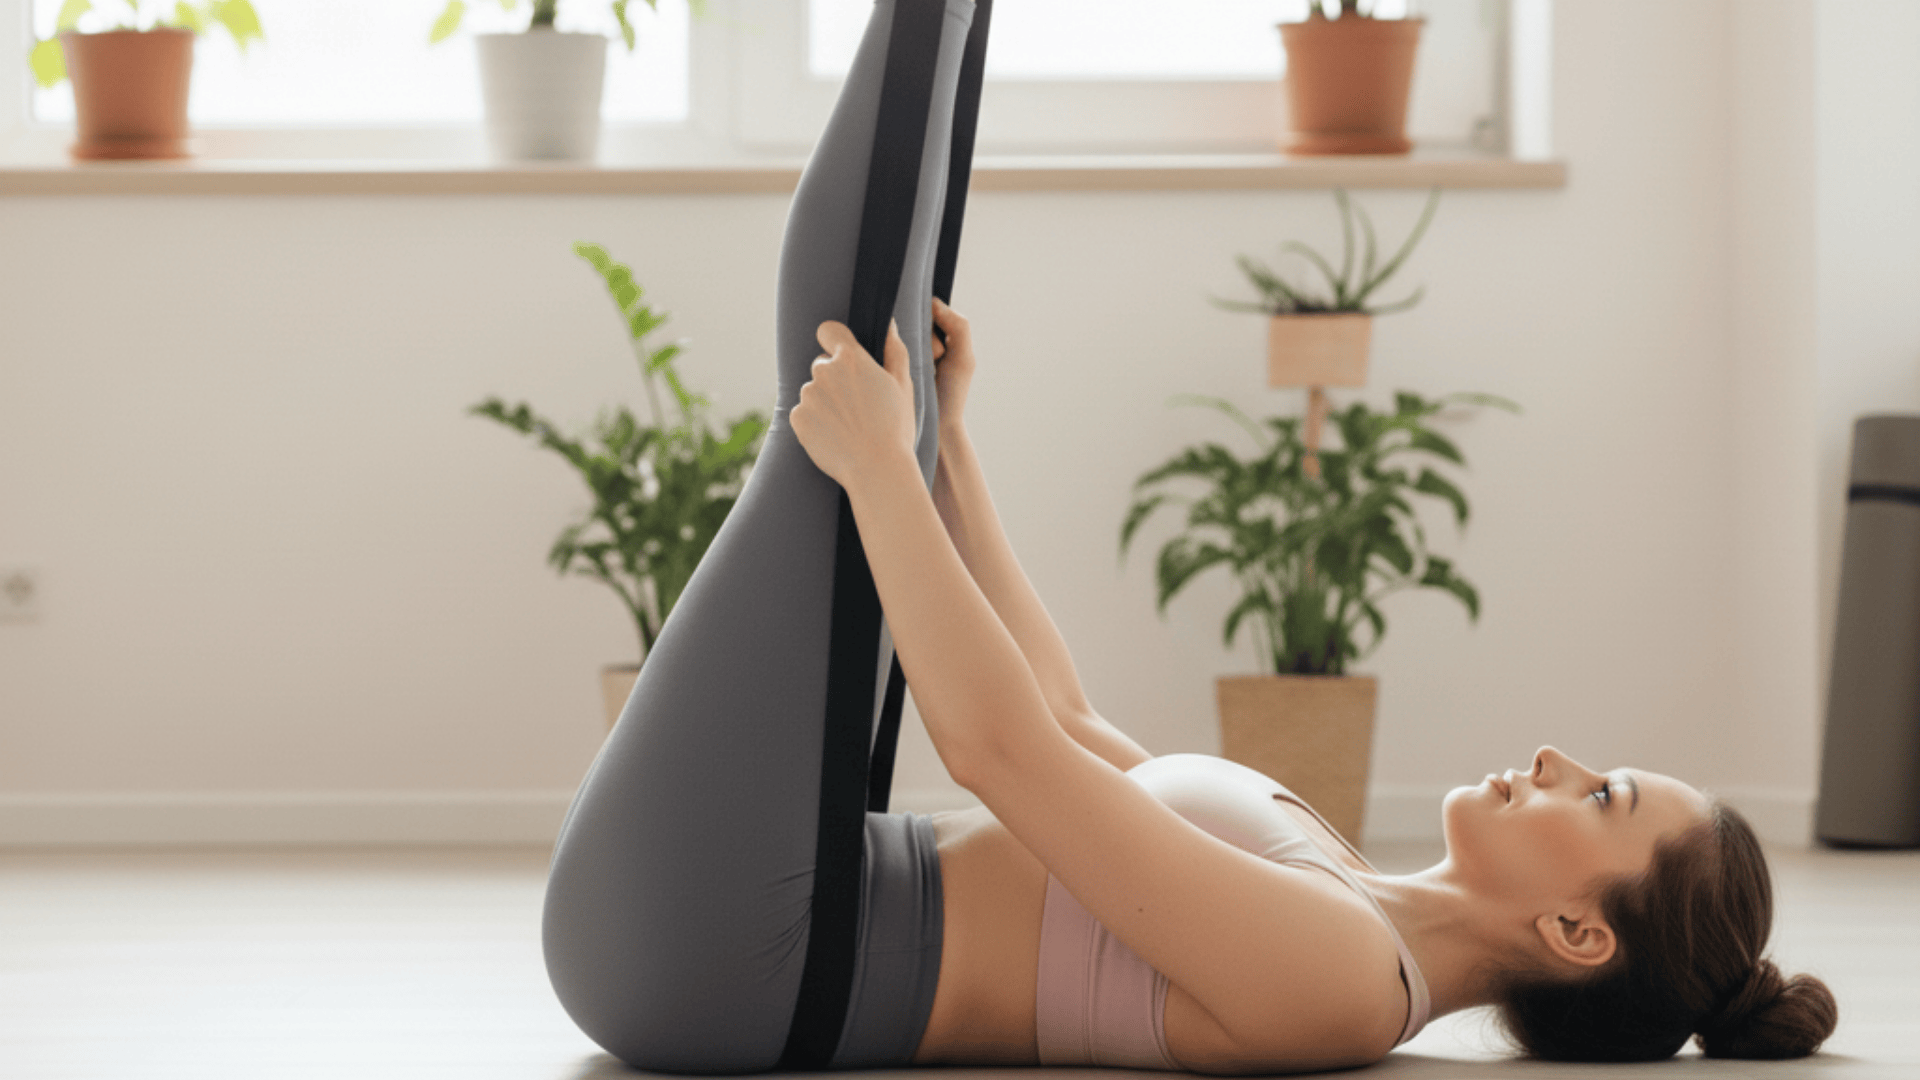
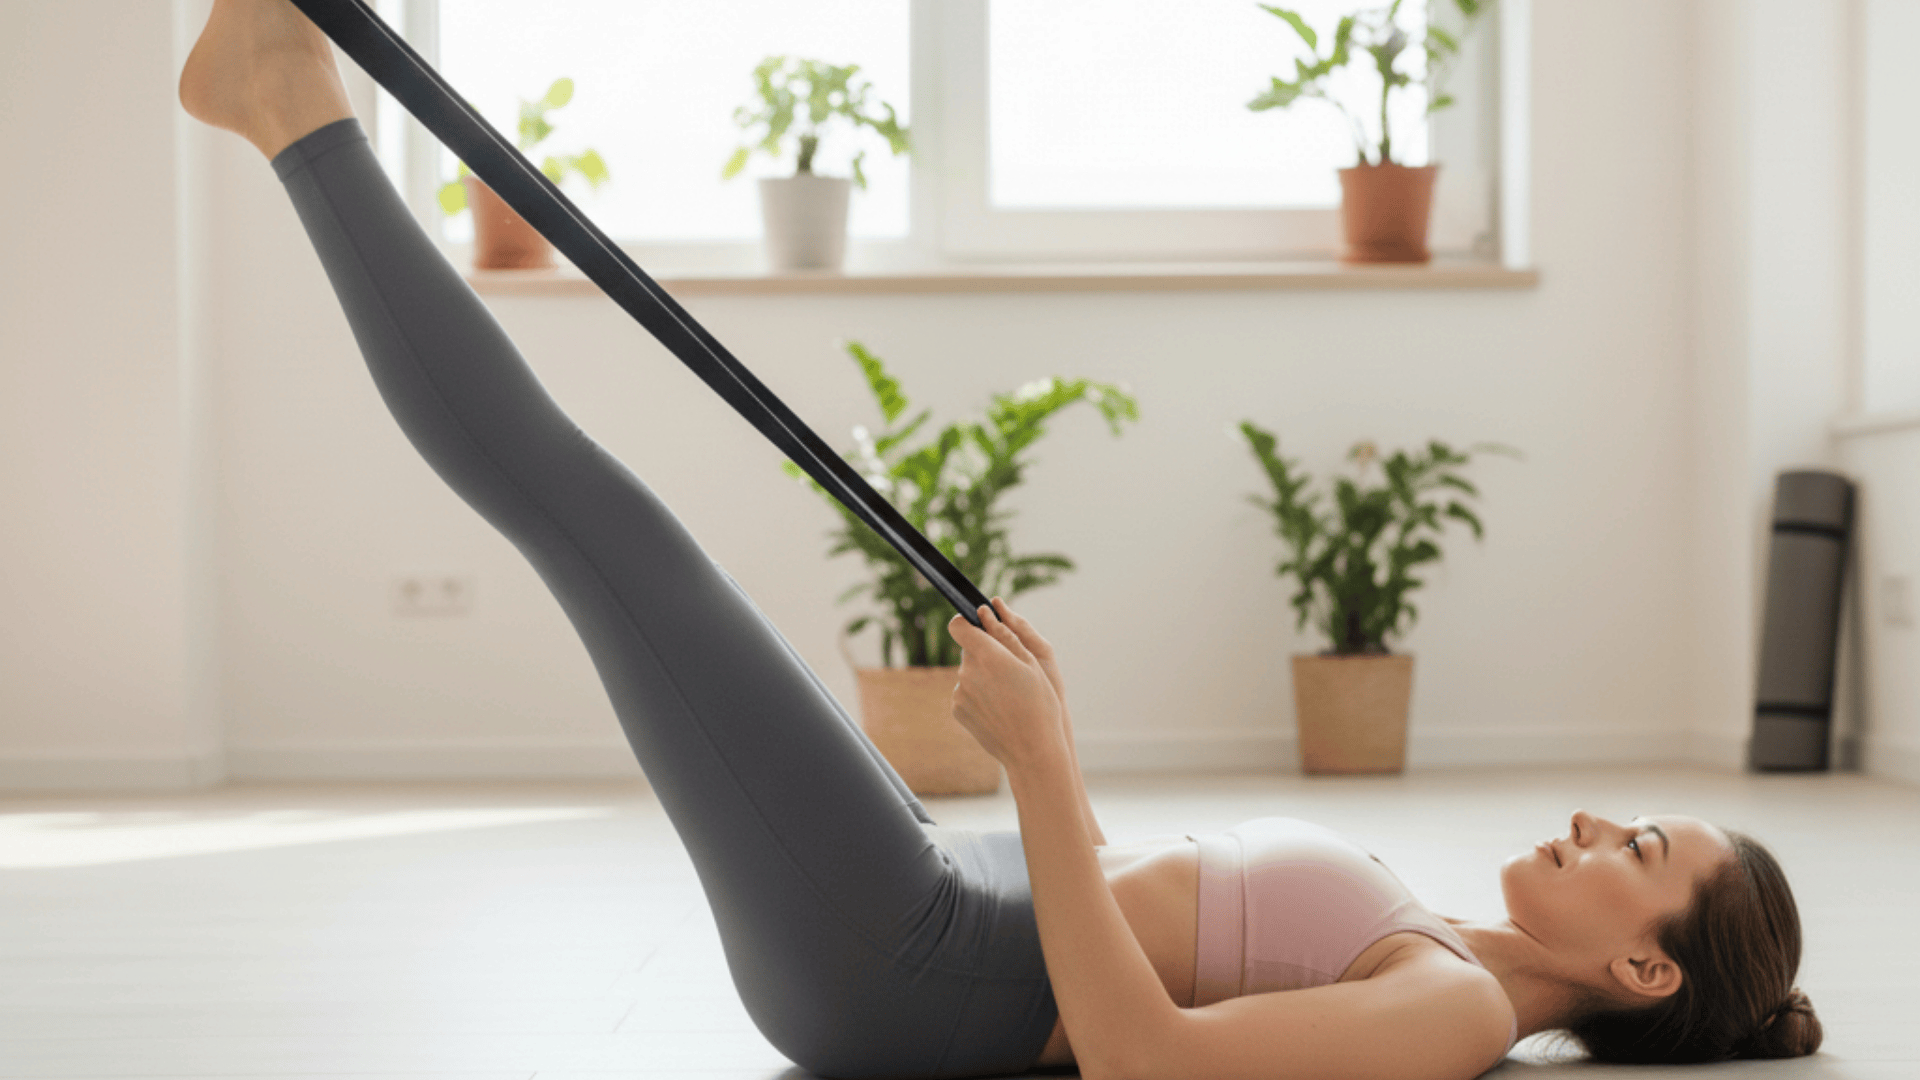
5. Reclined Hamstring Stretch
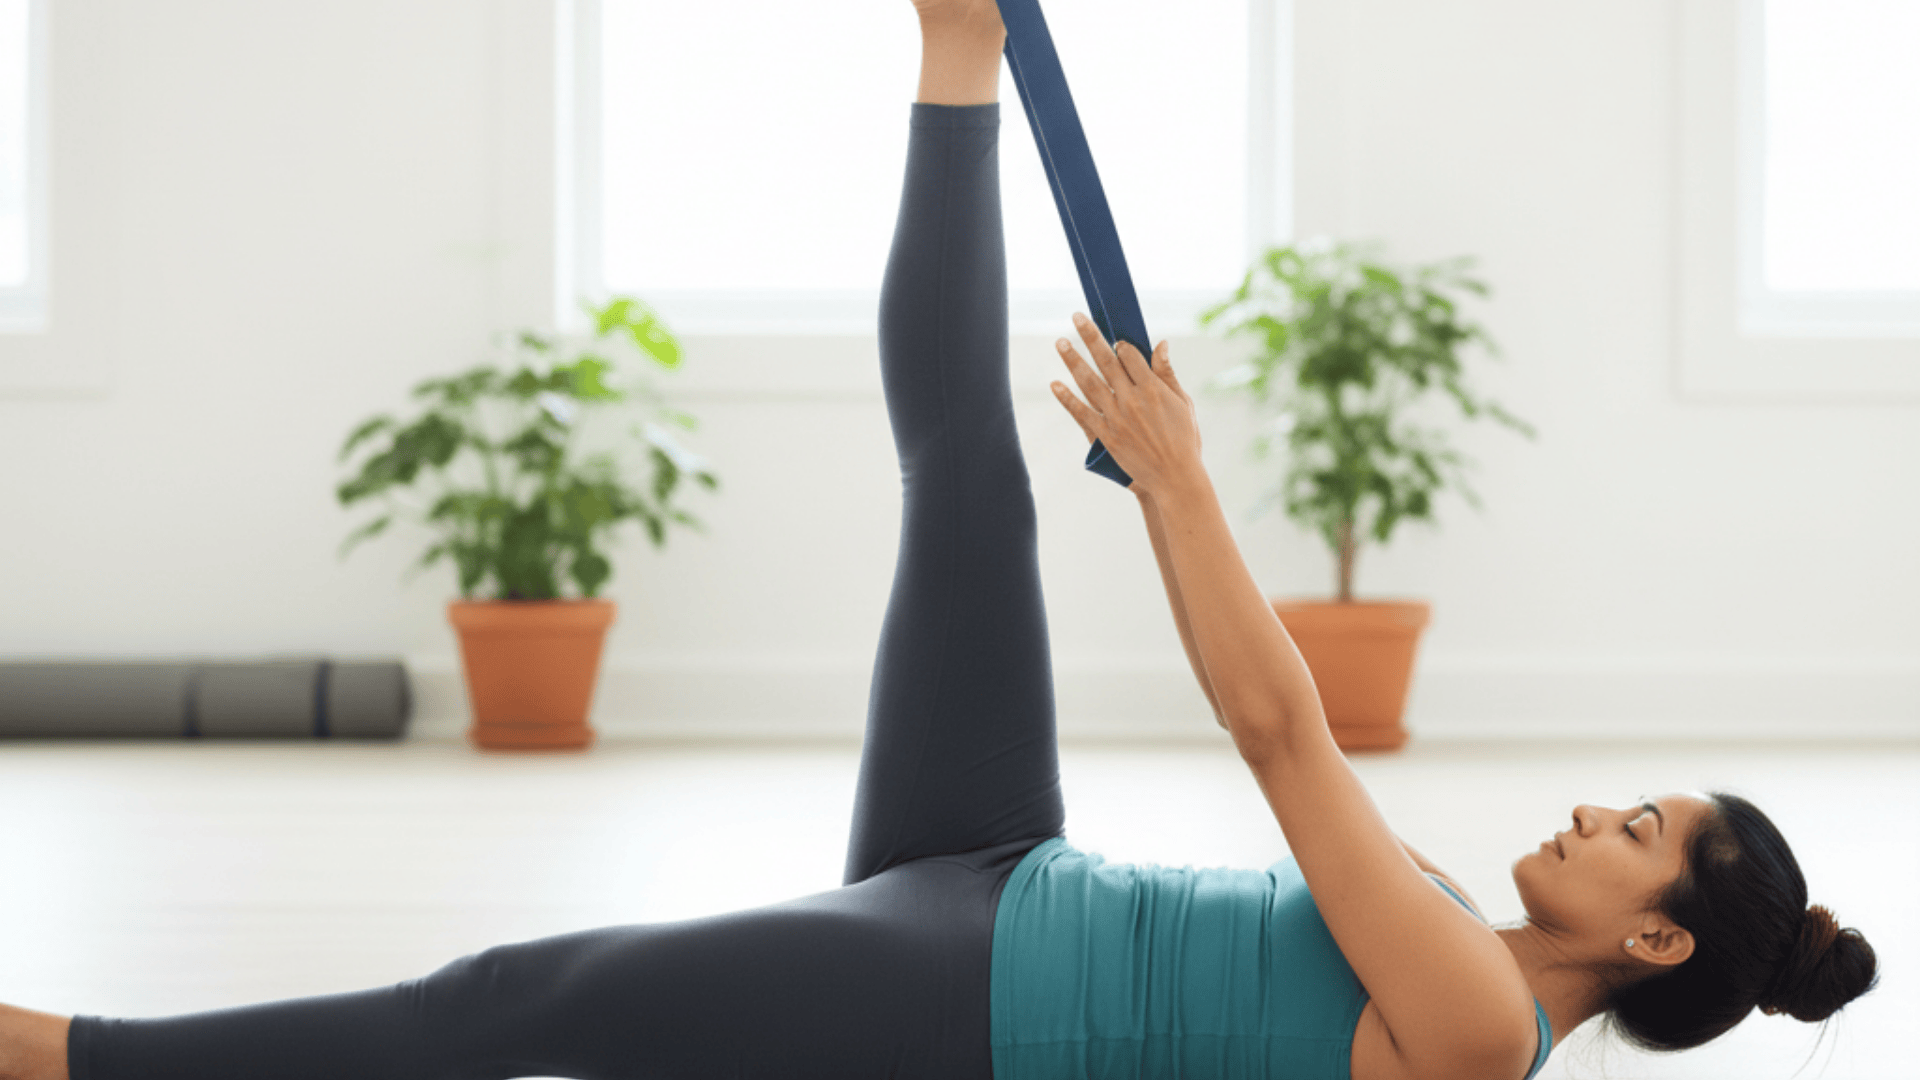
Tight hamstrings are a common issue among beginners and can lead to lower back pain. This gentle version lets you stretch safely while lying down.
The strap eliminates the need to force your leg higher than it wants to go. You’ll see improved flexibility in just a few weeks of regular practice.
Step-by-Step Instructions:
- Lie on your back with both legs extended
- Loop the strap around the arch of your right foot
- Hold both ends of the strap with your hands
- Slowly lift your right leg toward the ceiling
- Keep your left leg pressed into the floor, switch legs after 1-2 minutes
6. Seated Forward Fold with Strap
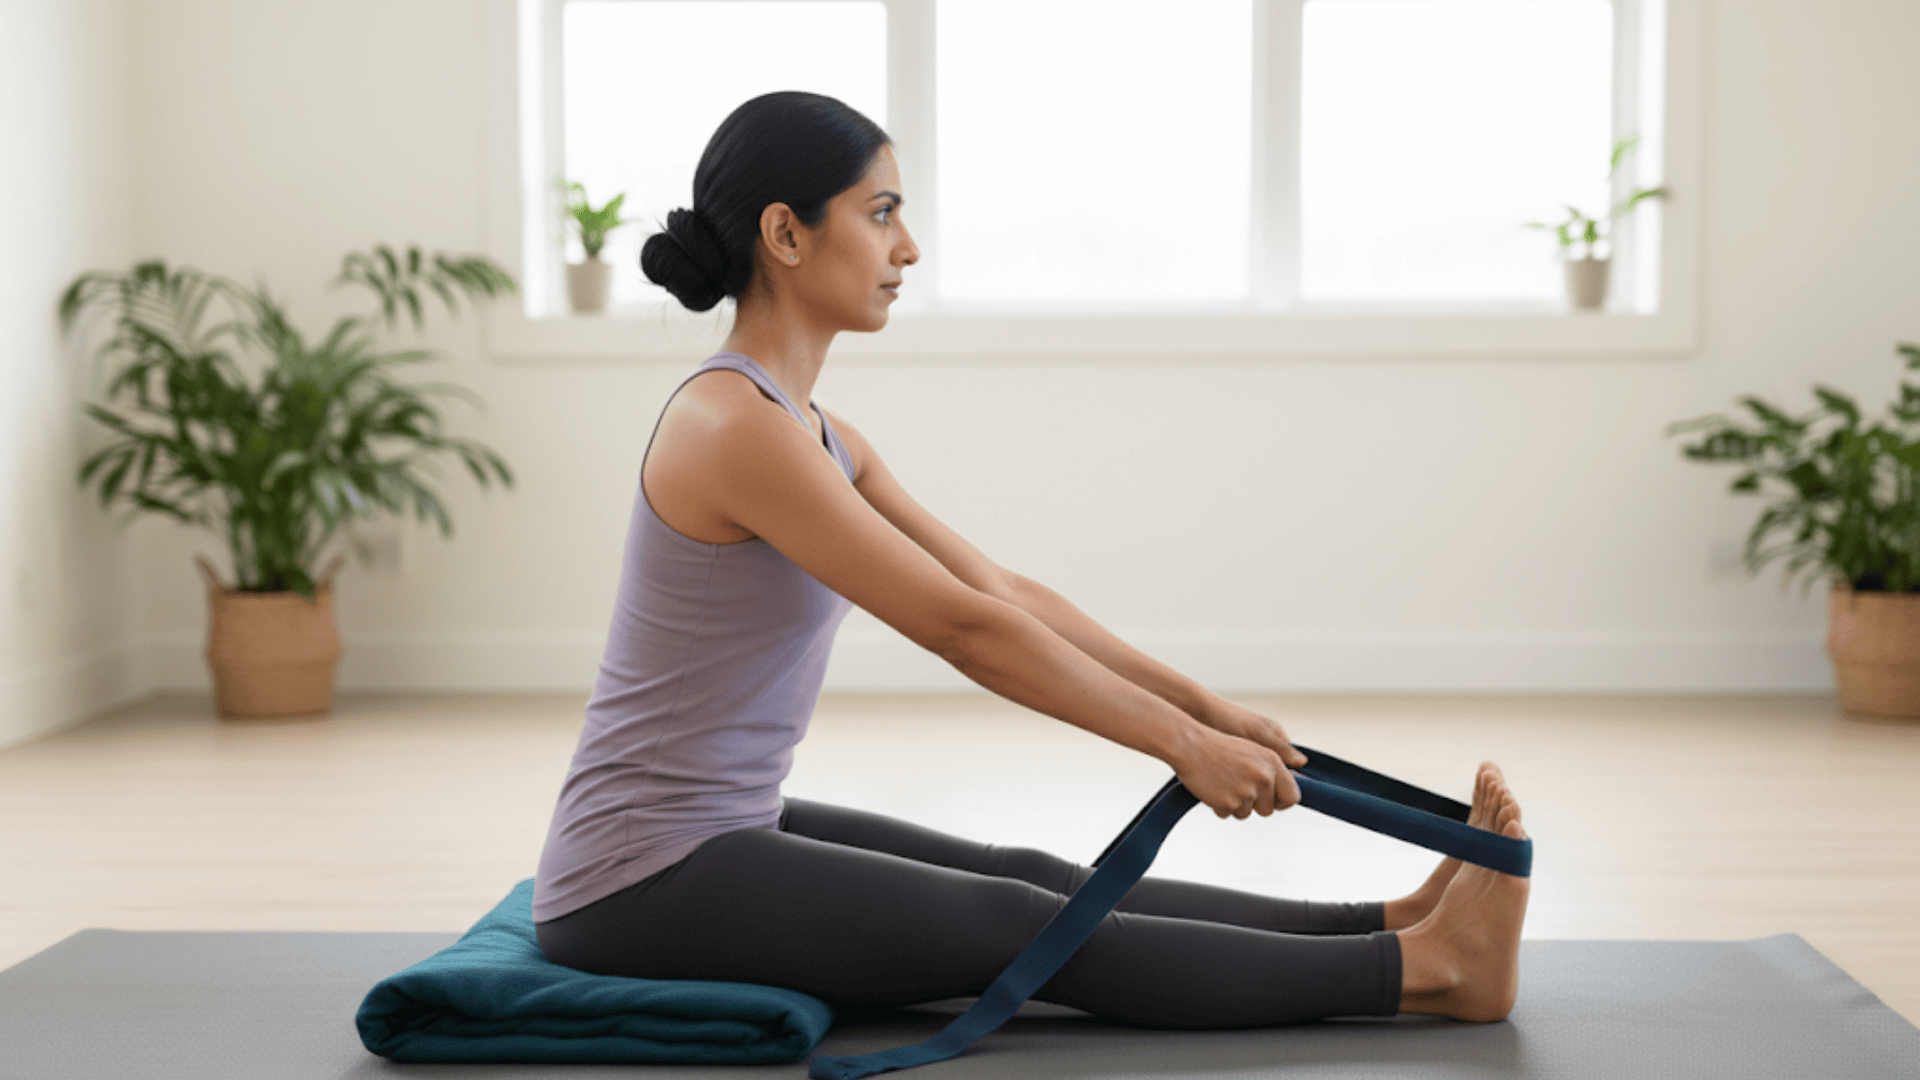
Forward folds can be frustrating when your hamstrings are tight and you can barely reach your shins. The strap bridges that gap, letting you experience the benefits of the pose.
This version protects your lower back from excessive rounding. It’s a gentle way to work toward touching your toes.
Step-by-Step Instructions:
- Sit with legs extended straight in front of you
- Loop the strap around both feet, holding the ends
- Sit up tall, then slowly hinge forward from your hips
- Use the strap to gently pull yourself deeper into the fold
- Keep your spine long and avoid rounding your back
7. Standing Forward Fold with Strap Support
This variation makes the classic forward fold accessible when your hands don’t reach the floor. The strap provides something to hold onto while gravity helps lengthen your spine.
It’s great for stretching your entire back. You’ll feel tension release from your neck down to your calves.
Step-by-Step Instructions:
- Stand with feet hip-width apart, fold the strap in half
- Hold the folded strap and slowly hinge forward from your hips
- Let the strap hang down as you fold, creating gentle traction
- Allow your arms to be heavy, letting the strap support their weight
- Stay folded for 30 seconds to 1 minute, breathing slowly
8. Wide-Leg Forward Fold with Strap
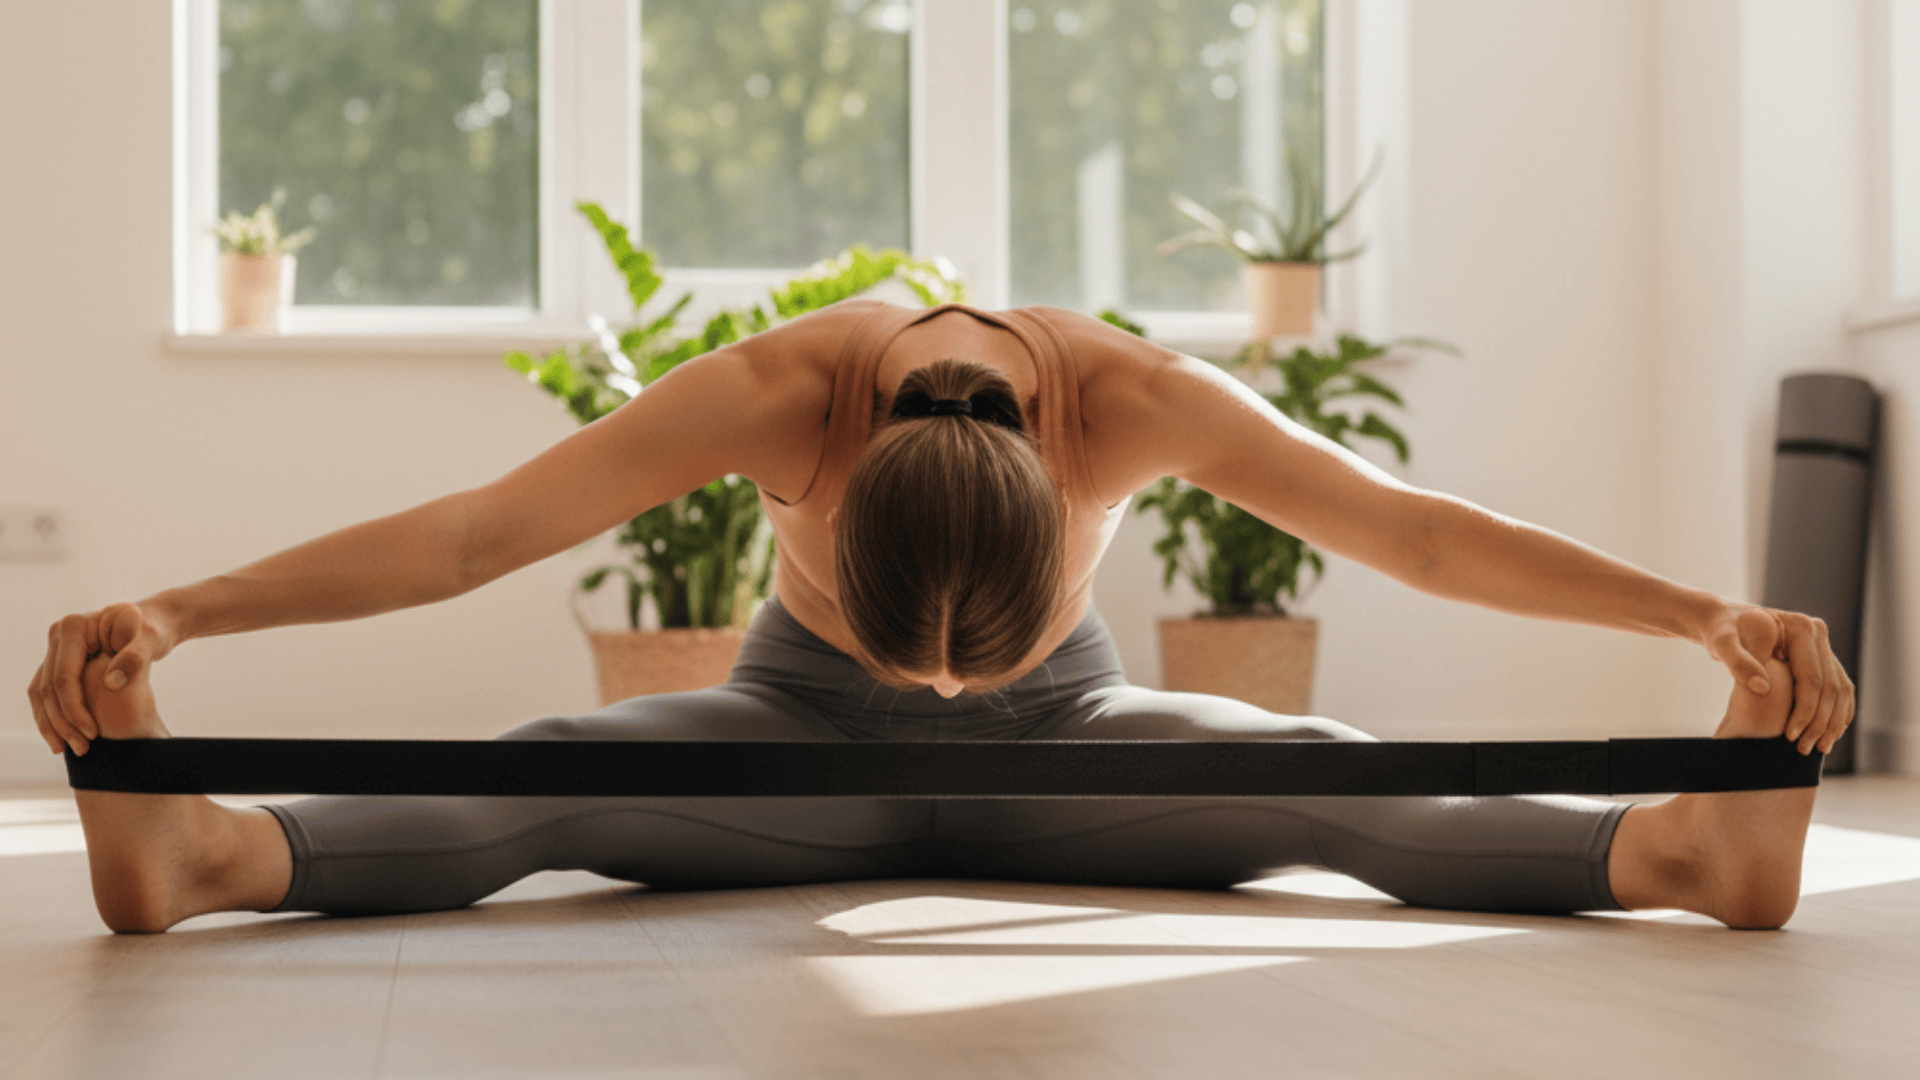
Wide-legged poses can be challenging when your inner thighs are tight. This strap variation helps you fold forward safely while opening your hips.
It stretches your hamstrings, calves, and inner thigh muscles simultaneously. The pose also has a calming effect on your nervous system.
Step-by-Step Instructions:
- Sit with legs spread wide in a V-shape
- Loop the strap around both feet, holding the ends firmly
- Sit up tall, then slowly walk your hands down the strap
- Keep your spine straight as you fold forward
- Stop when you feel a good stretch, don’t force the movement
9. Seated Bound Angle Pose (Baddha Konasana with Strap)
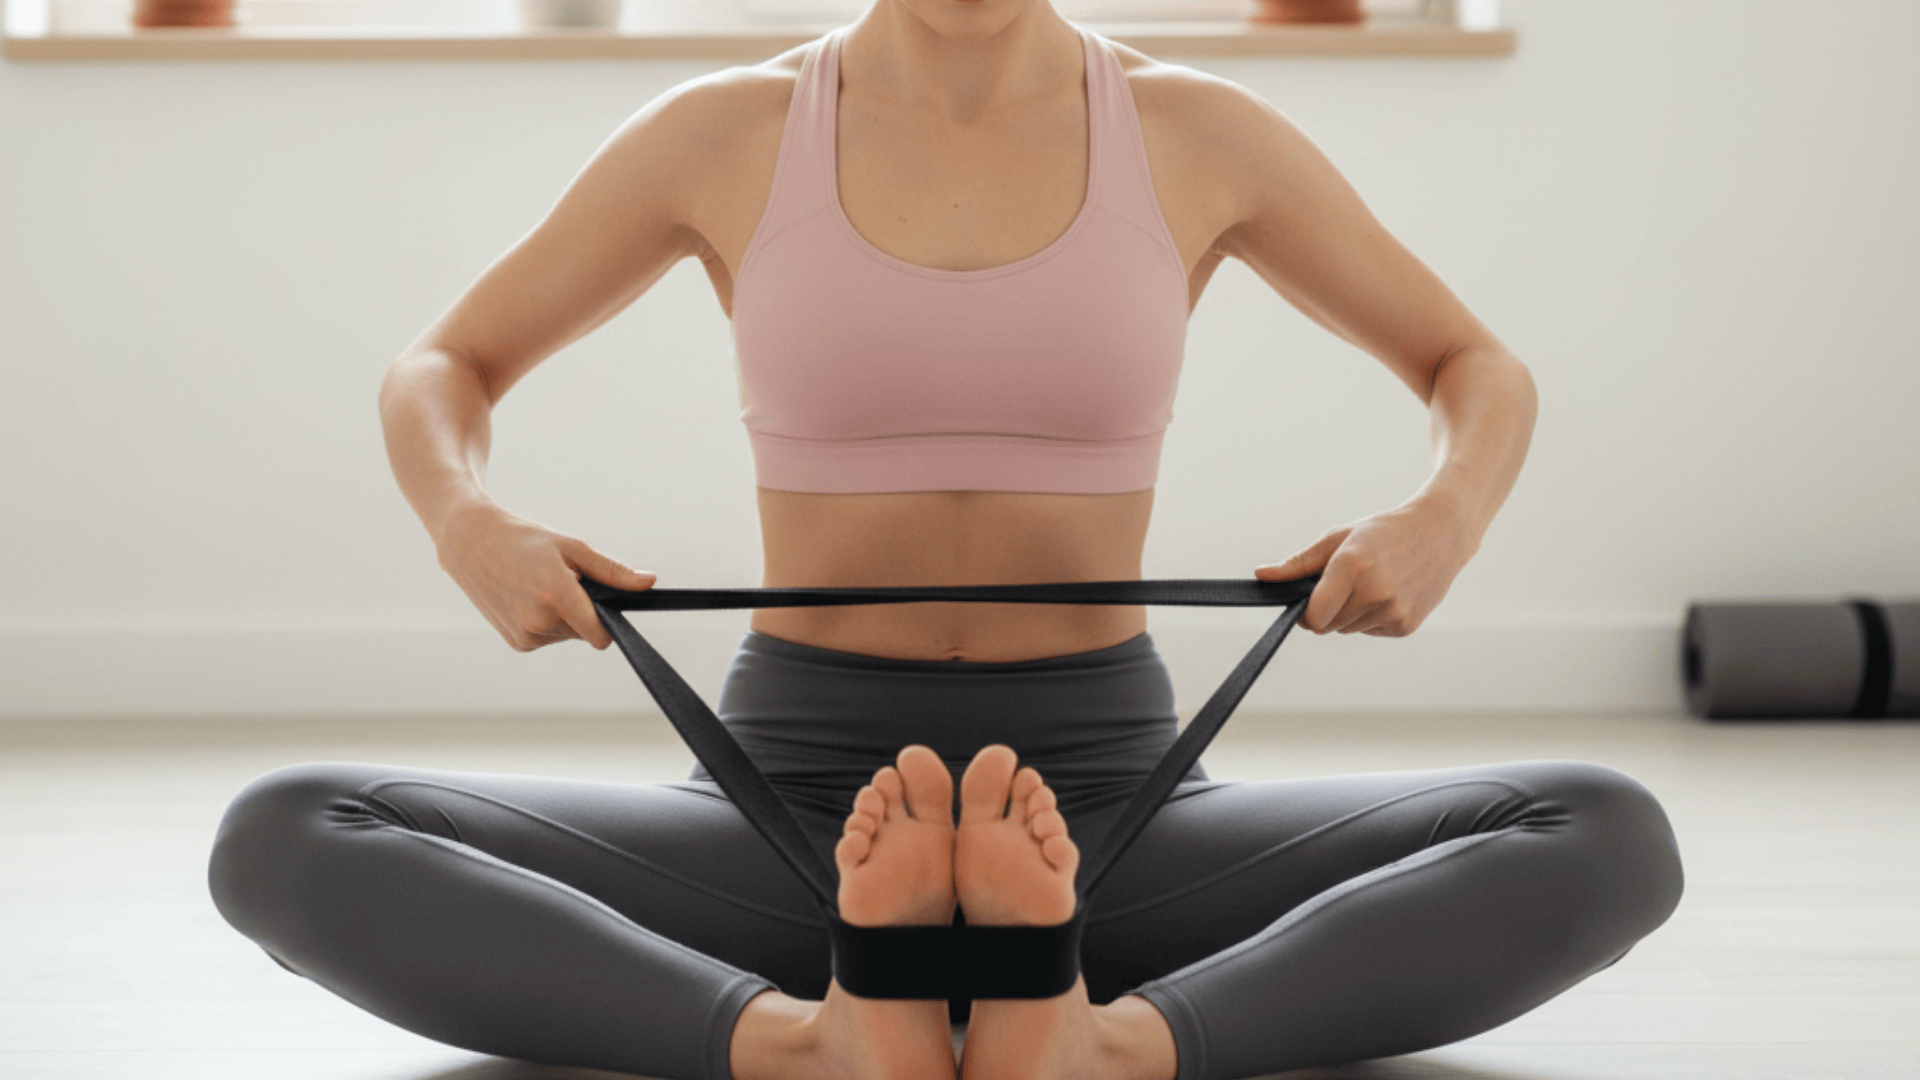
Hip flexibility doesn’t come naturally to everyone, especially those who spend their days sitting at a desk.
This strap version makes the classic butterfly pose more comfortable. It helps open tight hip flexors without straining your knees. The gentle forward fold also stretches your lower back.
Step-by-Step Instructions:
- Sit with the soles of your feet together, knees bent out to the sides
- Loop the strap around your sacrum (lower back) and under both feet
- Hold the strap ends and gently pull to help you sit taller
- Use the strap’s support to slowly fold forward
- Keep your spine long and breathe deeply in the stretch
10. Seated Figure Four Stretch with Strap
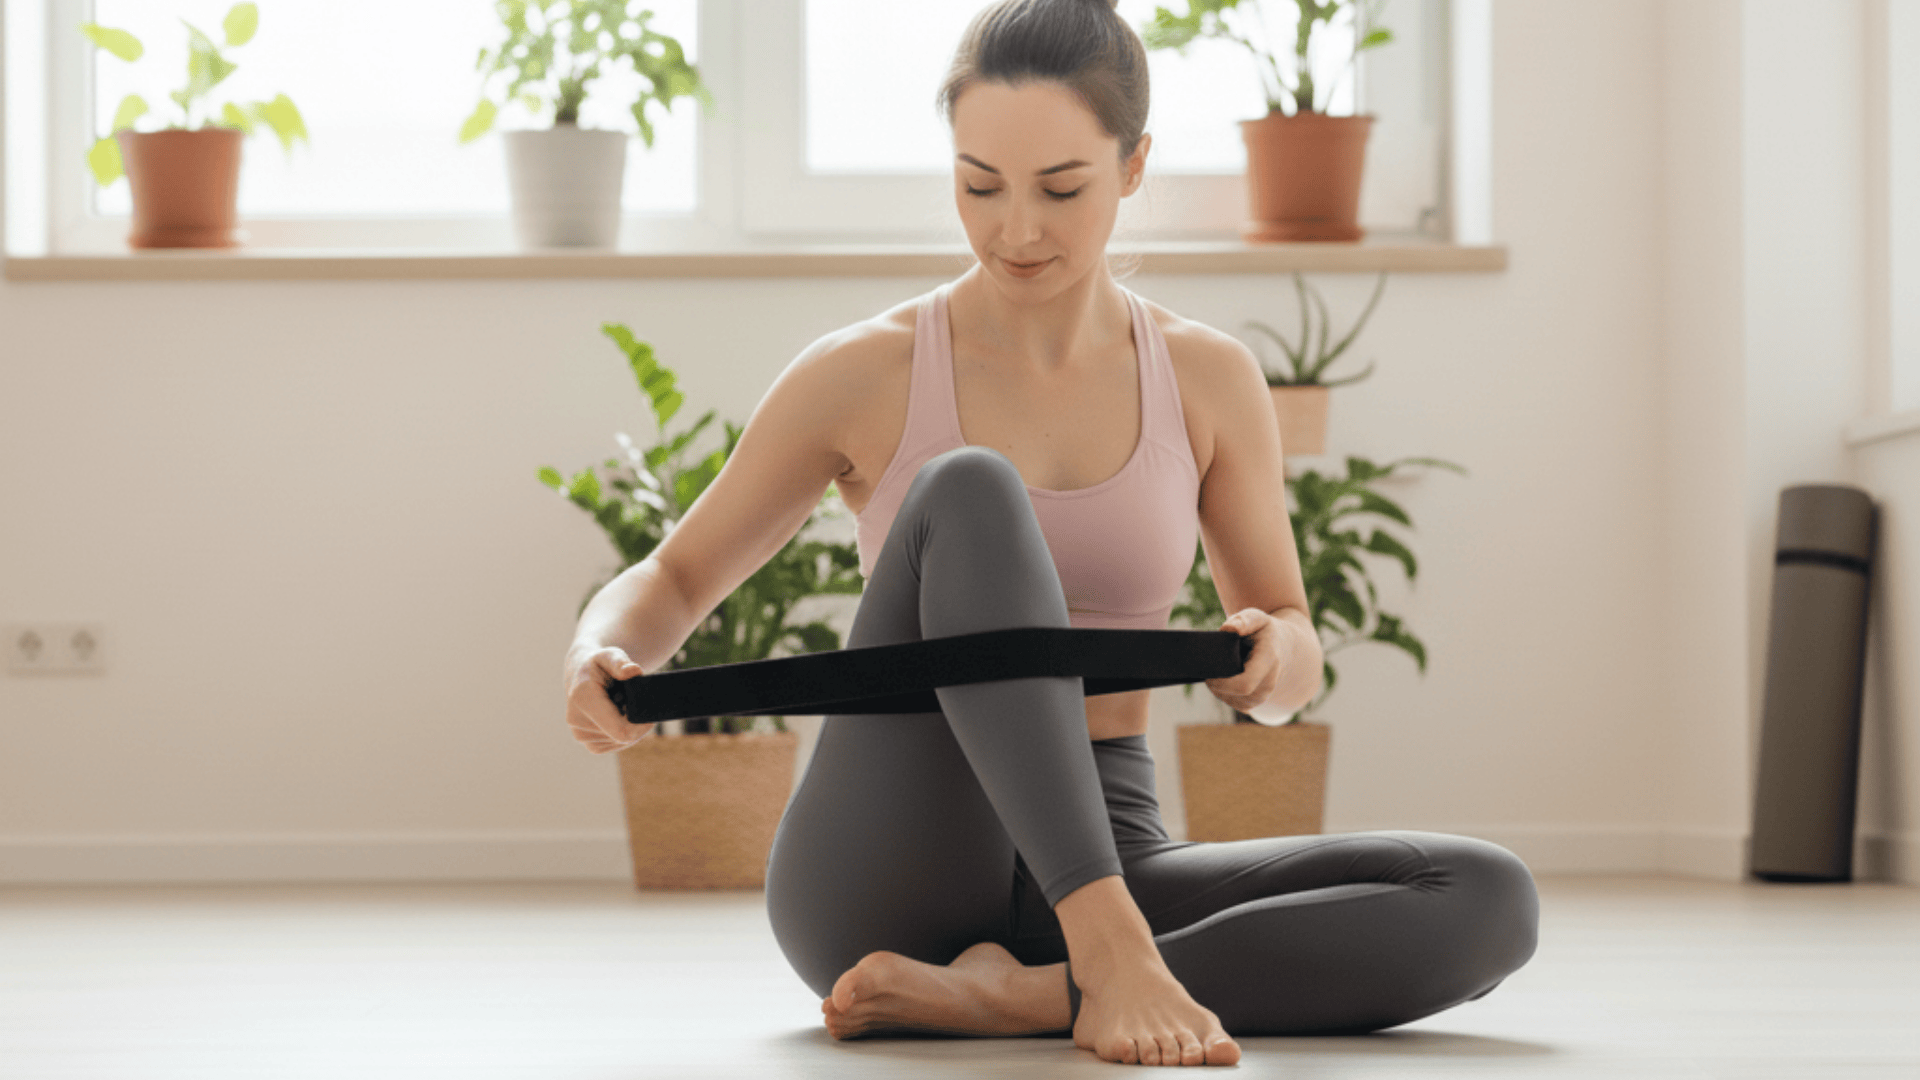
This hip opener targets the piriformis muscle, which often gets tight from sitting. The strap helps you access this deep stretch when your hands can’t reach your leg.
It’s excellent for people who experience hip or lower back tightness. The pose also helps improve circulation in your legs.
Step-by-Step Instructions:
- Sit with your left leg extended, right ankle on your left thigh
- Thread the strap behind your left thigh, holding both ends
- Gently pull your left leg toward your chest using the strap
- Keep your right foot flexed to protect your knee
- Switch legs after holding for 1-2 minutes
11. Supine Pigeon Pose with Strap

Traditional pigeon pose can be intense for beginners, but this lying-down version is much gentler. The strap helps you access the hip opening benefits without putting weight on your joints.
It’s perfect for people with knee issues who still want to stretch their hips. This pose is also very relaxing and calming.
Step-by-Step Instructions:
- Lie on your back with both knees bent, feet on the floor
- Place your right ankle on your left thigh, just above the knee
- Thread the strap behind your left thigh and hold both ends
- Gently pull your left leg toward your chest
- Keep your head and shoulders relaxed on the floor
12. Half Happy Baby with Strap
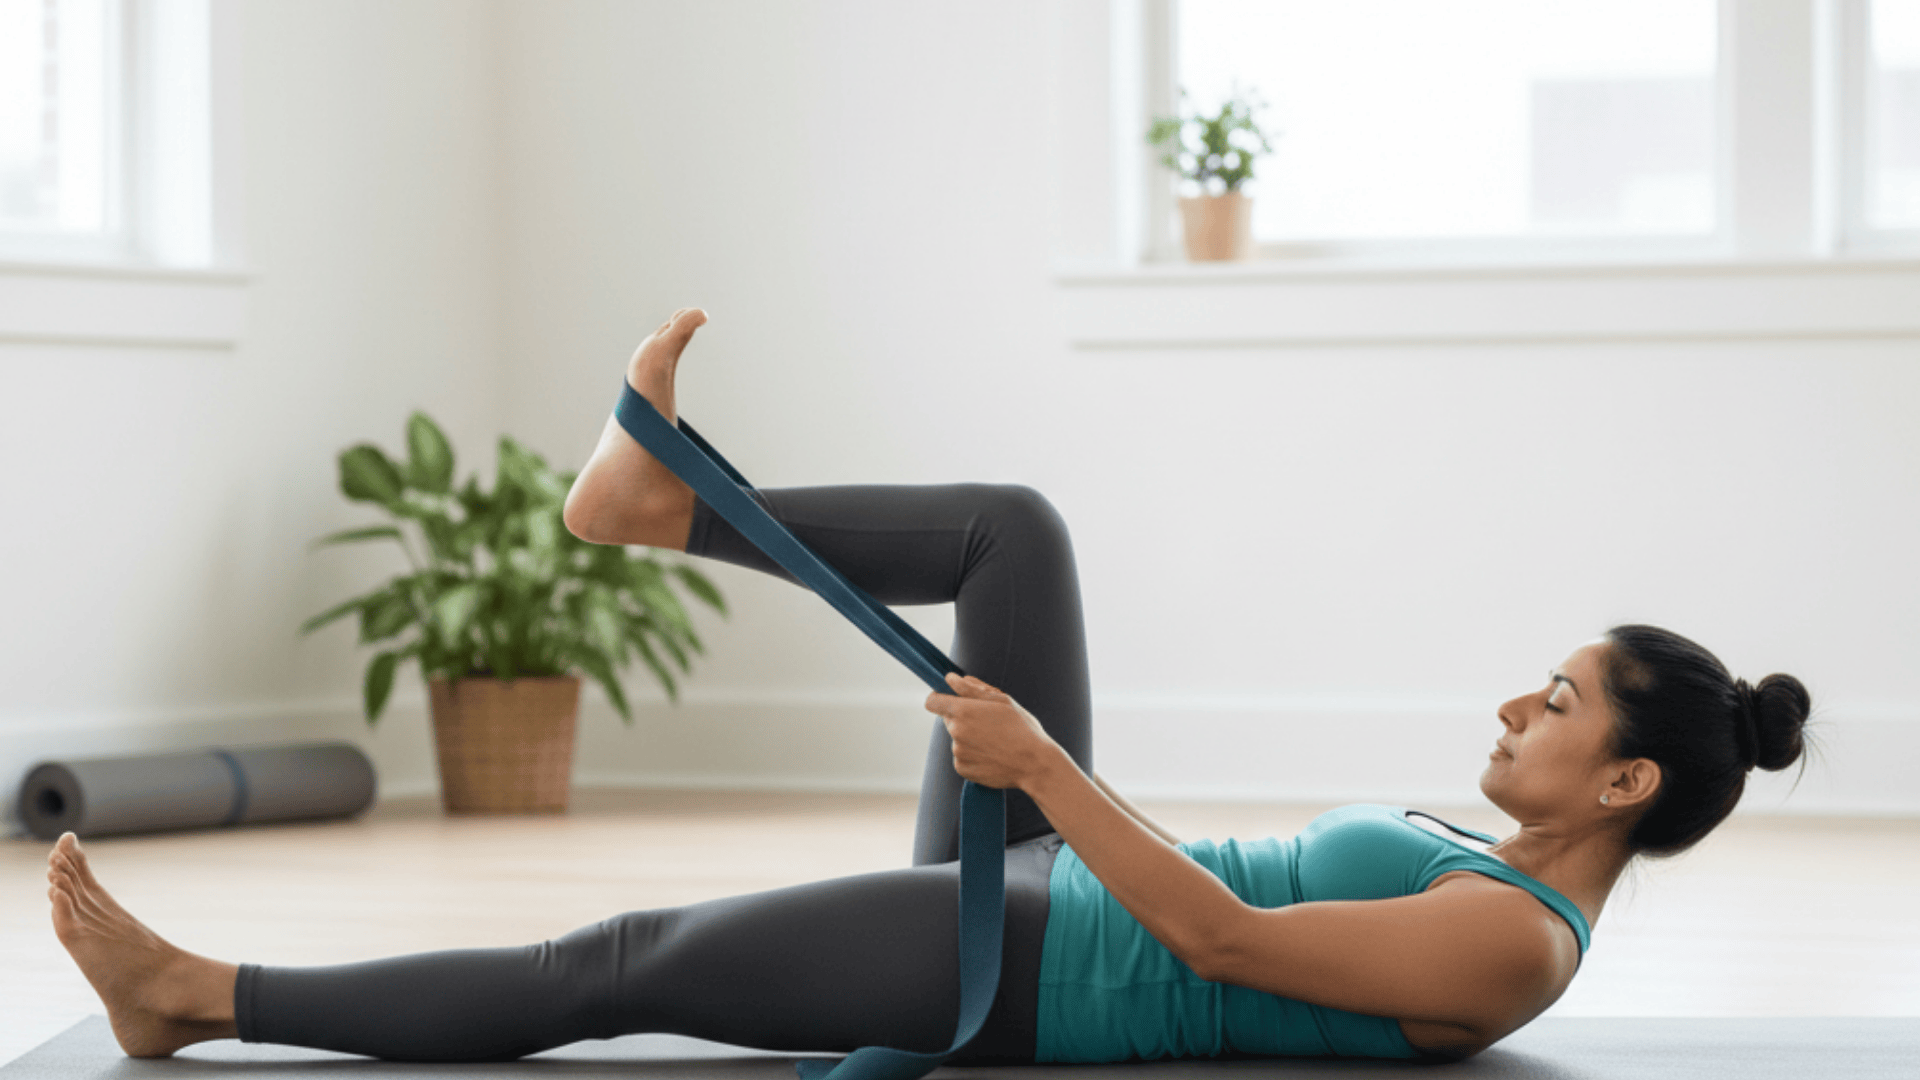
Happy baby pose is playful and effective, but it requires significant flexibility to grab your feet. The strap makes this pose accessible while providing the same benefits for the hips and spine.
It’s great for releasing tension in your lower back. The pose also helps calm your mind and reduce stress.
Step-by-Step Instructions:
- Lie on your back and bring your right knee toward your chest
- Loop the strap around the arch of your right foot
- Hold both ends of the strap with your hands
- Gently pull your knee toward your armpit
- Keep your left leg extended on the floor, then switch sides
13. Reclined Leg Stretch to the Side
This stretch targets the often-neglected outer hip and IT band muscles. Many people carry tension in these areas without realizing it.
The strap helps you control the intensity of the stretch. It’s particularly beneficial for runners and individuals who engage in a lot of walking.
Step-by-Step Instructions:
- Lie on your back with the strap around your right foot
- Extend your right leg toward the ceiling
- Slowly lower your right leg out to the side, using the strap for control
- Keep your left hip grounded and your shoulders on the floor
- Hold for 1-2 minutes, then switch to your left leg
14. Reclined Leg Stretch Across the Body (IT Band Release)
The IT band, located along the outside of your thigh, can become very tight from daily activities. This cross-body stretch helps release that tension safely.
The strap gives you control over how deep you go. You’ll likely feel this stretch all the way from your hip to your knee.
Step-by-Step Instructions:
- Start with the strap around your right foot, leg extended up
- Keep your right shoulder pressed into the floor
- Slowly bring your right leg across your body toward the left
- Use the strap to control the movement and depth
- Feel the stretch along the outside of your right leg and hip
15. Supported Boat Pose with Strap
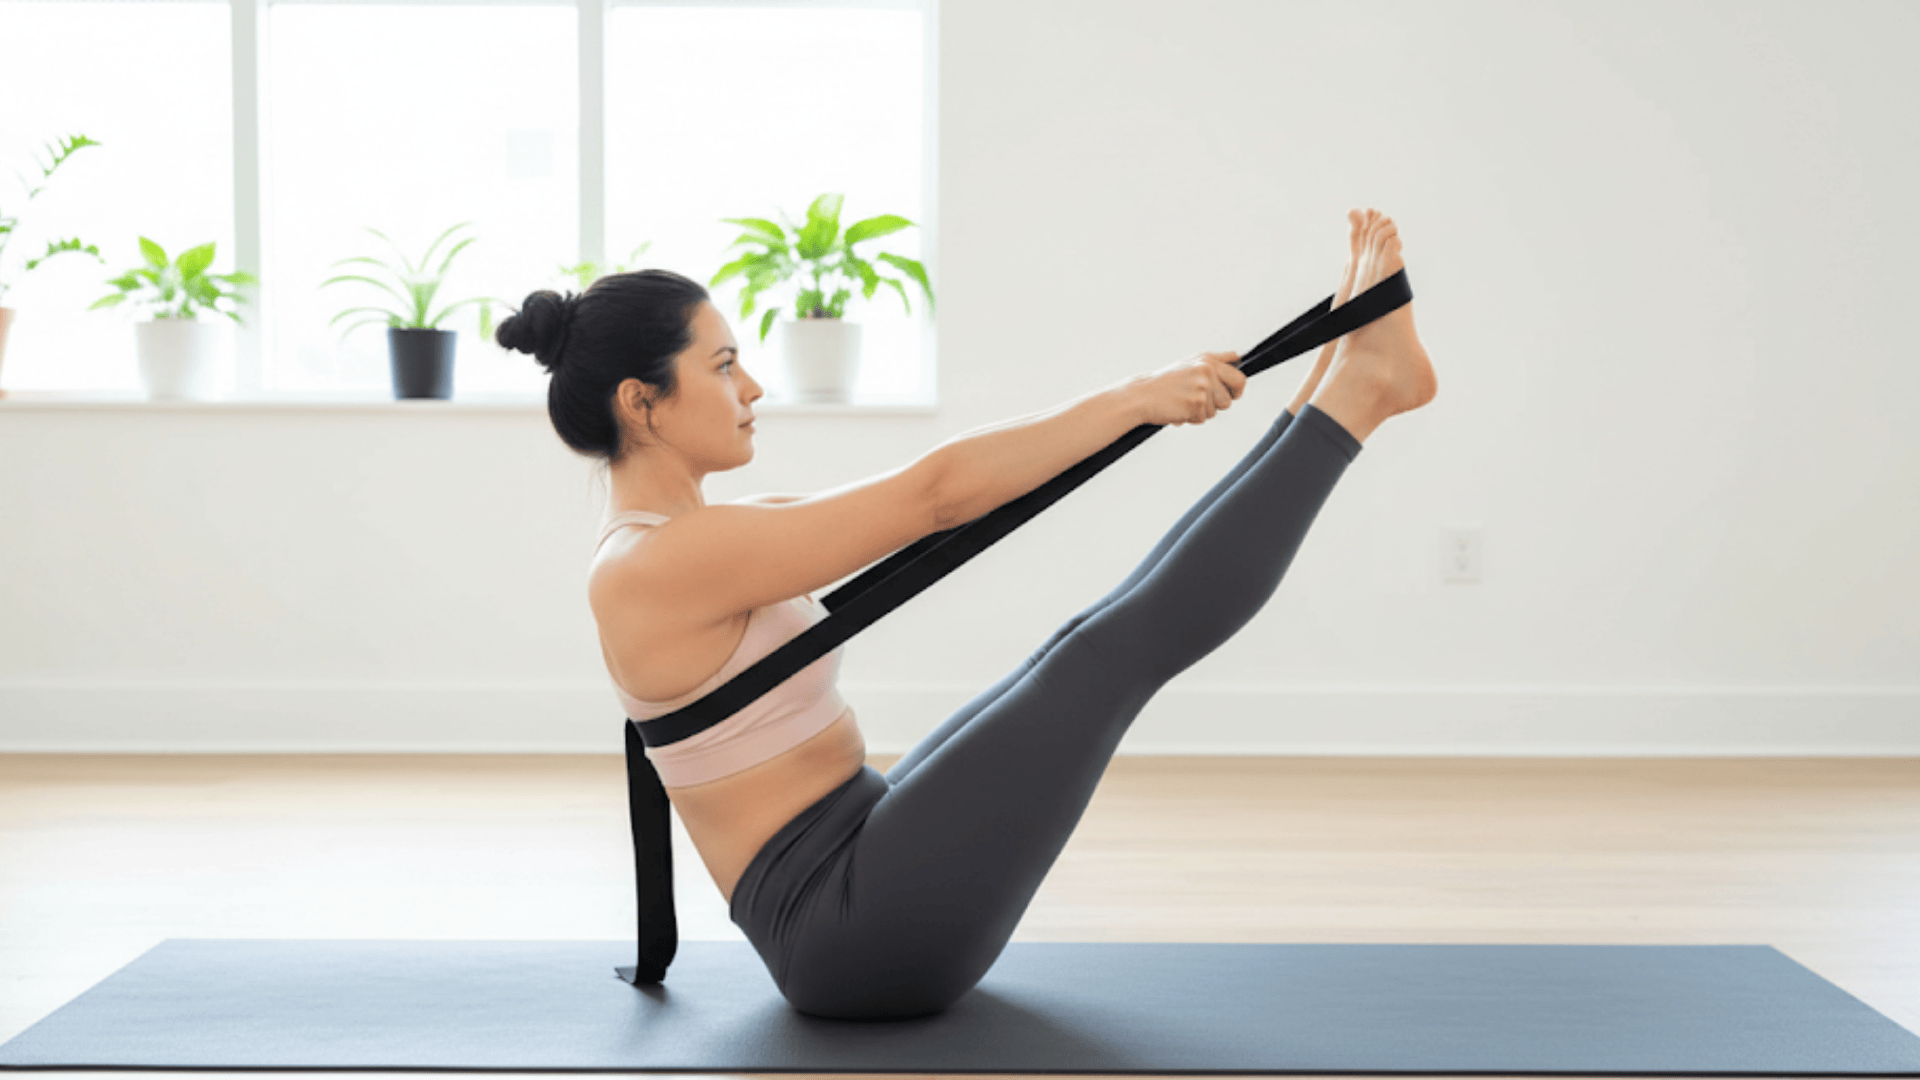
The boat pose builds core strength but can be difficult when your hip flexors are tight. The strap helps support your legs, allowing you to focus on your core muscles.
This modification makes the pose accessible for beginners. You’ll still get all the strengthening benefits without the struggle.
Step-by-Step Instructions:
- Sit with knees bent, feet flat on the floor
- Hold the strap behind your thighs, just below your knees
- Lean back slightly and lift your feet off the floor
- Use the strap to help support your legs as you straighten them
- Hold for 15-30 seconds, building up time as you get stronger
16. Dancer Pose (Natarajasana with Strap)
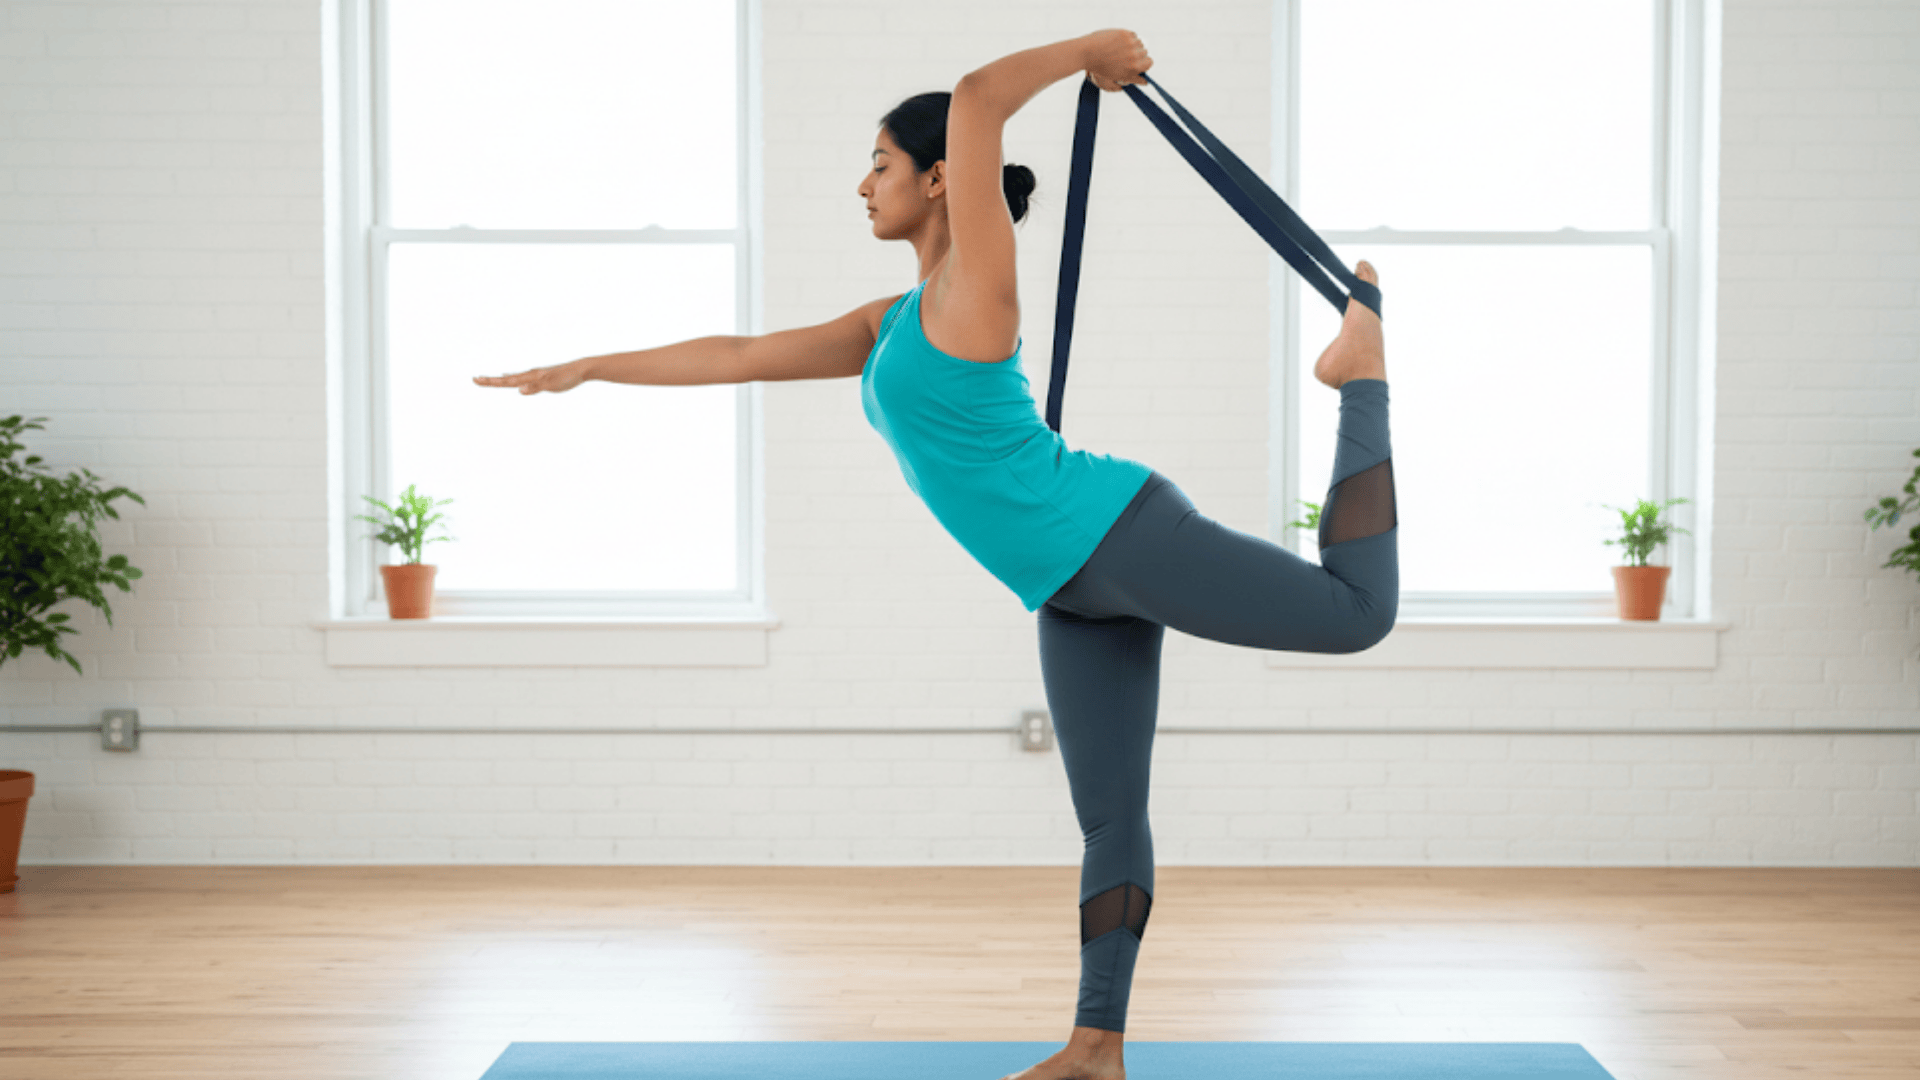
This beautiful balance pose becomes significantly more accessible with the aid of a strap. It opens your chest and stretches your quadriceps while challenging your balance.
The strap prevents you from gripping your foot too tightly. It’s a great way to build confidence in standing balance poses.
Step-by-Step Instructions:
- Stand on your left foot, loop the strap around your right foot
- Hold the strap with your right hand, keeping your left hand on your hip
- Slowly kick your right foot back into the strap
- Reach your left arm forward for balance
- Hold for 15-30 seconds, then switch sides
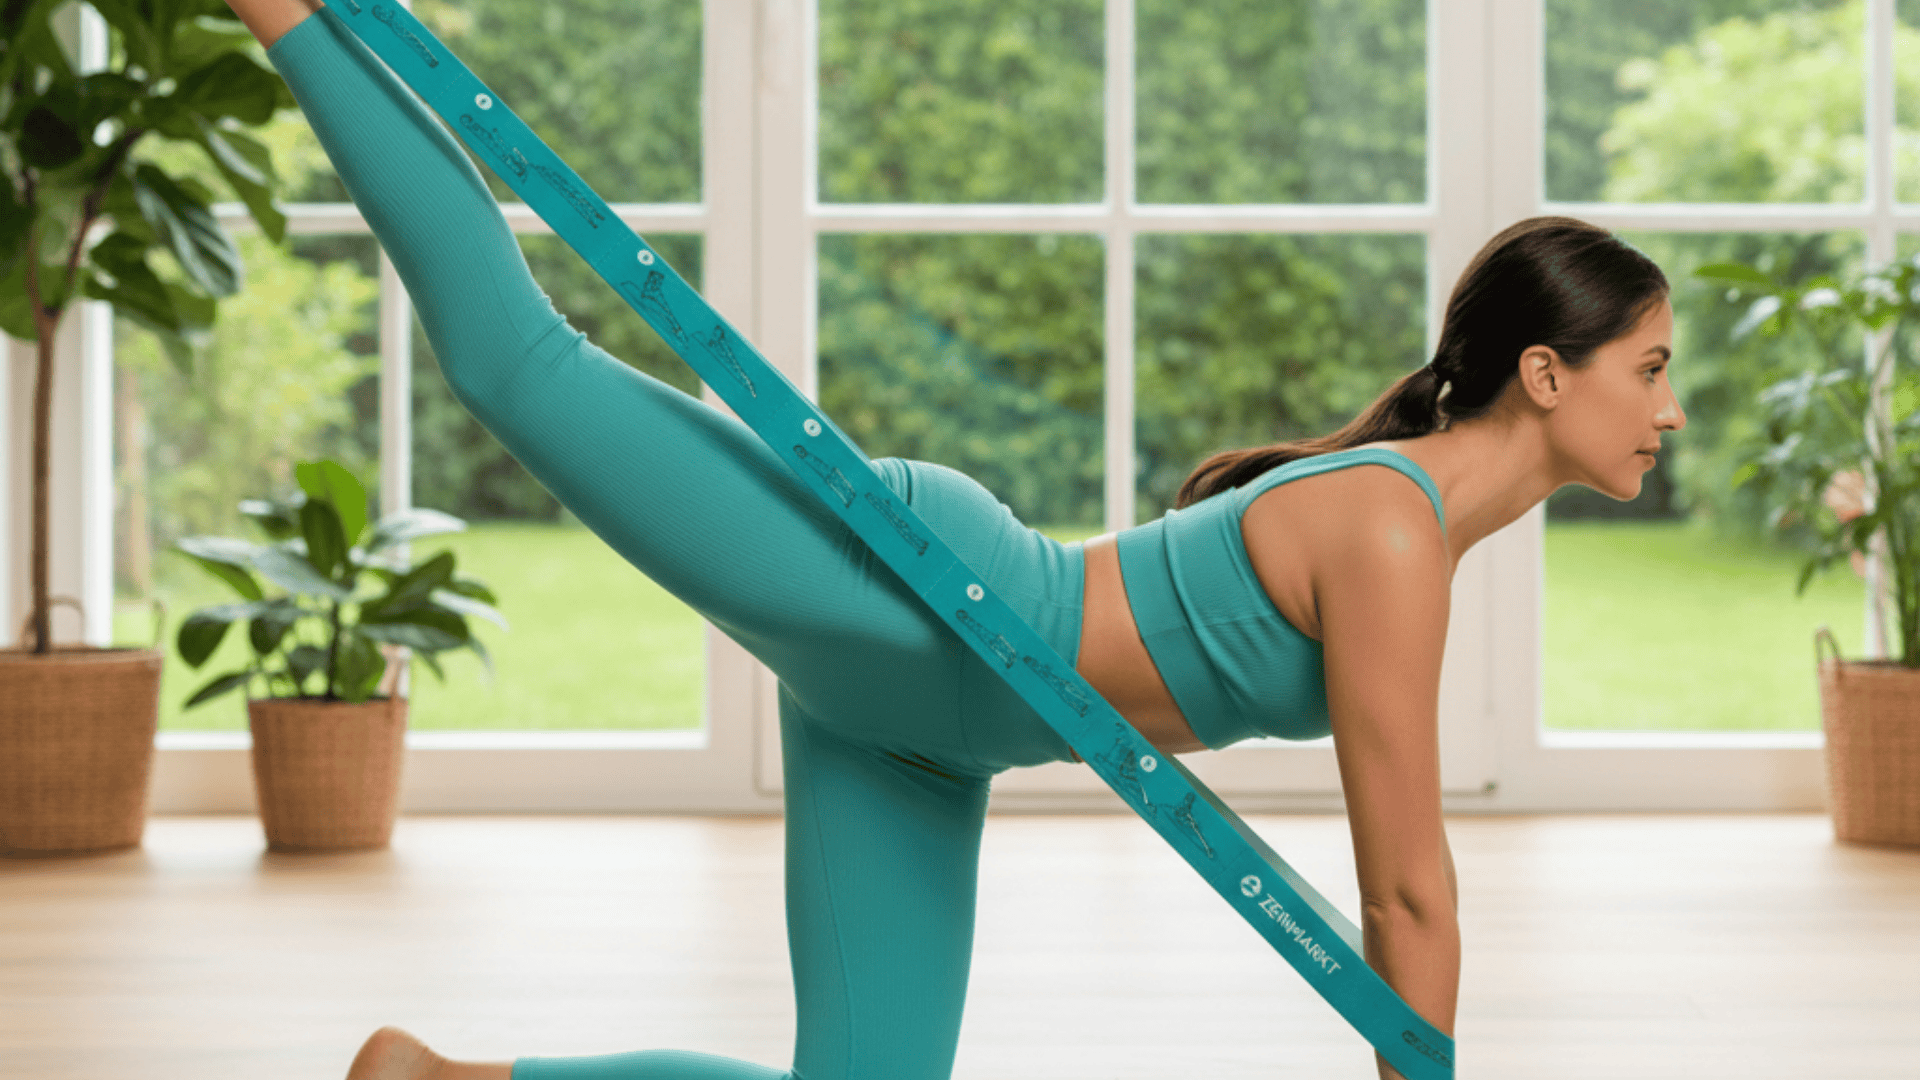
17. King Pigeon Prep with Strap

This advanced backbend preparation is often impossible for most beginners without the aid of a strap. It opens your chest, shoulders, and hip flexors simultaneously.
The strap makes this challenging pose safe and accessible. Regular practice will significantly improve your overall flexibility and posture.
Step-by-Step Instructions:
- Start in a low lunge with your right foot forward
- Lower your back knee to the ground and slide it back
- Loop the strap around your back foot and hold the ends
- Slowly lift your chest and gently pull on the strap
- Keep the movement controlled and stop if you feel any discomfort
Practical Tips for First-Time Yogis
From mindset to movement, here’s how to make your first yoga sessions stress-free and rewarding.
- Start with 2–3 stretches daily for 5 minutes. Begin small and build consistency – even five minutes of daily stretching creates lasting change in your flexibility.
- Breathe deeply and move slowly. Your breath is your guide; if you’re holding it, you’re pushing too hard.
- Avoid pulling too hard; let the strap guide you. The strap should feel like a gentle helper, not a tool to force your body into positions.
- Use a yoga mat for comfort and stability. A good mat prevents slipping and cushions your joints, making every stretch more comfortable and safe.
Key Takeaways
These yoga strap stretches prove that flexibility isn’t about being naturally bendy; it’s about using the right tools and techniques.
Your strap transforms impossible poses into achievable goals, making yoga accessible regardless of your starting point.
Start small with just 2-3 stretches daily. Focus on breathing deeply and moving slowly. Let the strap guide you, rather than forcing movements. Remember, consistency beats intensity every time.
Your body will thank you for this gentle approach. Tight hamstrings will loosen. Stiff shoulders will open. Lower back tension will melt away.
Ready to begin your flexibility transformation? Choose three stretches from this guide and practice them for the next seven days.
Notice how your body feels and responds to the changes. Share your progress in the comments below!