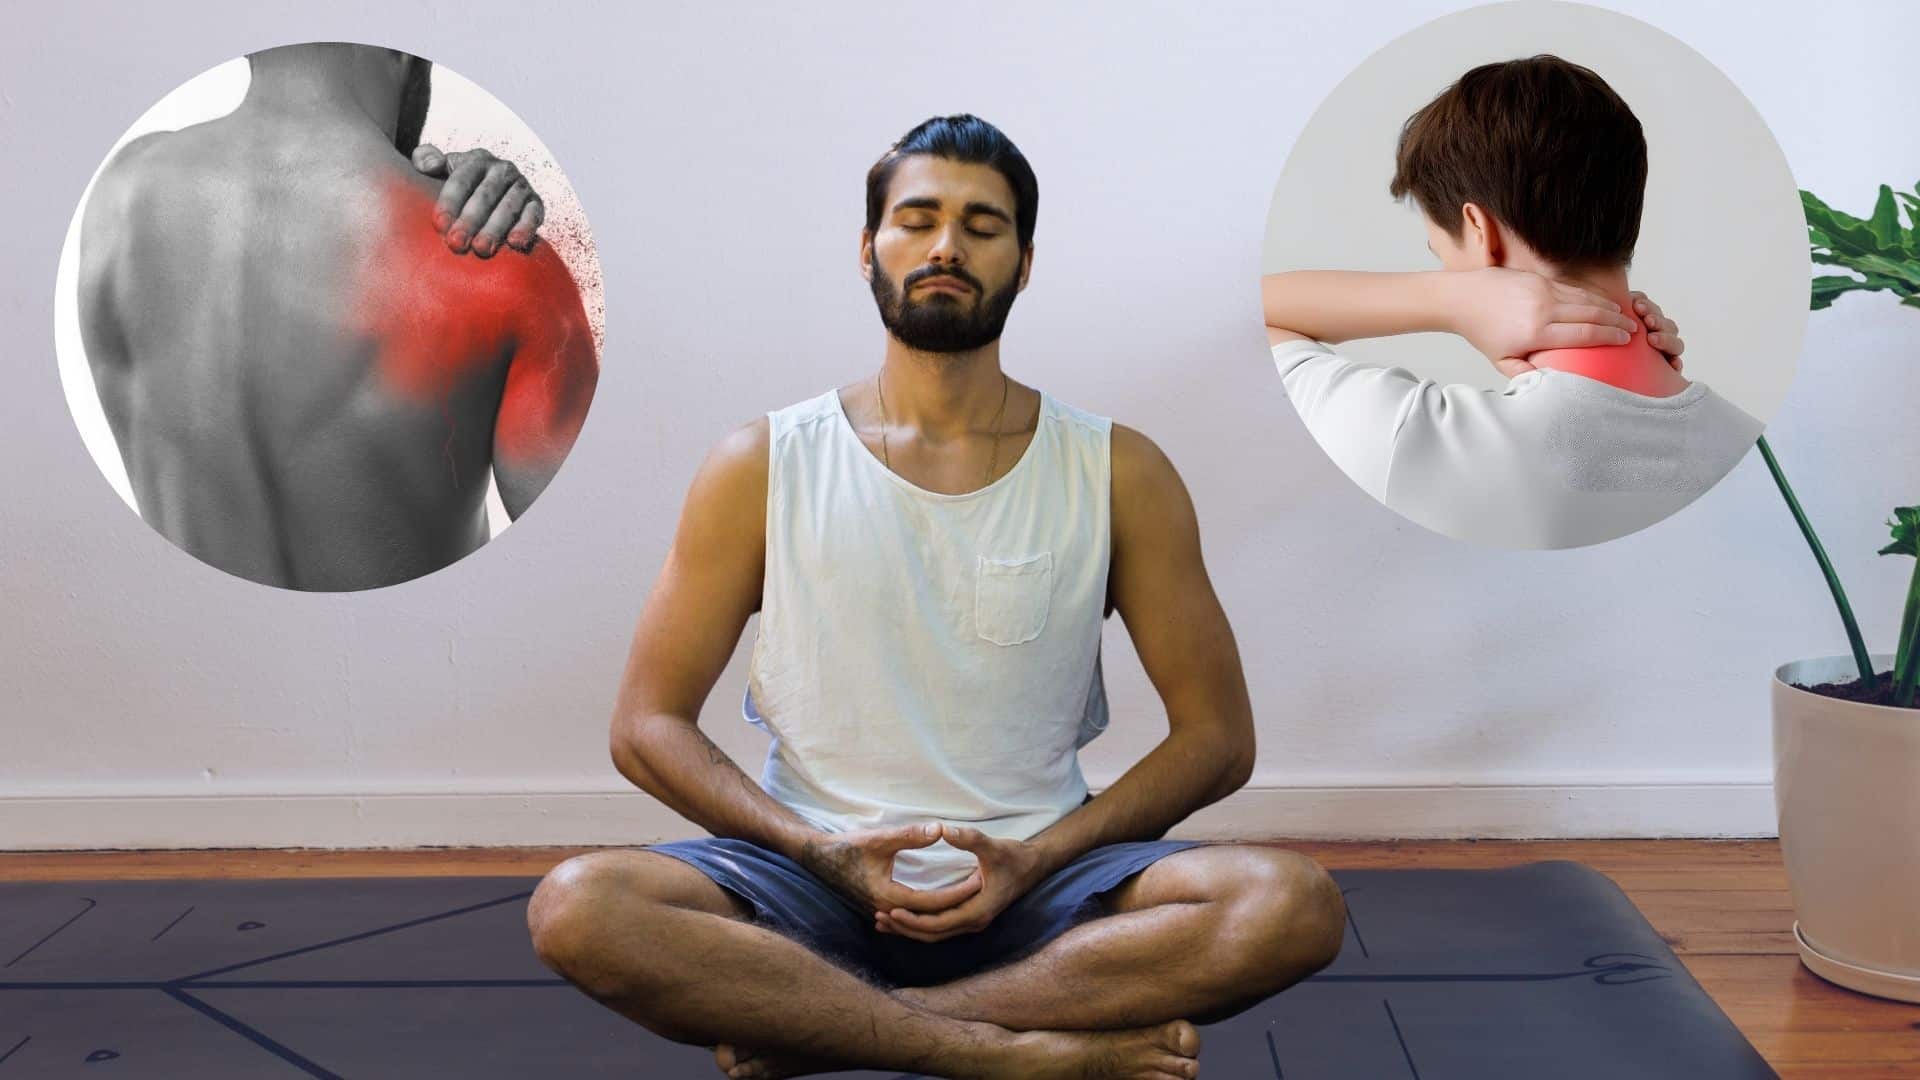
Every yogi remembers that terrifying first lean forward in Crow Pose, knuckles white, heart racing, and the mat rushing toward the face.
Yet this iconic arm balance, known in Sanskrit as Kakasana, remains one of the most rewarding milestones in any yoga journey.
Rooted in Hatha tradition, it builds far more than physical strength; it cultivates mental courage and razor-sharp focus.
Whether someone is stepping onto the mat for the first time or deepening an existing practice, this guide delivers a step-by-step tutorial, key benefits, a clear distinction between Crow and Crane Pose, and essential modifications to help any practitioner finally lift off with confidence.
What is Crow Pose?
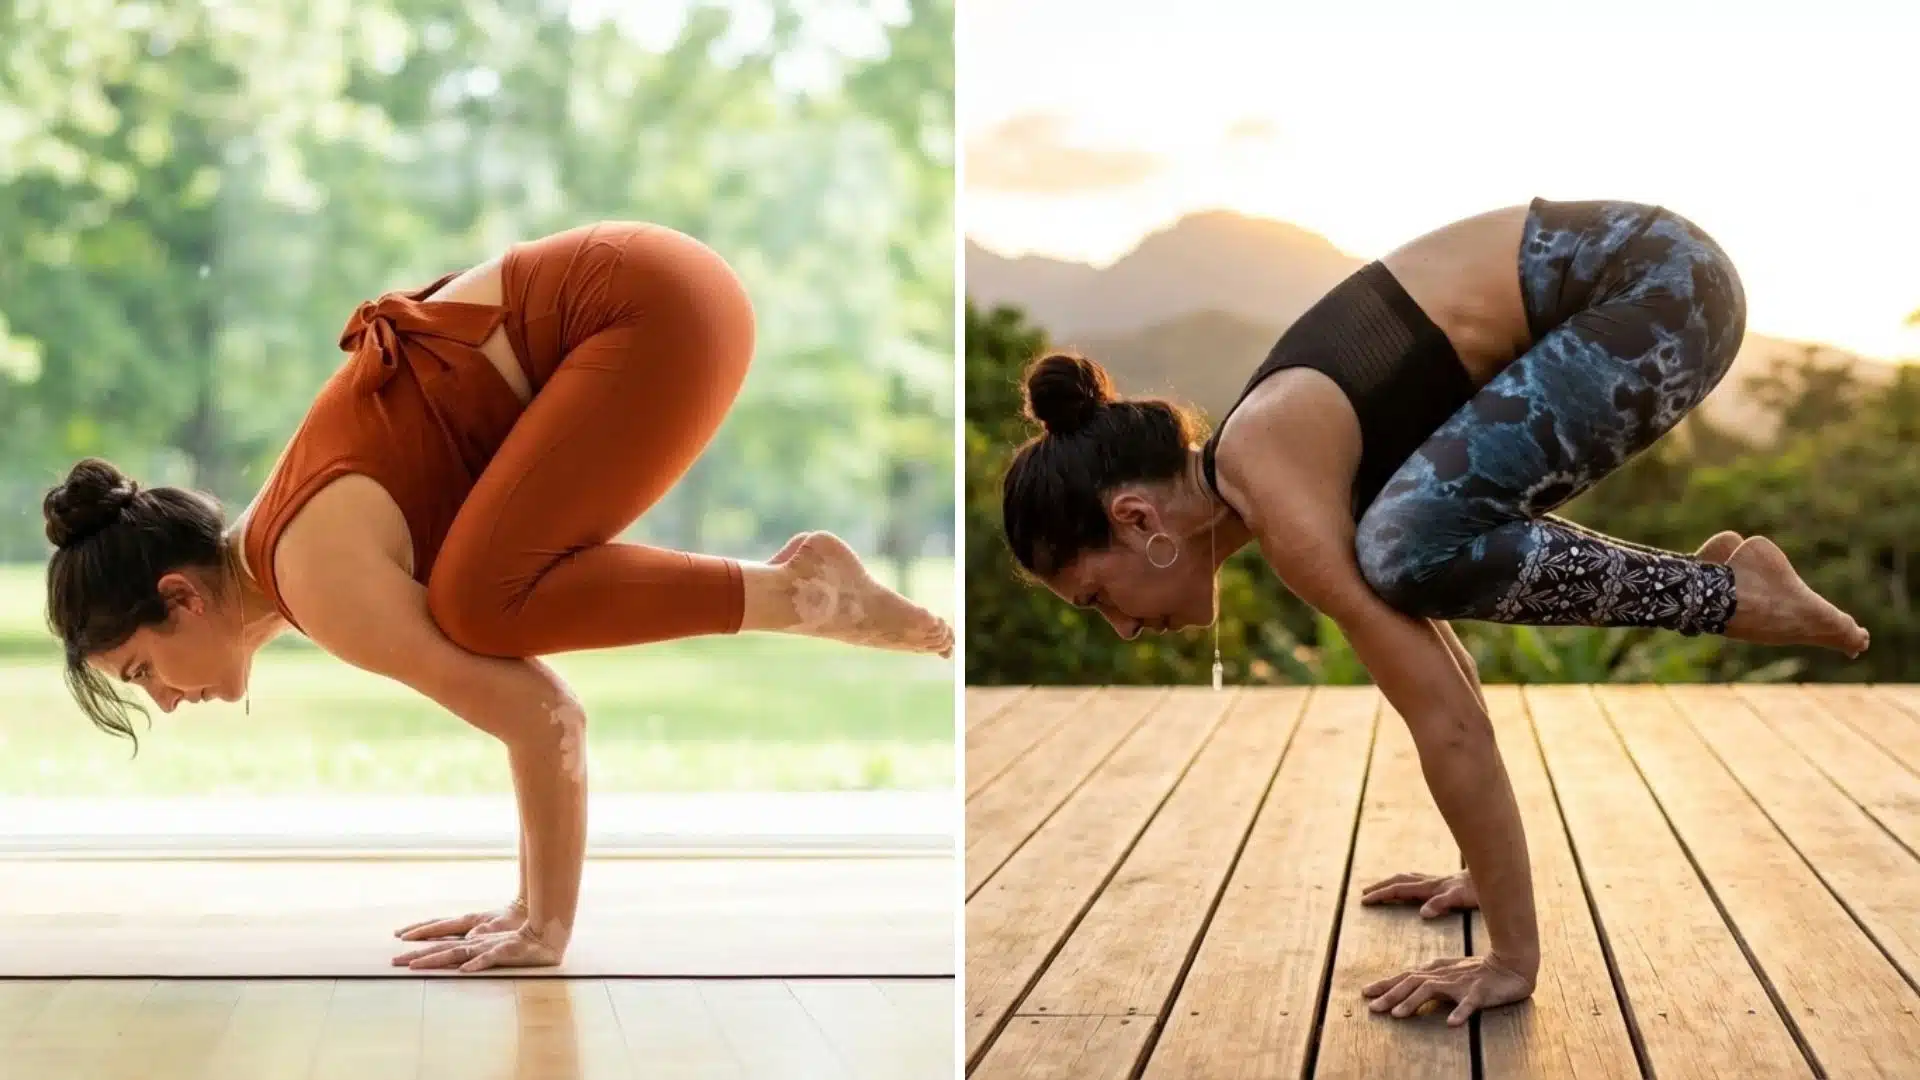
Crow Pose is an arm balance where both knees rest on the backs of the upper arms while the feet lift completely off the ground.
Among the vast catalog of yoga poses, it stands out for primarily engaging the core, wrists, forearms, shoulders, and hip flexors, making it a full upper-body conditioning posture.
Classified as beginner-to-intermediate, it sits at the intersection of strength and body awareness, serving as the ideal gateway to advanced balances like Flying Crow or Handstand prep sequences.
Now that the foundation is clear, it is equally important to clear up one of the most common points of confusion in yoga classrooms everywhere.
Crow Pose vs. Crane Pose: The Real Difference
These two poses are constantly confused, even by experienced practitioners, and getting the distinction right changes how a practitioner trains for each one.
Crane Pose: Crane Pose is an advanced arm balance in which the arms are fully straightened, and the knees rest on the backs of the triceps.
Here is a quick comparison table:
| Feature | Crow Pose | Crane Pose |
|---|---|---|
| Arm Position | Bent elbows (~90°) | Fully straightened |
| Difficulty | Beginner to Intermediate | Intermediate to Advanced |
| Core Demand | Moderate | High |
| Center of Gravity | Lower, more forgiving | Higher, more demanding |
With the difference between the two poses established, it becomes much easier to appreciate the specific rewards Crow Pose offers on its own terms.
Benefits of Crow Pose
Crow Pose is not just a party trick for the yoga mat; it earns its place in a regular practice through a genuine range of physical and mental benefits.
Incorporating it into an asana daily practice accelerates these results significantly:
- Upper body conditioning: Wrists, forearms, and shoulders are strengthened with every sustained hold.
- Deep core activation: The transverse abdominis and obliques fire continuously to maintain lift.
- Hip opening: The knee-to-tricep positioning progressively stretches tight hip flexors.
- Heightened proprioception: Balancing on two points sharpens spatial body awareness dramatically.
- Mental resilience: Sustaining the pose under discomfort trains focus that transfers off the mat.
- Confidence building: Mastering a first arm balance genuinely rewires how a practitioner approaches difficulty.
Note: Therapeutic benefits are supportive, not curative. A healthcare provider should be consulted for any pre-existing injuries before beginning arm balance practice.
Step-by-Step Guide to Crow Pose
Learning Crow Pose is a process that rewards patience, consistency, and a willingness to fall a few times before getting it right.
Prerequisites: The practitioner should be able to hold a plank for 30 seconds, have basic wrist mobility, and feel comfortable in Malasana.
If that base is still being built, a structured 28-day yoga challenge is a practical way to develop the foundational strength this pose demands.
Props needed: A non-slip yoga mat and a folded blanket placed in front of the hands as a psychological safety net.
Step 1: Enter Malasana Squat with feet slightly wider than hip-width, toes turned out. Place palms flat on the mat at shoulder-width. Spread all ten fingers wide to create a broad, stable base.
Step 2: Set the Elbows Bend elbows to roughly 90 degrees, distributing weight across all four corners of each hand. Weight should never collapse onto the heel of the wrist alone.
Step 3: Shelf the Knees Lift the hips and press both inner knees as high as possible onto the backs of the triceps, aiming for the armpit shelf rather than the forearm. The mental cue here is “shelf,” not “grip.”
Step 4: Shift the Gaze Forward. Fix the gaze on a point roughly 6 inches ahead of the fingertips. Looking downward immediately breaks forward momentum and causes the body to collapse backward.
Step 5: Lift Off Inhale to prepare, then exhale and shift weight decisively into the hands. One foot lifts first to test balance, both heels draw toward the glutes, and the second foot follows once stability is found.
Step 6: Hold and Exit. Maintain a rounded upper back, mirroring the shape of Cat Pose, for 3 to 5 steady breaths. Lower both feet back to the mat with a slow, controlled descent.
Even with perfect technique, certain habits can quietly sabotage progress. Knowing them in advance makes all the difference.
Common Mistakes to Eliminate
Most practitioners who struggle with Crow Pose are held back not by lack of strength but by a handful of correctable technical errors.
1. Gazing at the mat: The leading cause of backward falling. The eyes must stay consistently forward.
2. Low knee placement: Knees placed on the forearm rather than the tricep eliminate the natural leverage that the pose depends on.
3. Breath-holding: Tension spikes the moment the breath stops. A slow, steady rhythm must be maintained throughout.
4. Flat upper back: The spine must remain actively rounded for the entire duration of the hold.
5. Uneven hand pressure: Weight distributed only through the palm places unnecessary strain on the wrist joint.
Correcting these mistakes opens the door to exploring the broader world of Crow Pose variations, each one building on the last.
Modifications and Variations
Crow Pose meets practitioners exactly where they are, offering accessible entry points for beginners and challenging progressions for those ready to push further.
For beginners struggling with lift:
- A yoga block placed under both feet reduces the forward-lean angle required to get airborne.
- The single-foot lift drill, practiced daily, builds balance confidence before both feet come off the ground together.
Progressive variations to work toward:
| Variation | Level | Key Difference |
|---|---|---|
| Baby Crow | Beginner | Forearms on the mat for a lower, more stable position |
| Side Crow (Parsva Bakasana) | Intermediate | Both knees stacked to one side, adding spinal rotation |
| Flying Crow (Eka Pada Galavasana) | Advanced | One leg extended straight back behind the body |
Side Crow and Flying Crow fall firmly into the category of intermediate yoga poses that require consistent foundational work before attempting.
Flying Crow, in particular, ranks among the hardest yoga poses and should only be approached after the standard Crow Pose feels second nature.
Before committing to any of these variations, it is worth knowing whether the body is physically ready for this kind of demand.
Who Should Avoid Crow Pose
Crow Pose is accessible for most practitioners, but there are specific situations where caution or avoidance is the smarter choice.
- Wrist injuries or carpal tunnel syndrome: The full body weight loaded through the wrists can aggravate existing conditions significantly.
- Shoulder impingement: The sustained overhead load places direct stress on a joint that is already compromised.
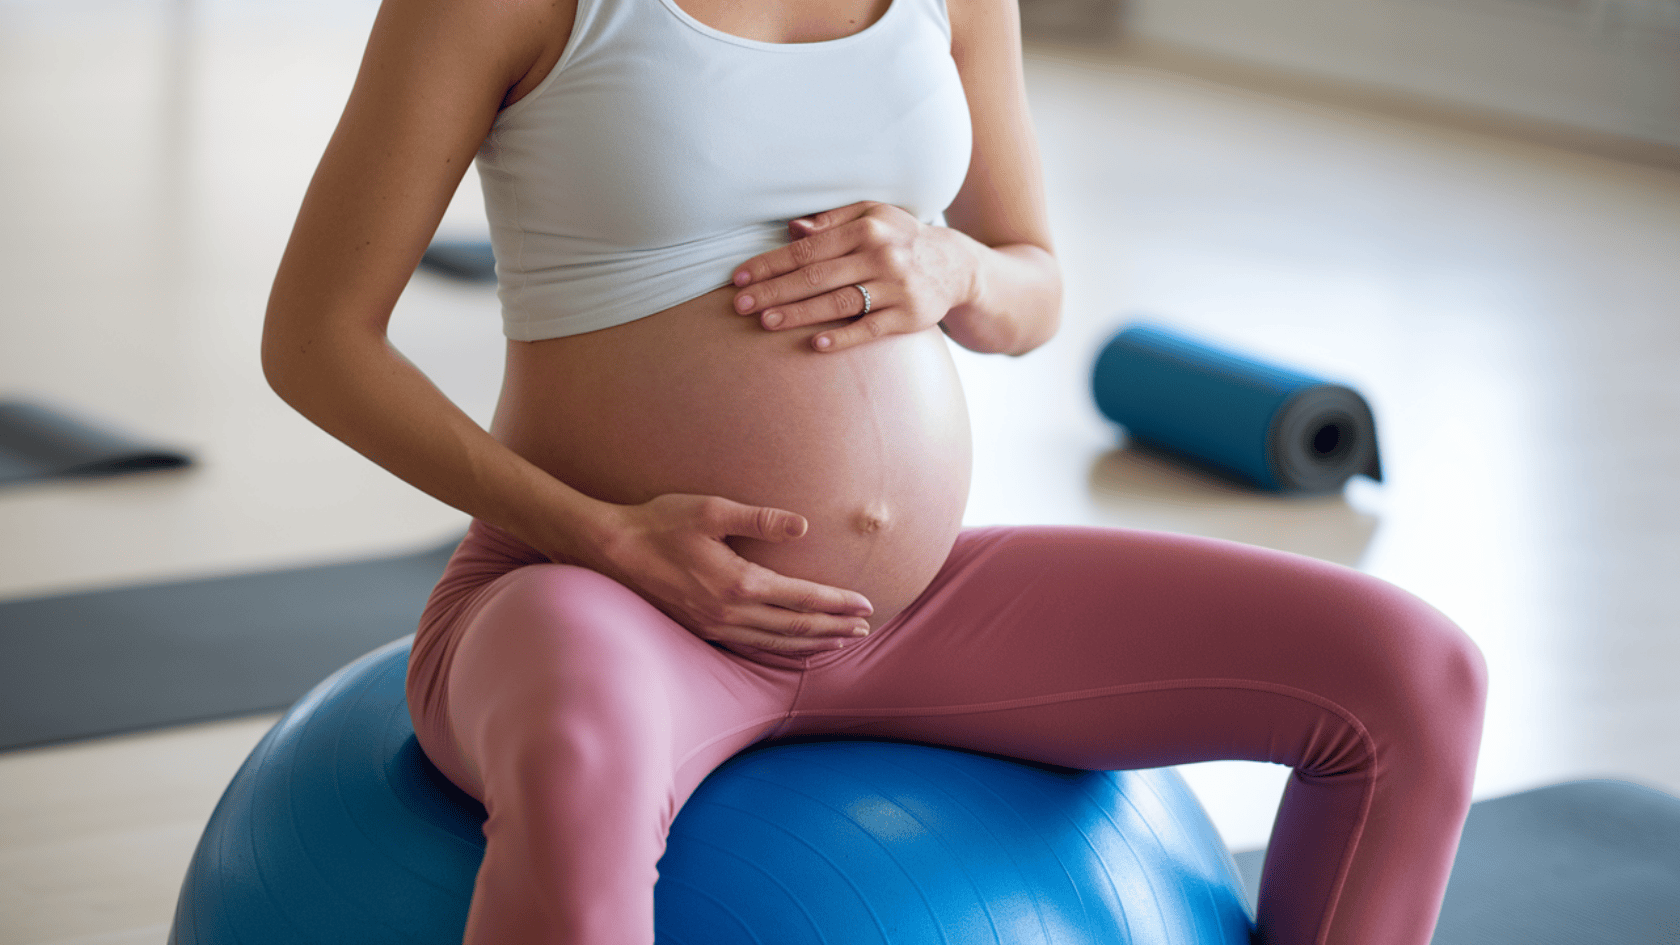
- Second or third trimester pregnancy: All arm balances should be avoided during this period without exception.
- Glaucoma or high blood pressure: The inversion-adjacent nature of the pose increases intraocular and arterial pressure and requires a physician’s clearance first.
Conclusion
Crow Pose is not one a practitioner thinks their way into; it is one they commit to fully.
The bent-arm mechanics make it genuinely more accessible than Crane Pose, and every section of this guide has provided the precise tools to get there, from a structured tutorial and clear error corrections to progressive variations and honest contraindications.
Respecting the wrists, keeping the gaze decisively forward, and trusting the lean are the three principles that make all the difference.
Every instructor who teaches Crow Pose today once placed a blanket on the ground and fell face-first onto it. That fall is not failure; it is the practice.
Exhale, shift the weight, and lift. The first successful hold is closer than most practitioners think.
Frequently Asked Questions
Is the Crow a Difficult Yoga Pose?
Crow pose (Bakasana) is considered a challenging intermediate arm-balancing pose that requires significant core strength, shoulder stability, and a high, lifted hip position.
What Is the Hardest Pose in Yoga?
The hardest yoga pose is subjective, but advanced, high-difficulty asanas include Scorpion Pose, Destroyer of the Universe, and Peacock Pose.
What Is the Mother of All Yoga?
Sarvangasana, often called the “Mother of All Yoga Poses,” is a powerful inversion that supports holistic health on physical, mental, and energetic levels.
What Is the Next Progression After a Crow Pose?
Side crow is typically the next step in progression, opening up many more poses.
What Should You Not Do Before Yoga?
Don’t wear perfume or cologne when you practice. Deep breathing is part of the practice, but you do not want to inhale these fumes deeply.