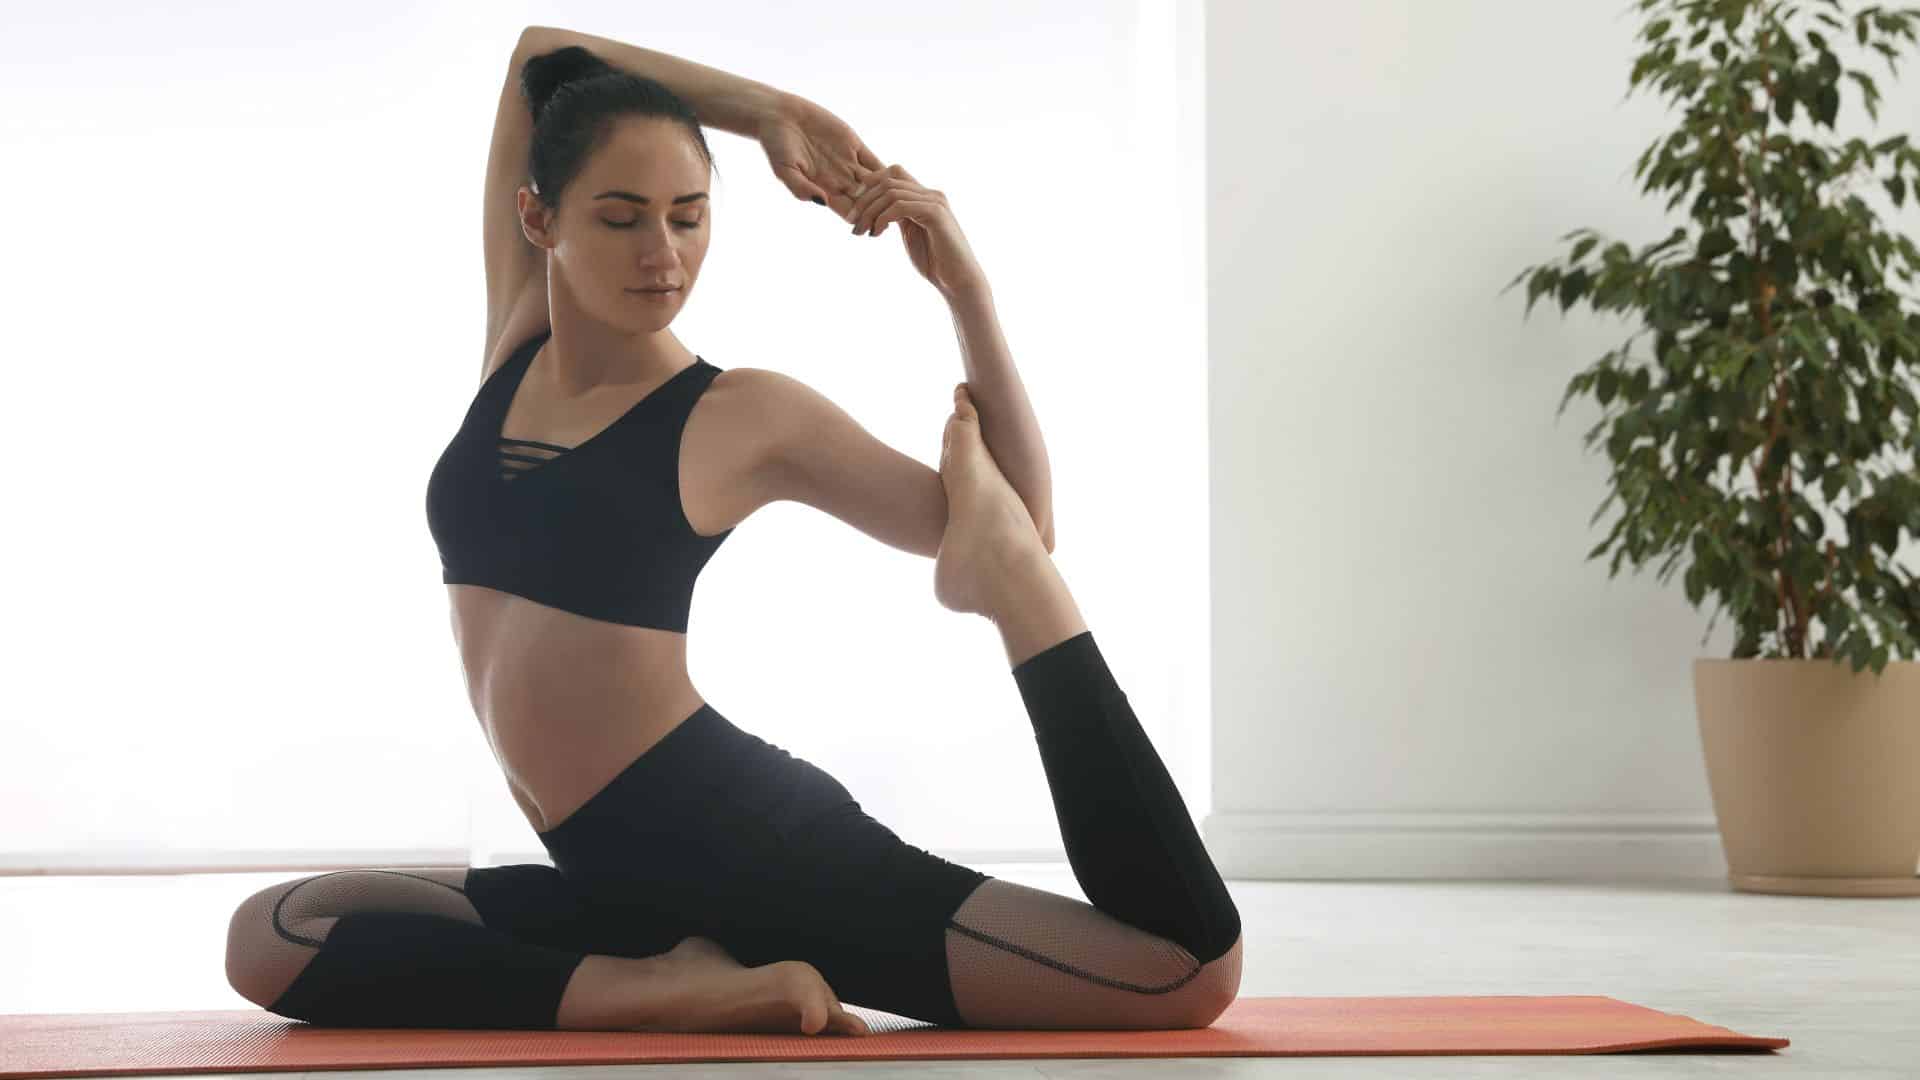
Ever held a yoga pose and thought, “What’s next?”
You’ve mastered the basics. Your downward dog feels solid. Your warrior poses are intense. But something’s missing.
Intermediate yoga poses bridge the gap between comfort and challenge. They test your balance. They build real strength. They open your body in new ways.
These poses aren’t about perfection. They’re about progress. They push you just enough without crushing you.
This guide walks you through everything intermediate. You’ll learn which poses to try first. You’ll understand proper form. You’ll find sequences that work. You’ll avoid common mistakes.
Most importantly, you’ll know when you’re genuinely ready to level up your practice safely and effectively.
What Makes a Yoga Pose “Intermediate”?
Intermediate poses take the foundation you built as a beginner and upgrade it with new layers of complexity. Here’s what typically defines this next level of practice:
- More complex than beginner poses: You’ll combine movements. You’ll hold poses longer. Your body moves through multiple planes.
- Requires improved balance and coordination: Standing on one leg becomes normal. You’ll twist while balancing. Your arms and legs work independently.
- Requires moderate flexibility and strength: Your muscles need to support deeper stretches. Your core works harder. Your joints move through fuller ranges.
- Includes deeper twists and stronger core work: You’ll go upside down safely. Your spine twists further. Your back bends more. Your core engages constantly.
How to Know If You’re Ready to Progress?
Don’t rush this step. Your readiness matters more than time spent practicing. If you can do the following things, then you are ready for practising intermediate yoga poses:
- Maintain smooth, steady breath through transitions.
- Demonstrate stable alignment in foundational poses.
- Move without joint pain; respect your body’s limits.
- Hold plank for 60 seconds without shaking.
- Touch (or nearly touch) your toes with straight legs.
- Balance on one foot for 30 seconds.
- Complete 10 sun salutations continuously.
Before attempting these intermediate yoga poses, it’s essential to know how to practice safely and protect your body.
Safety & Precautions Before Practicing Intermediate Poses
Intermediate poses challenge your strength, balance, and flexibility, so taking precautions first helps you practice safely and confidently.
1. Warm-up recommendations: Spend 5-10 minutes warming up. Move your joints through gentle circles. Do cat-cow stretches. Practice a few rounds of sun salutations.
2. When to modify: Use blocks under your hands. Place blankets under your knees. Bend your knees in forward folds. Skip binds until you’re ready.
3. When to avoid certain poses: If you have lower back pain and full twists with spinal injuries. Skip shoulder-heavy poses with rotator cuff issues and deep hip openers if you have hip replacements. Modify or skip inversions during pregnancy.
With a clear understanding of what makes a pose intermediate, you’re ready to see some of the best poses to build strength, balance, and flexibility.
Best Intermediate Yoga Poses
These intermediate yoga poses are designed to build strength, improve balance, and deepen flexibility while challenging your body in new ways.
1. Warrior III (Virabhadrasana III)
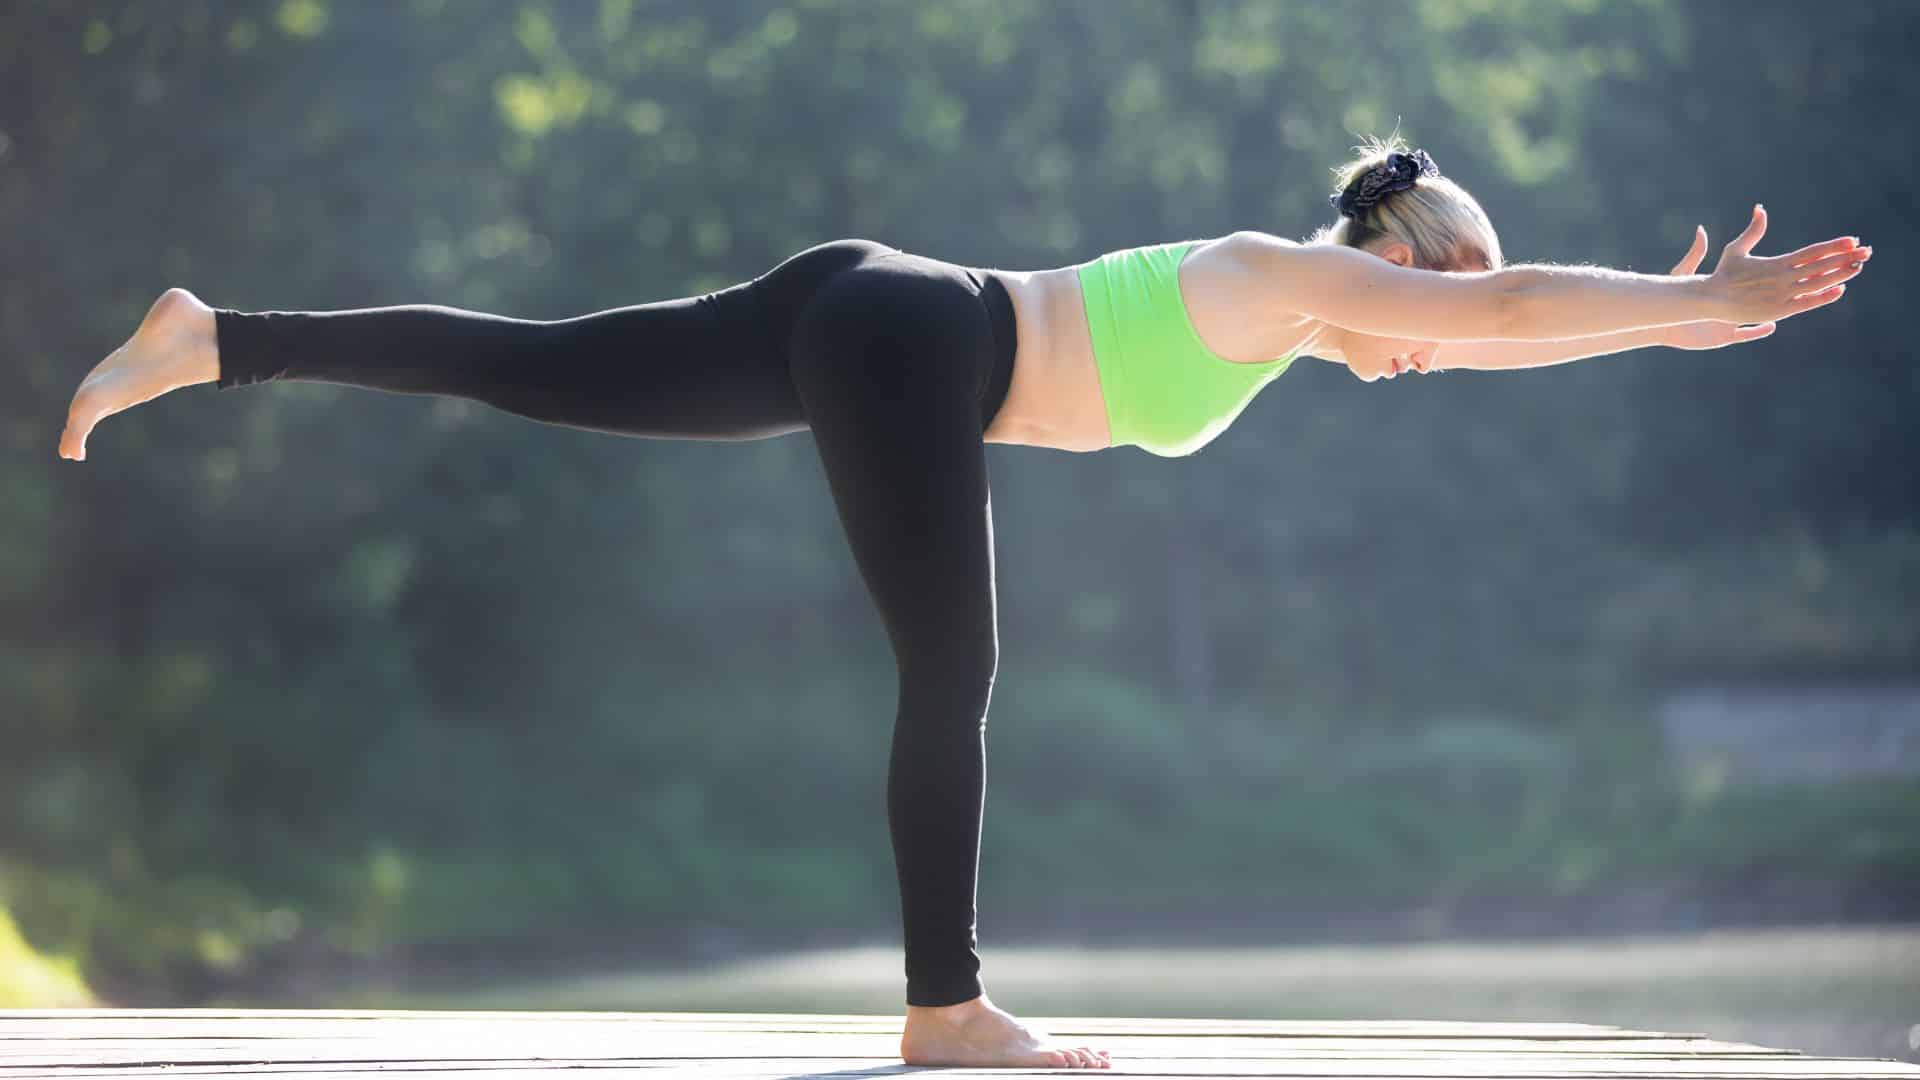
Steps:
- Stand in mountain pose
- Shift weight to your right foot
- Lift your left leg behind you
- Hinge forward at your hips
- Extend arms forward or keep them by your sides
- Keep your hips level
- Hold for 5 to 8 breaths
Be mindful of: Open hips, arched lower back, bent standing leg
Skip if: Ankle injuries, severe balance issues
2. Half Moon Pose (Ardha Chandrasana)
Steps:
- Start in triangle pose
- Bend your front knee slightly
- Place your front hand on the floor or block
- Shift weight to your front foot
- Lift your back leg parallel to the floor
- Stack your hips, extend your top arm up
- Look up if comfortable
- Hold 5 to 8 breaths
Be mindful of: Collapsed standing leg, rotated hips, weak core
Skip if: Low blood pressure, neck injuries
3. Tree Pose Variations
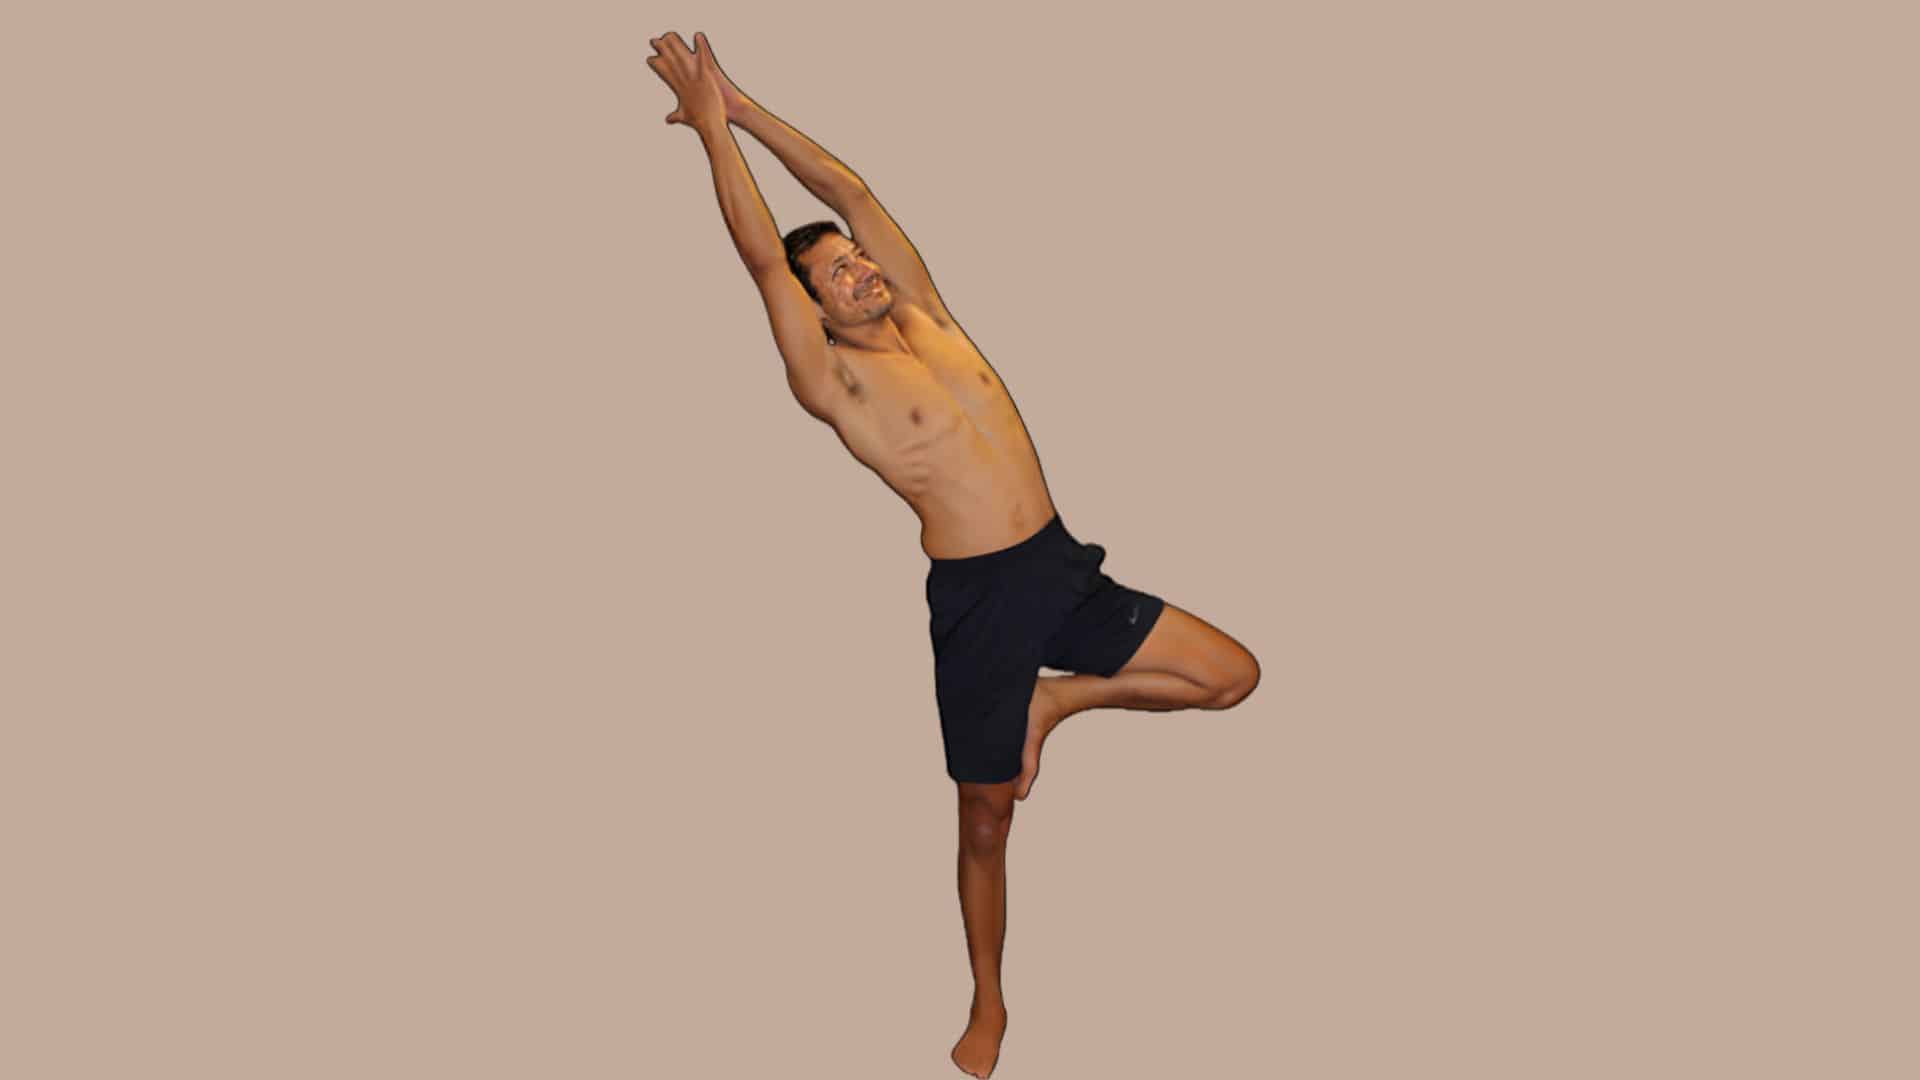
Steps:
- Start in basic tree pose
- Add challenges: close your eyes
- Reach arms overhead
- Tip sideways
- Hold 5 to 8 breaths each variation
Be mindful of: Pressing foot into knee, wobbly standing leg
Skip if: Recent ankle sprains
4. King Dancer Pose (Natarajasana)
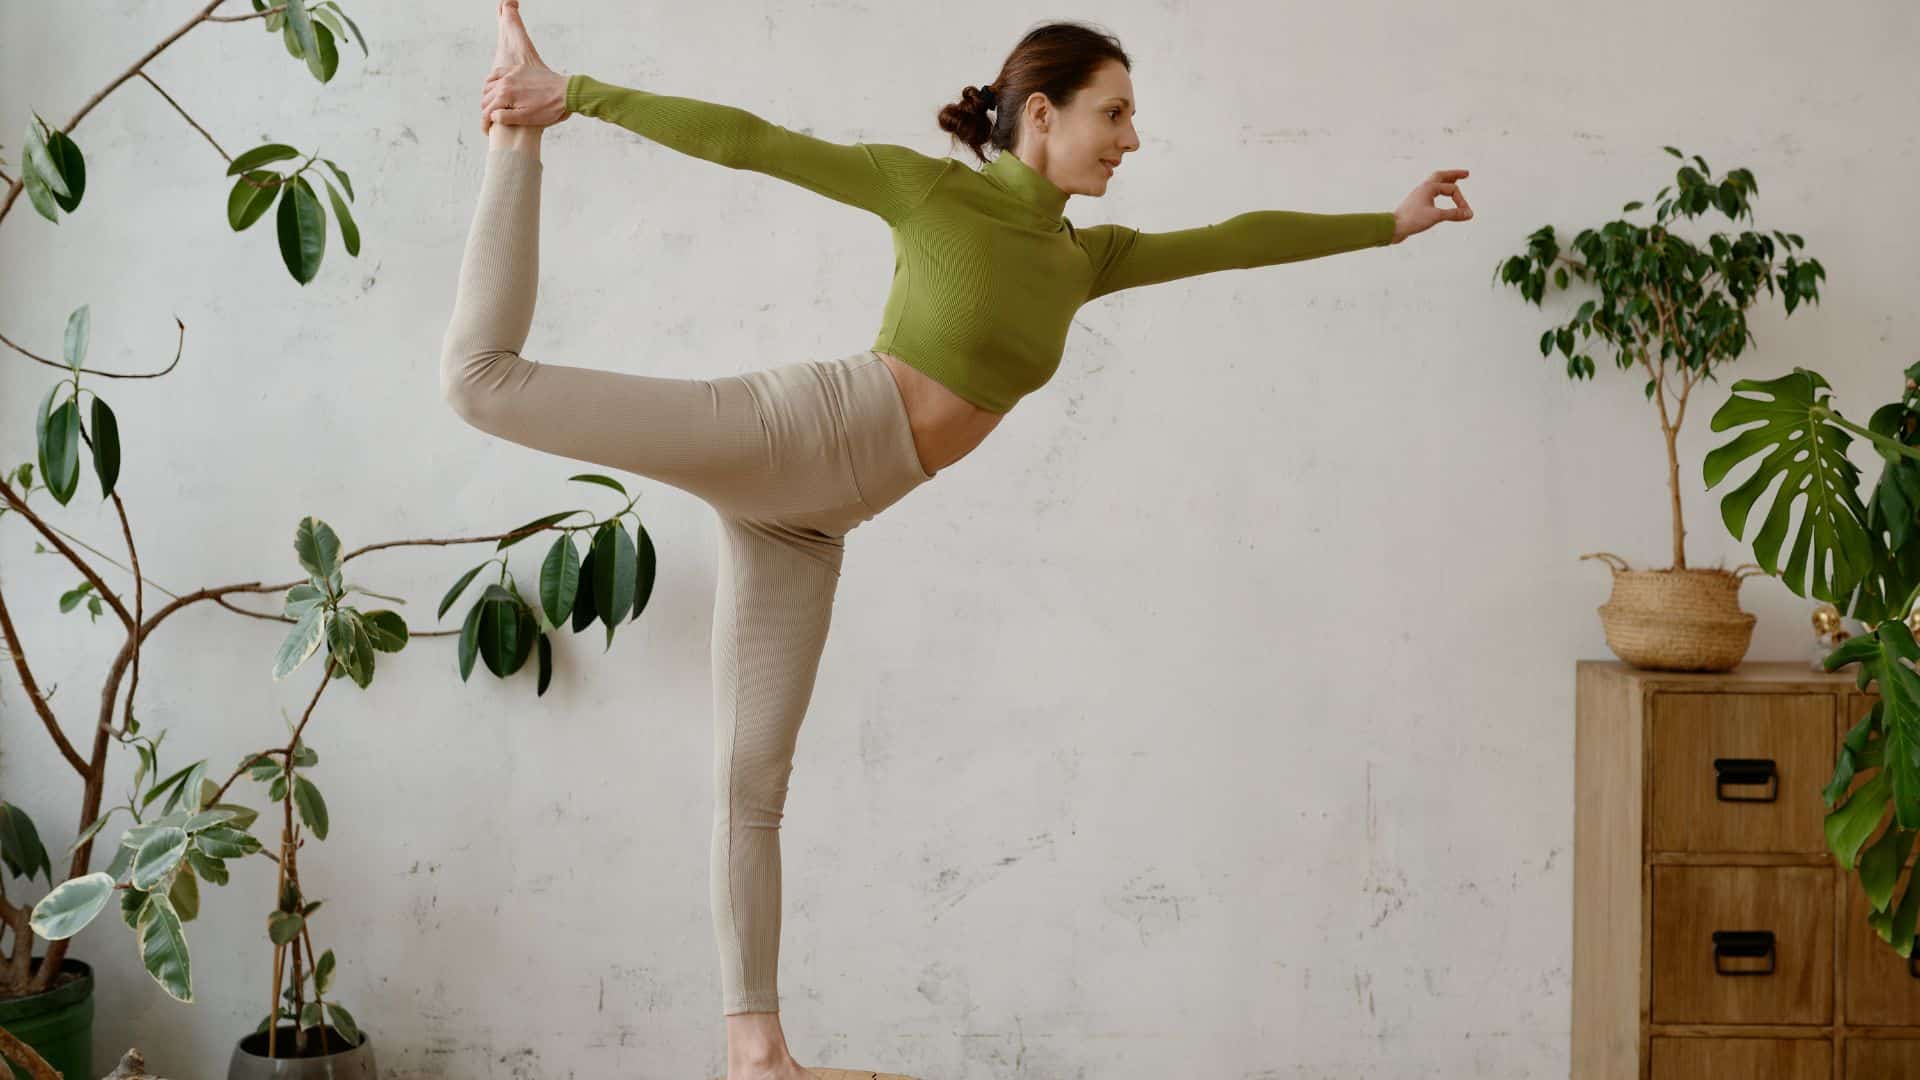
Steps:
- Stand on your left foot
- Bend your right knee behind you
- Grab your right ankle with your right hand
- Kick your foot into your hand
- Lean forward from your hips
- Reach your left arm forward
- Hold 5 to 8 breaths
Be mindful of: Twisting spine, shoulder hunching, weak standing leg
Skip if: Shoulder or lower back injuries
5. Extended Side Angle (Utthita Parsvakonasana)
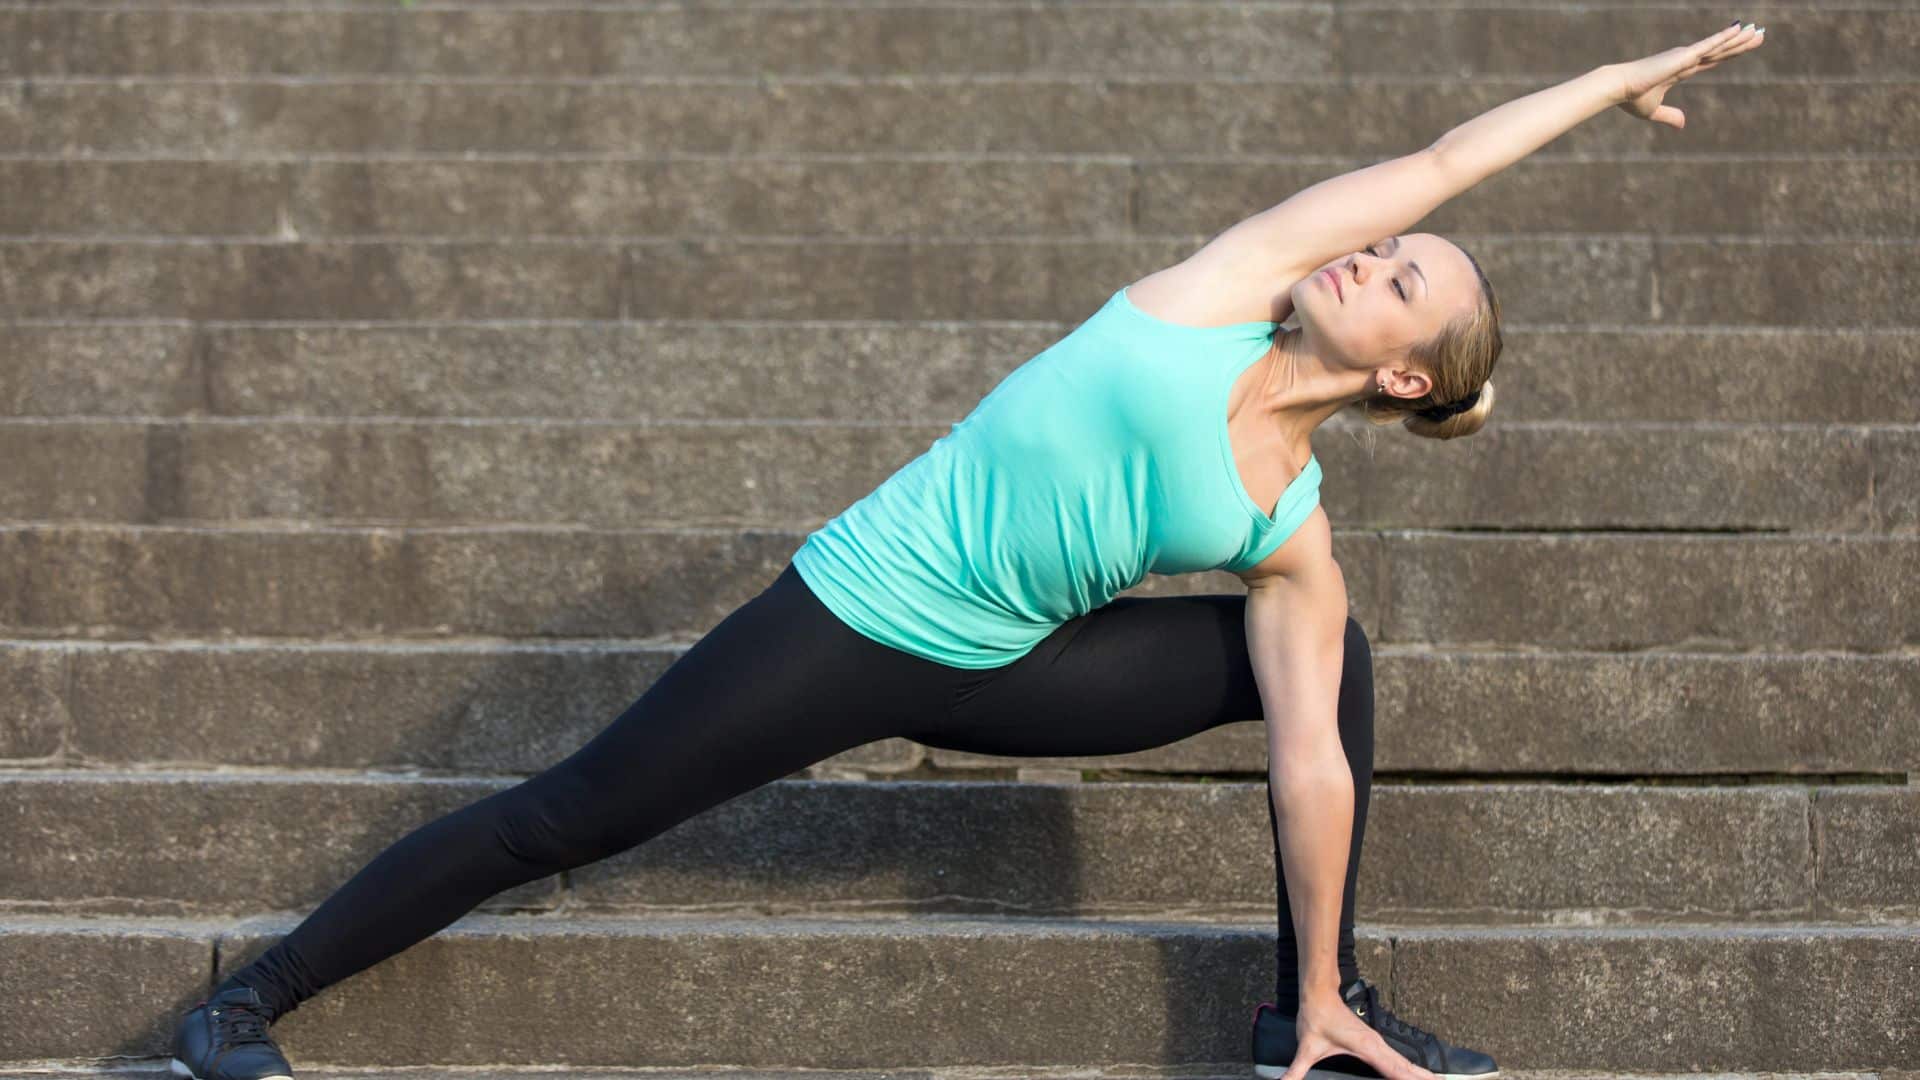
Steps:
- Stand with feet wide
- Turn the right foot out 90 degrees
- Bend your right knee to 90 degrees
- Place the right forearm on the right thigh
- Extend your left arm over your ear
- Keep both sides of your torso long
- Hold 5 to 8 breaths
Be mindful of: Collapsed front knee, torso folding forward, and shoulders hunched
Skip if: Knee injuries
6. Revolved Triangle (Parivrtta Trikonasana)
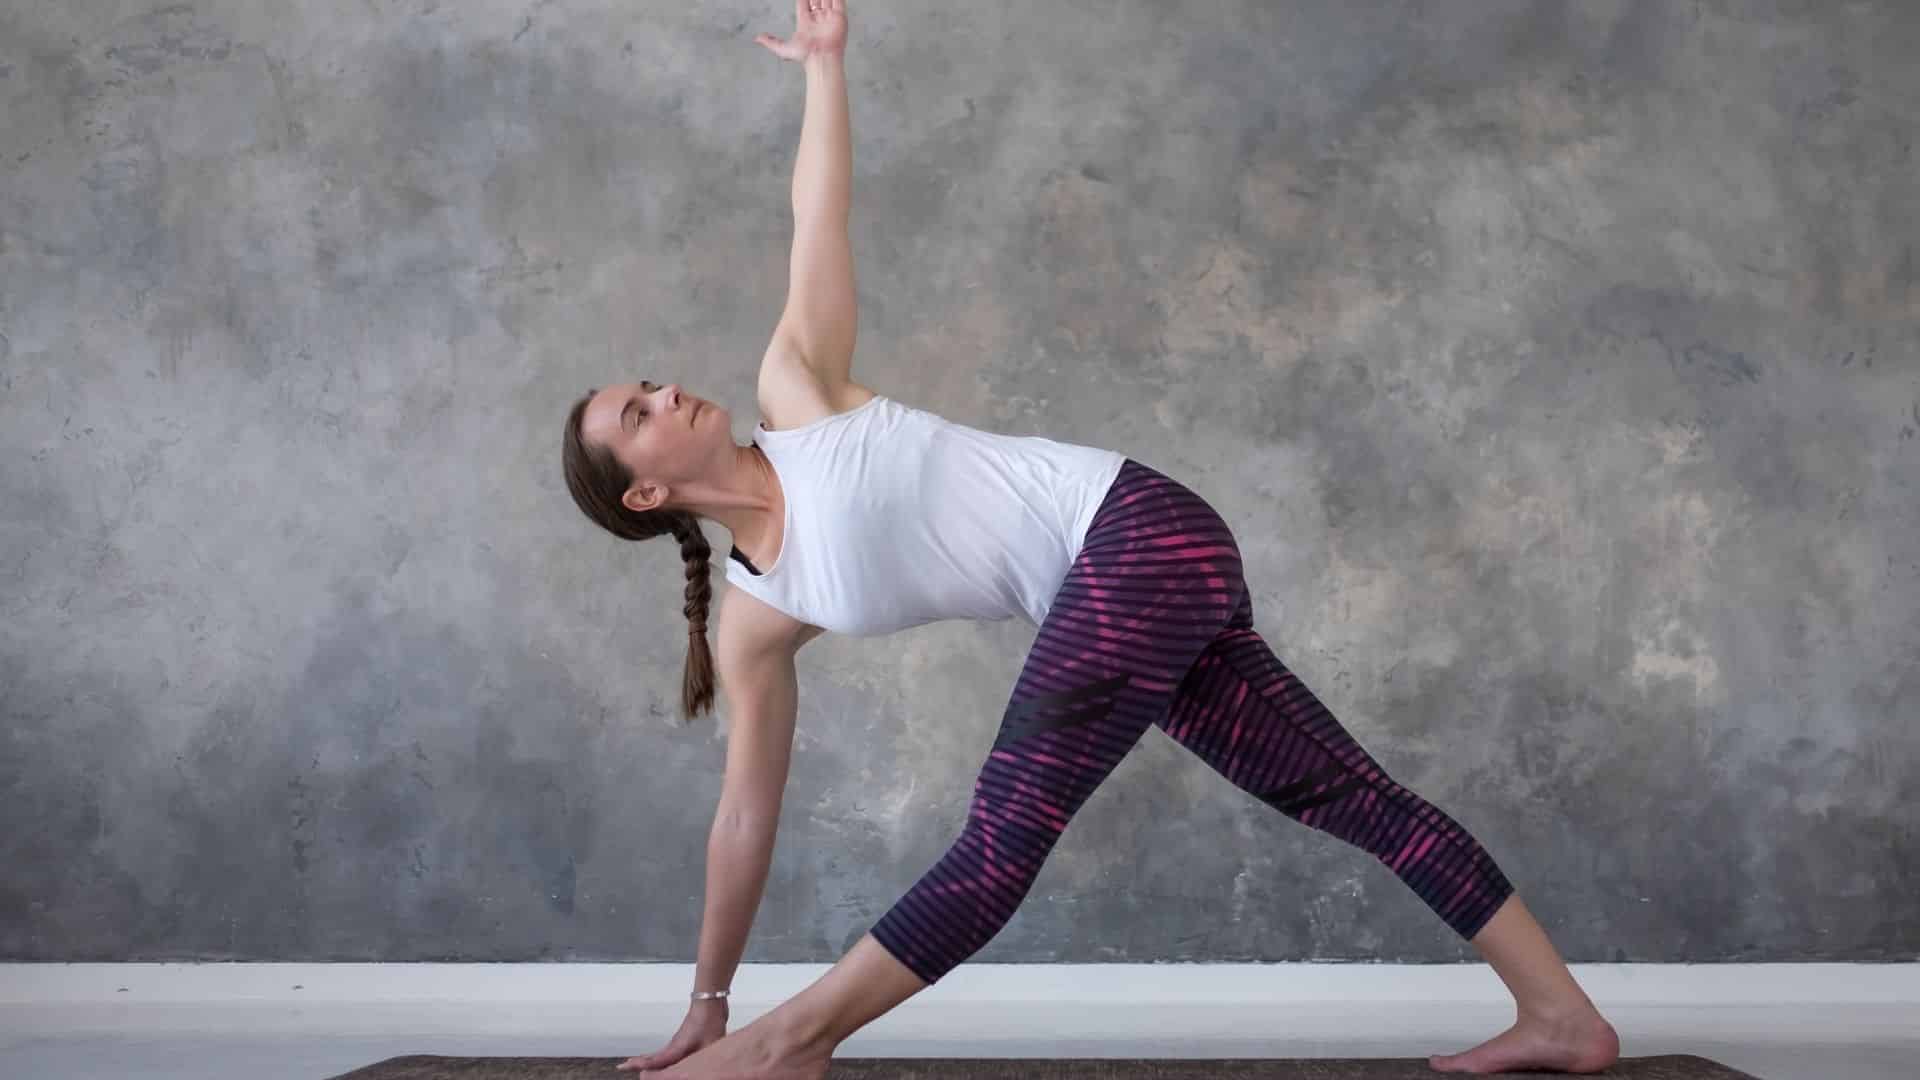
Steps:
- Stand with feet wide
- Turn right foot out, left foot in slightly
- Square your hips forward
- Fold forward
- Place the left hand outside the right foot
- Twist the right shoulder toward the ceiling
- Extend the right arm up
- Hold 5 to 8 breaths
Be mindful of: Rounded back, rotating hips, and forcing the twist
Skip if: Back injuries, balance disorders
7. Revolved Side Angle (Parivrtta Parsvakonasana)
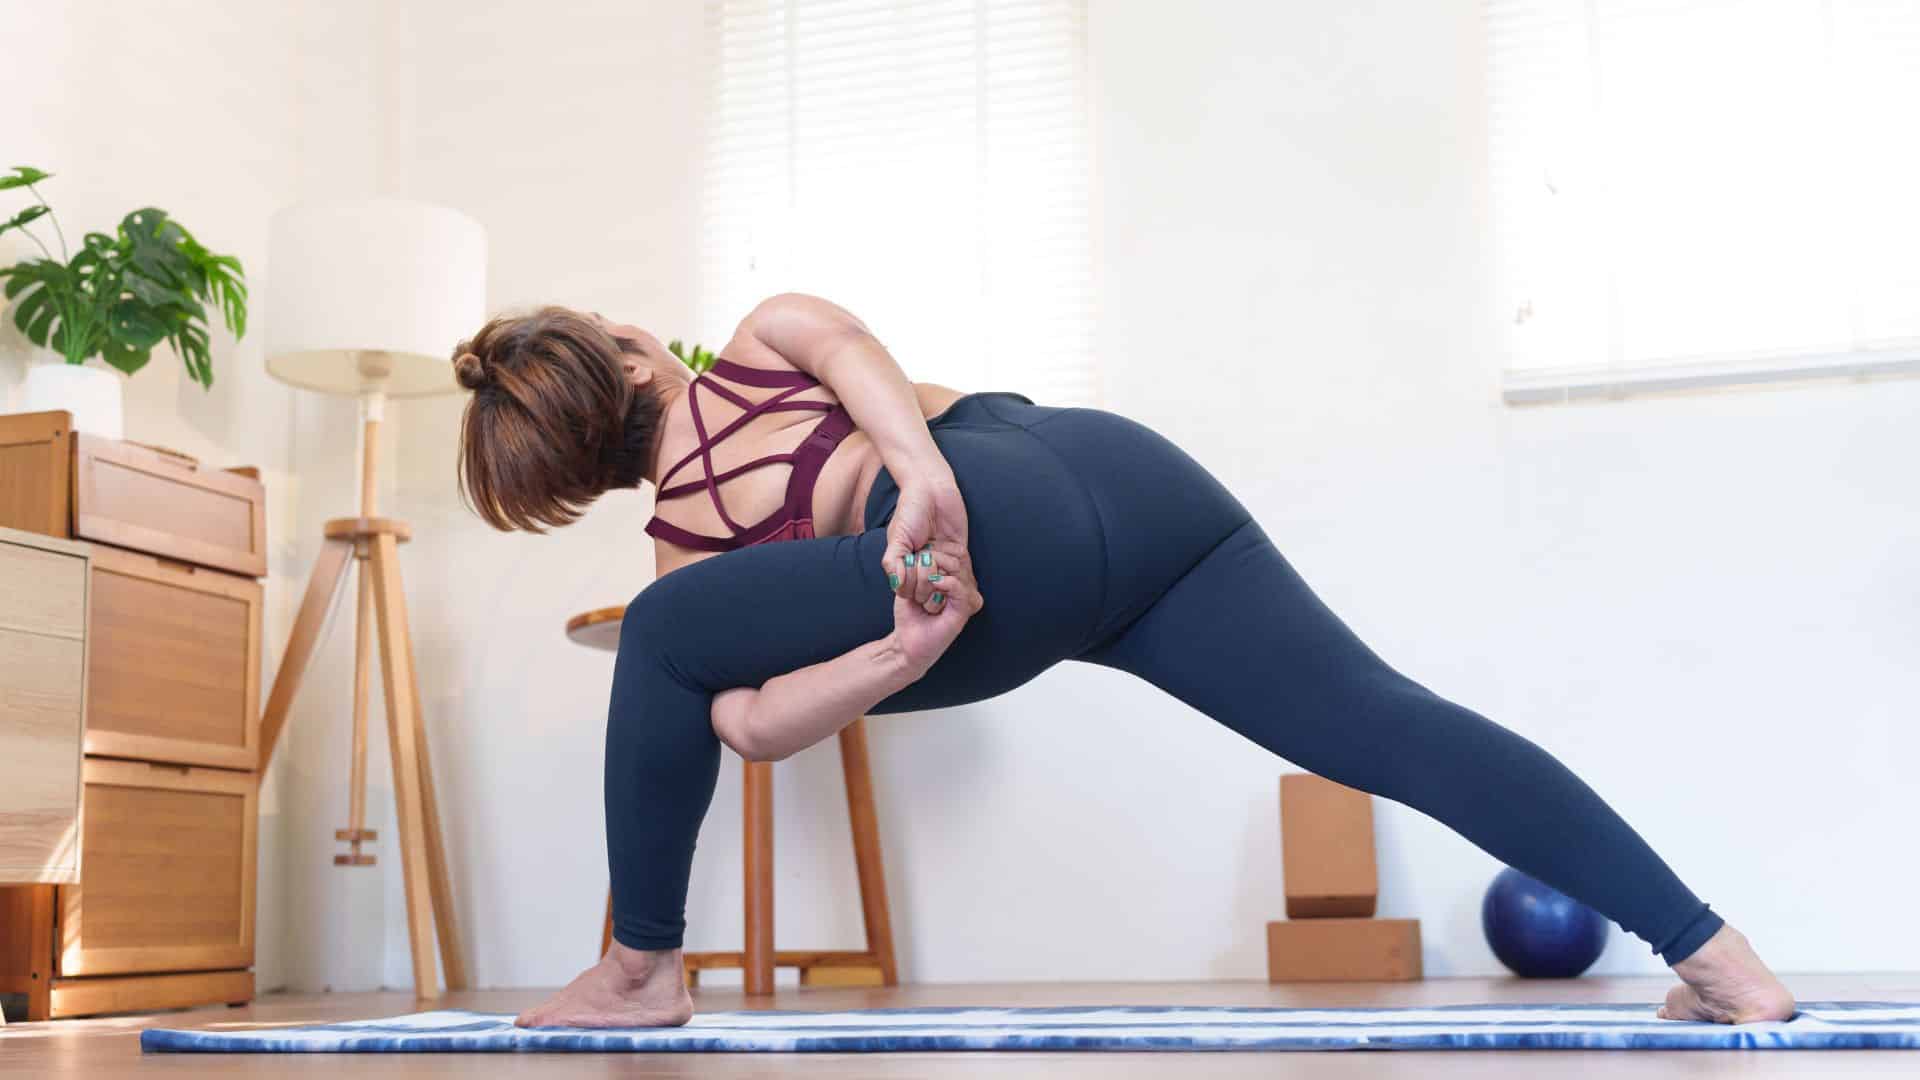
Steps:
- Start in high lunge
- Bring your hands to your chest
- Twist and hook the left elbow outside the right knee
- Press hands together
- Keep hips level
- Hold 5 to 8 breaths
Be mindful of: Front knee collapsing in, shoulders twisting without spine
Skip if: Knee or back problems
8. Pyramid Pose (Parsvottanasana)
Steps:
- Stand with feet wide
- Turn the right foot out
- Square hips forward
- Place hands on hips
- Fold forward over the front leg
- Keep back straight
- Hold 5 to 8 breaths
Be mindful of: Rounded back, uneven hips, locked knee
Skip if: Hamstring tears
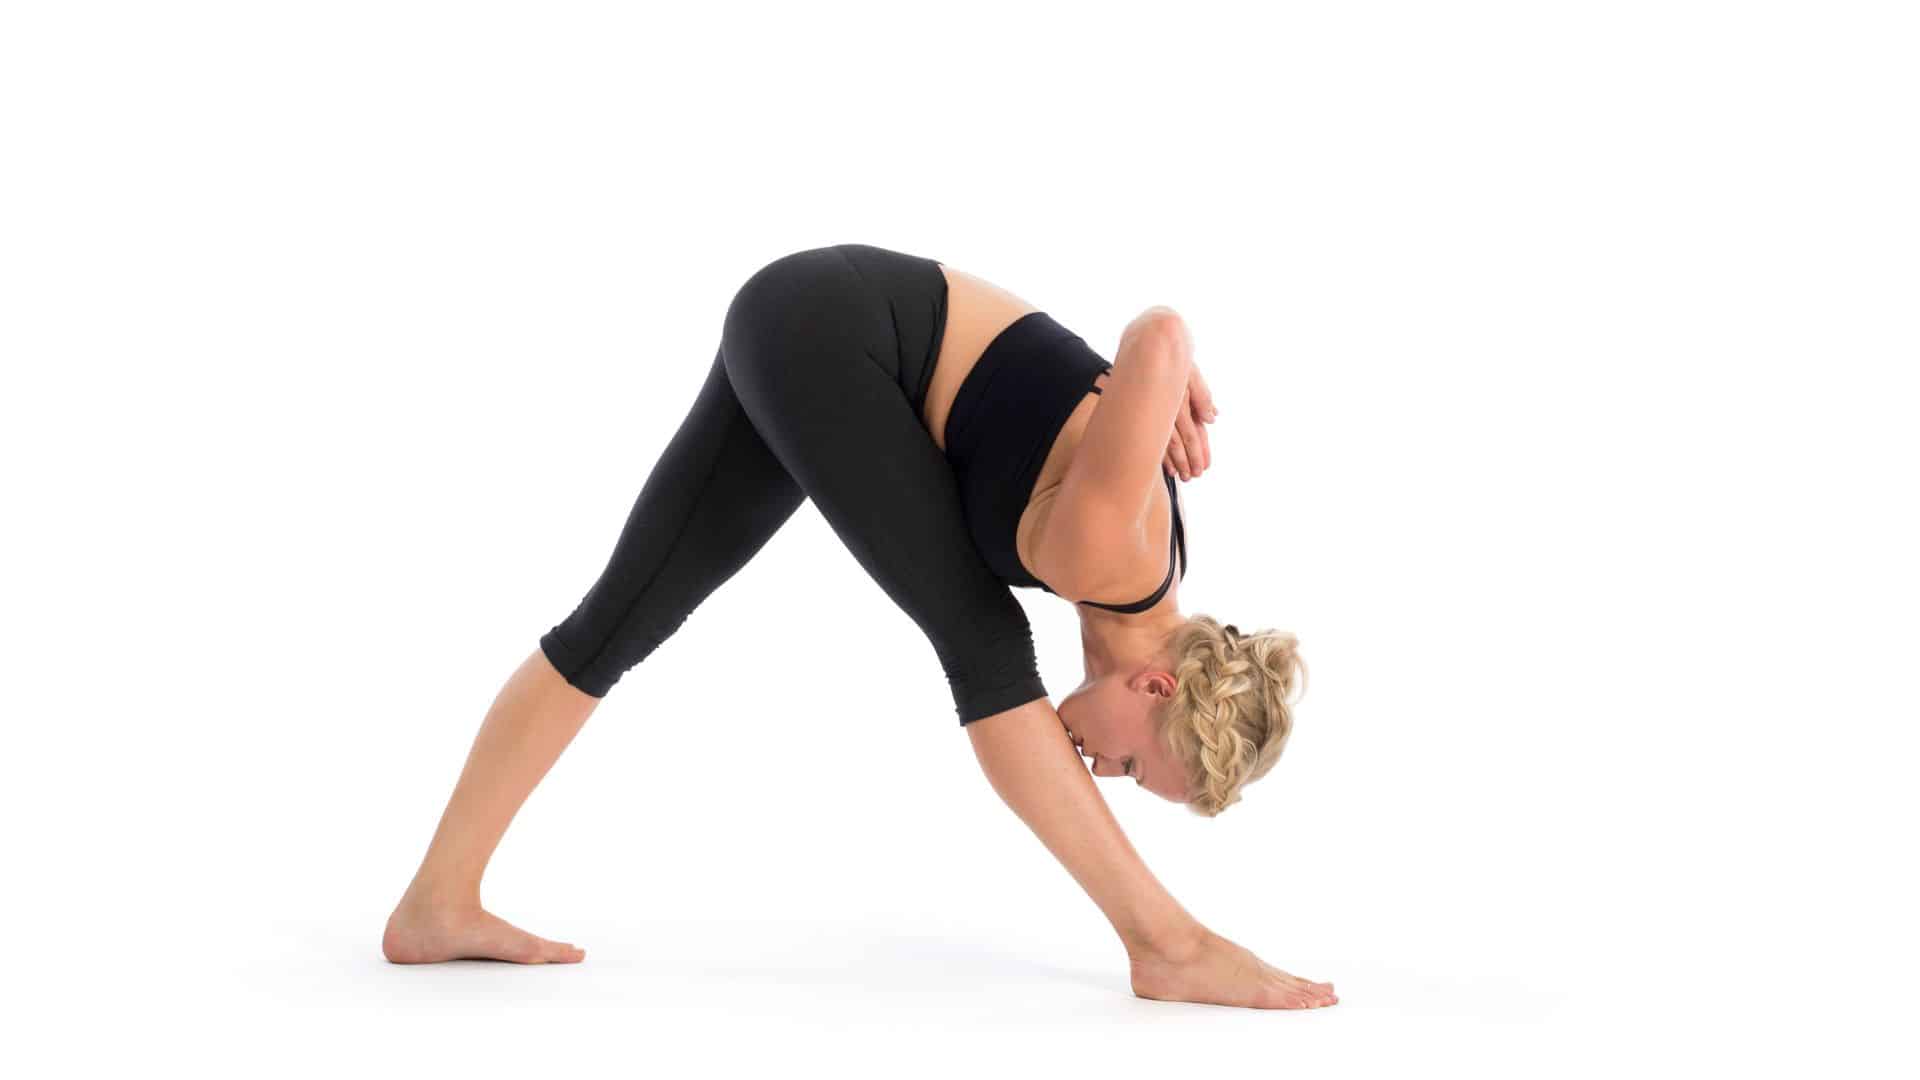
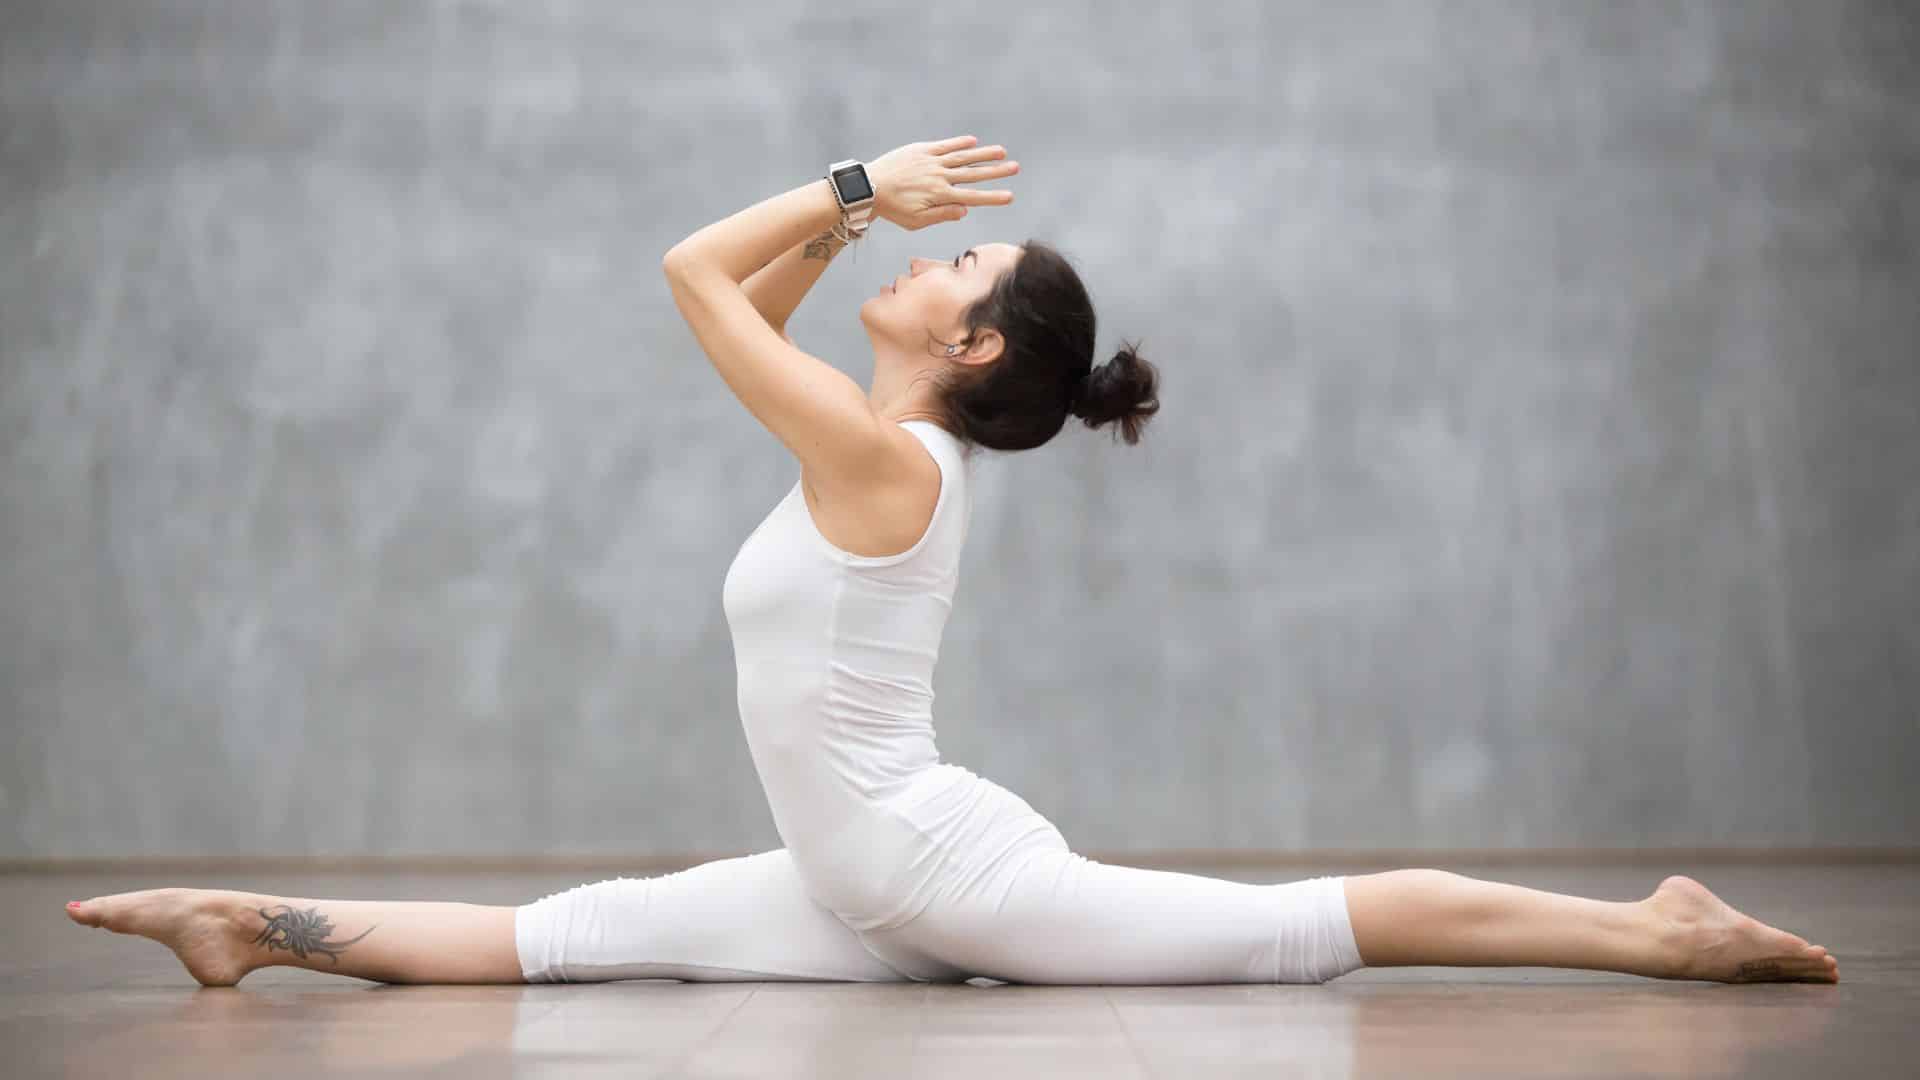
9. Standing Split (Urdhva Prasarita Eka Padasana)
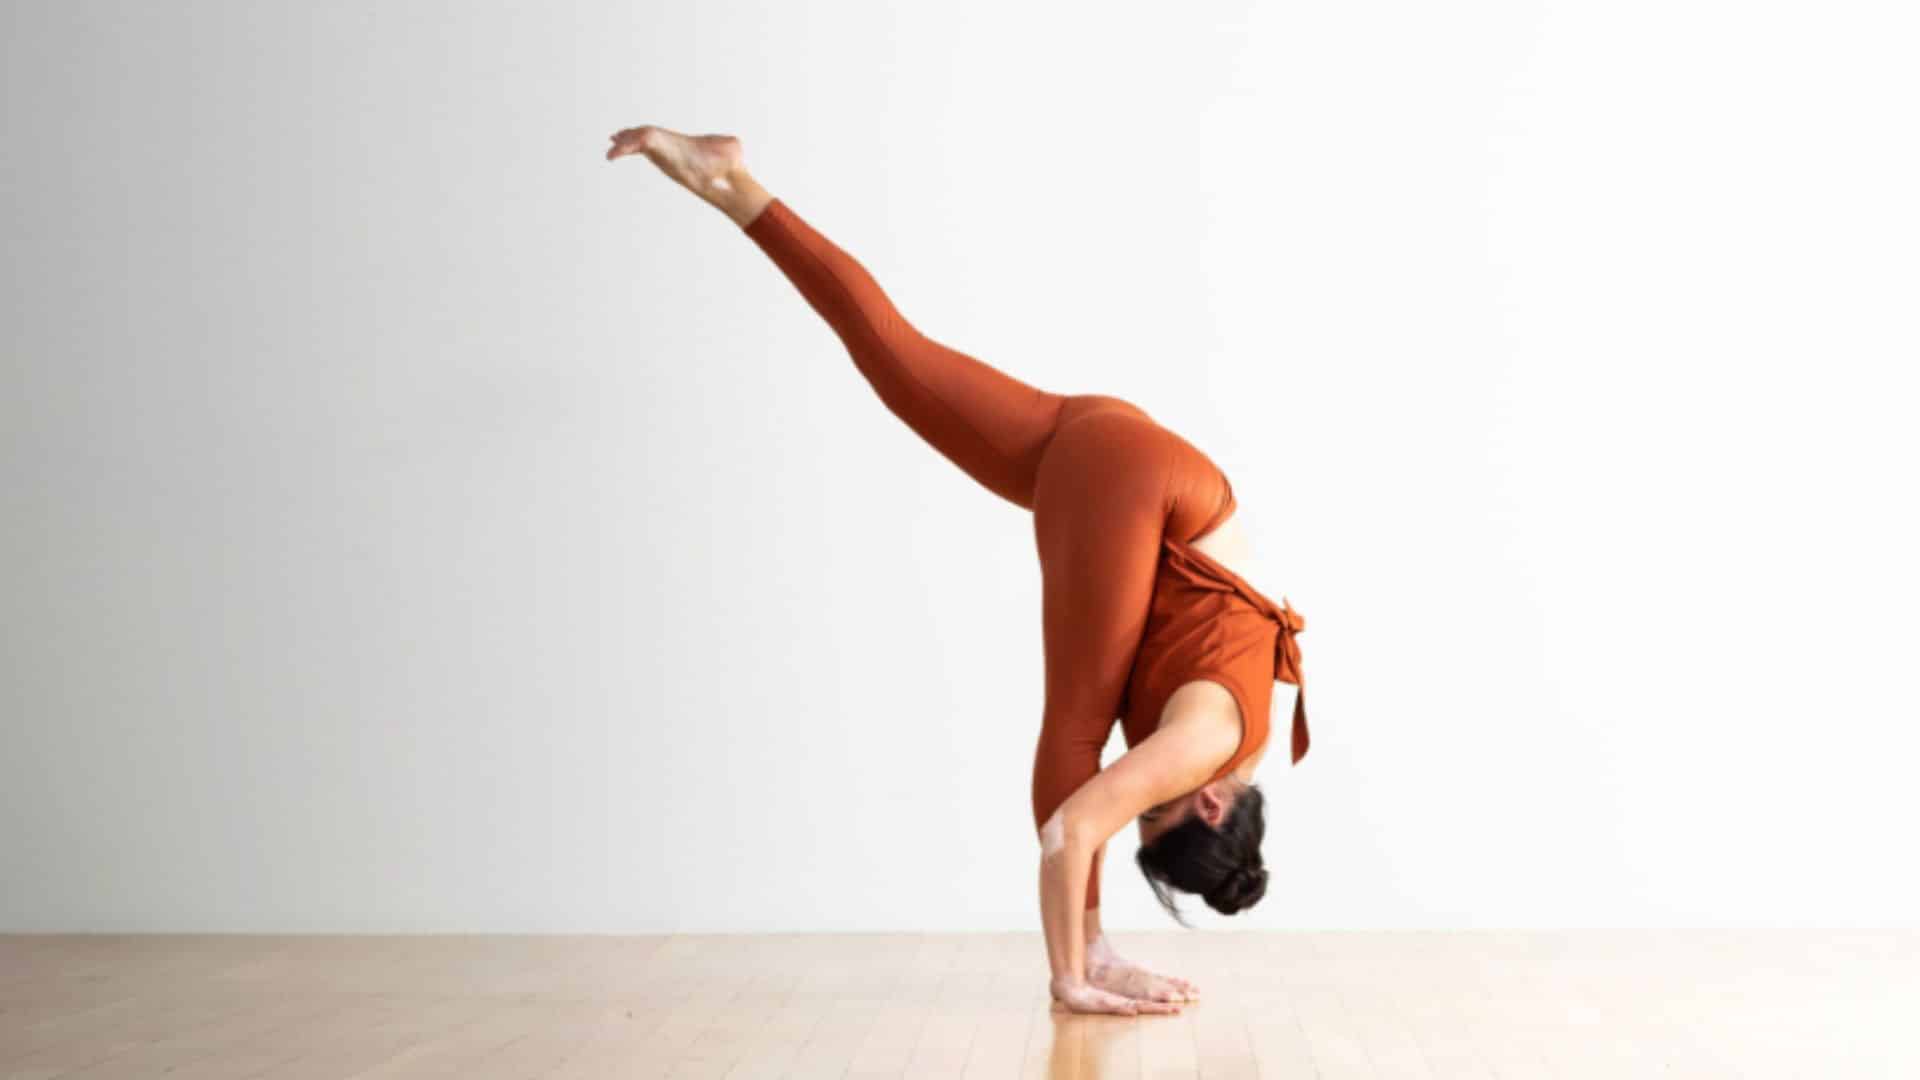
Steps:
- Fold forward from standing
- Shift weight to the right foot
- Lift your left leg behind you
- Reach for the right ankle
- Lift the left leg as high as possible
- Keep hips square
- Hold 5 to 8 breaths
Be mindful of: Rotated hips, locked standing knee, and forcing the stretch
Skip if: Hamstring injuries, lower back problems
10. Crow Pose (Bakasana)
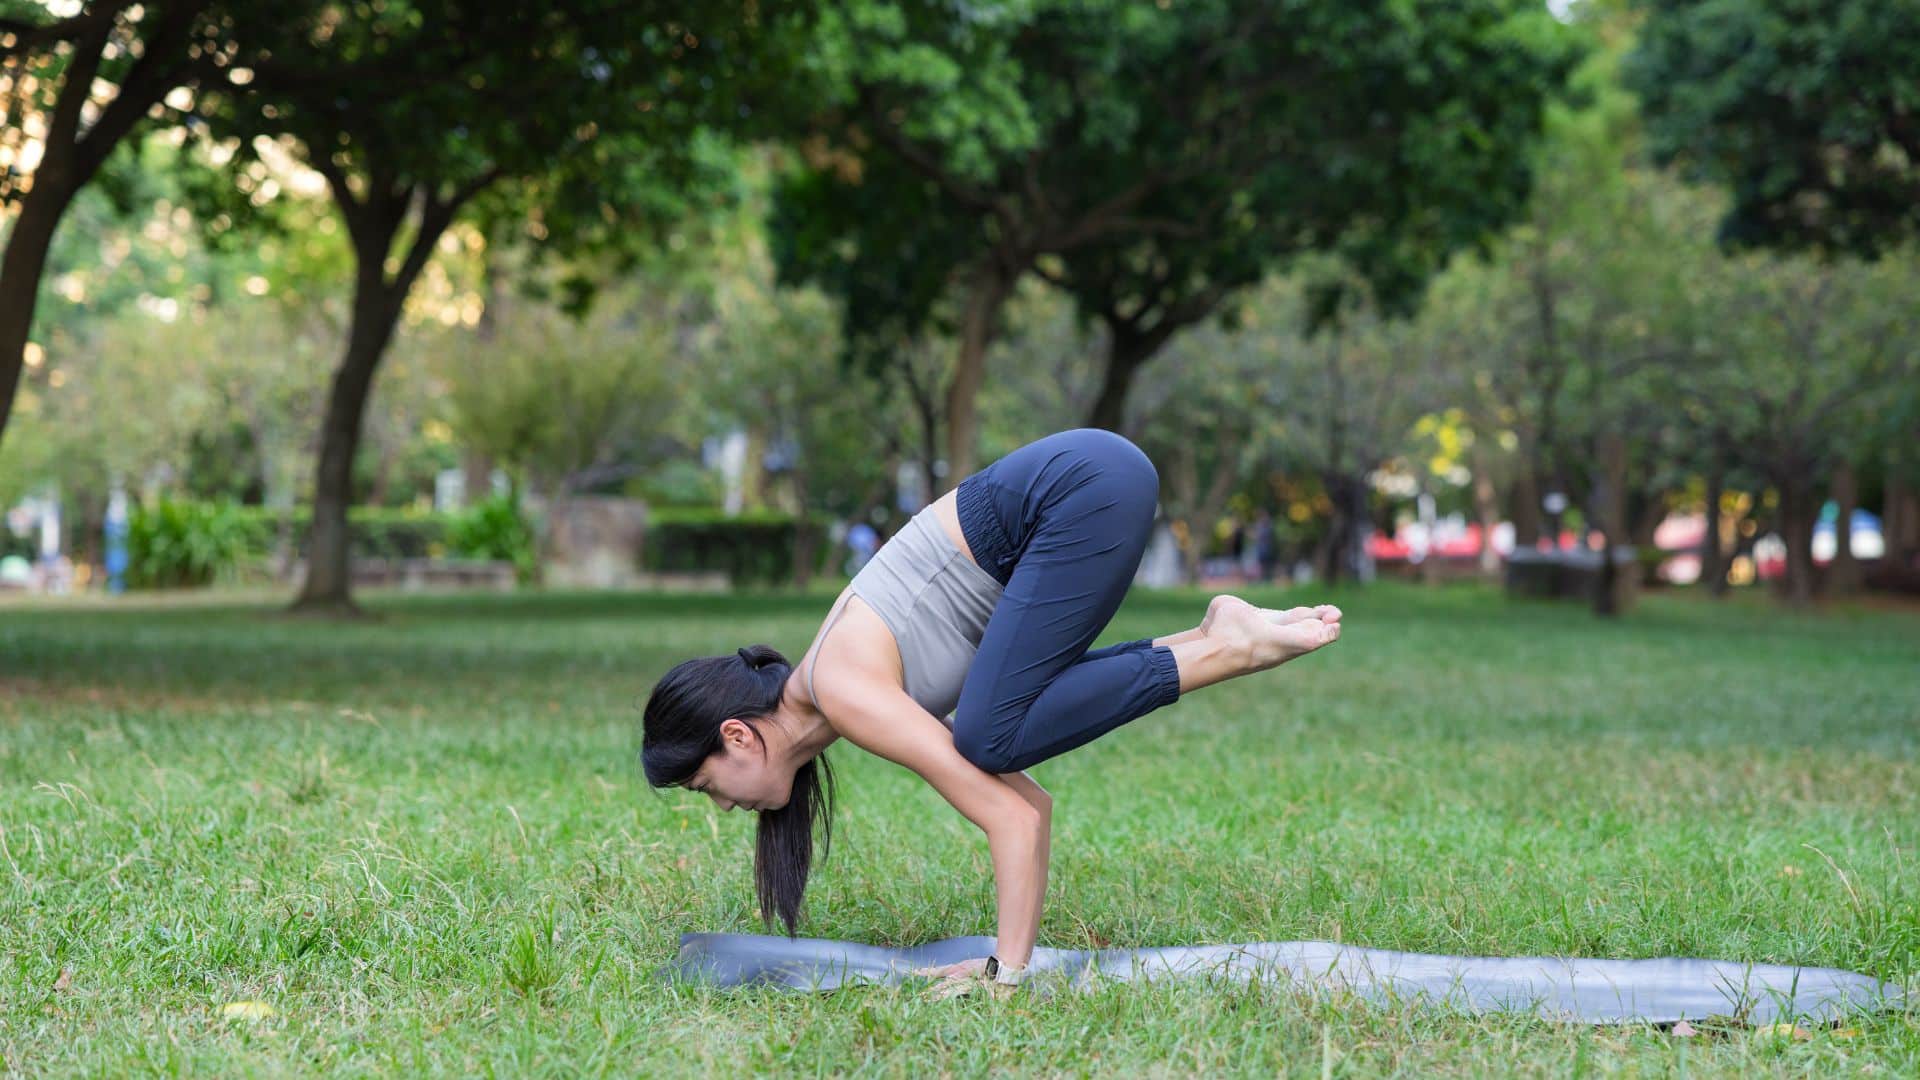
Steps:
- Squat with feet together
- Place your hands shoulder-width apart
- Set knees on upper arms
- Lean forward
- Look slightly forward
- Lift one foot, then the other
- Hold 5 to 10 breaths
Be mindful of: Arms too straight, not leaning forward enough, fear
Skip if: Wrist problems, shoulder injuries
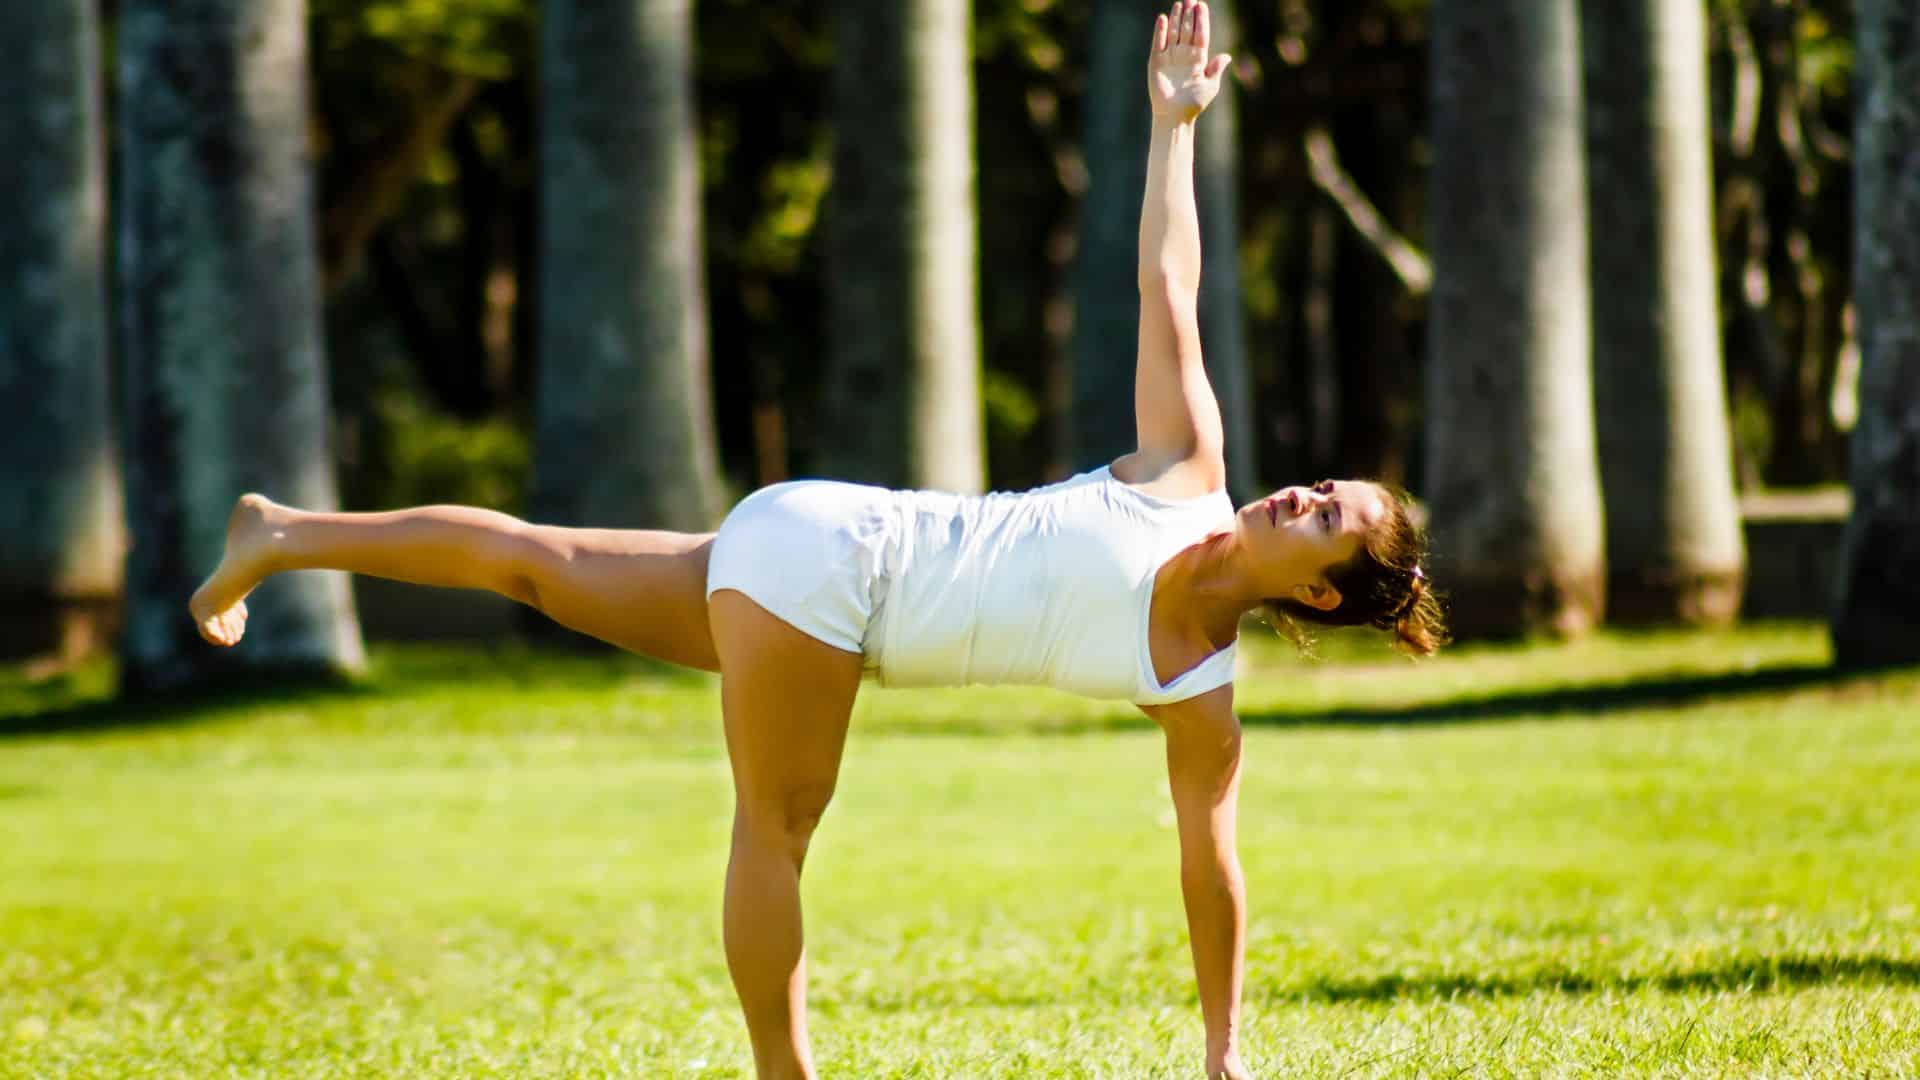
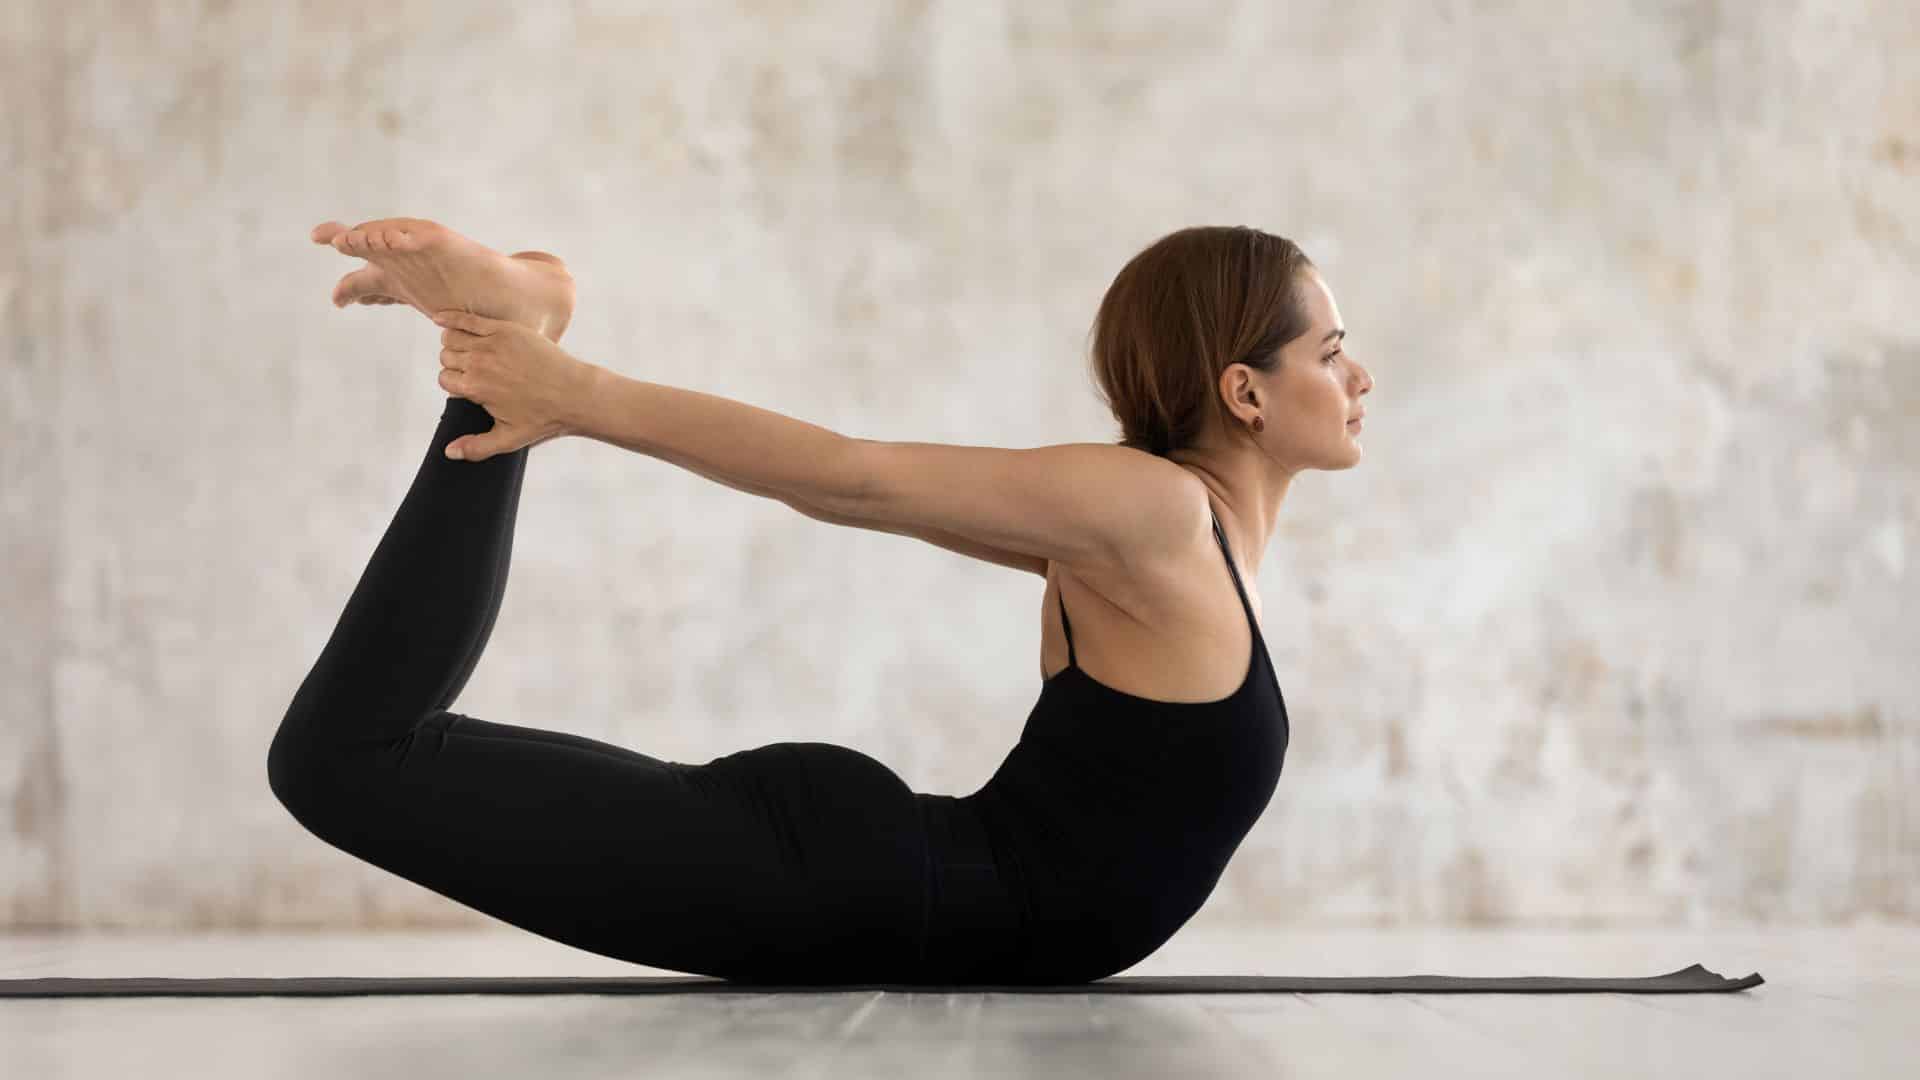
11. Boat Pose Variations (Navasana)
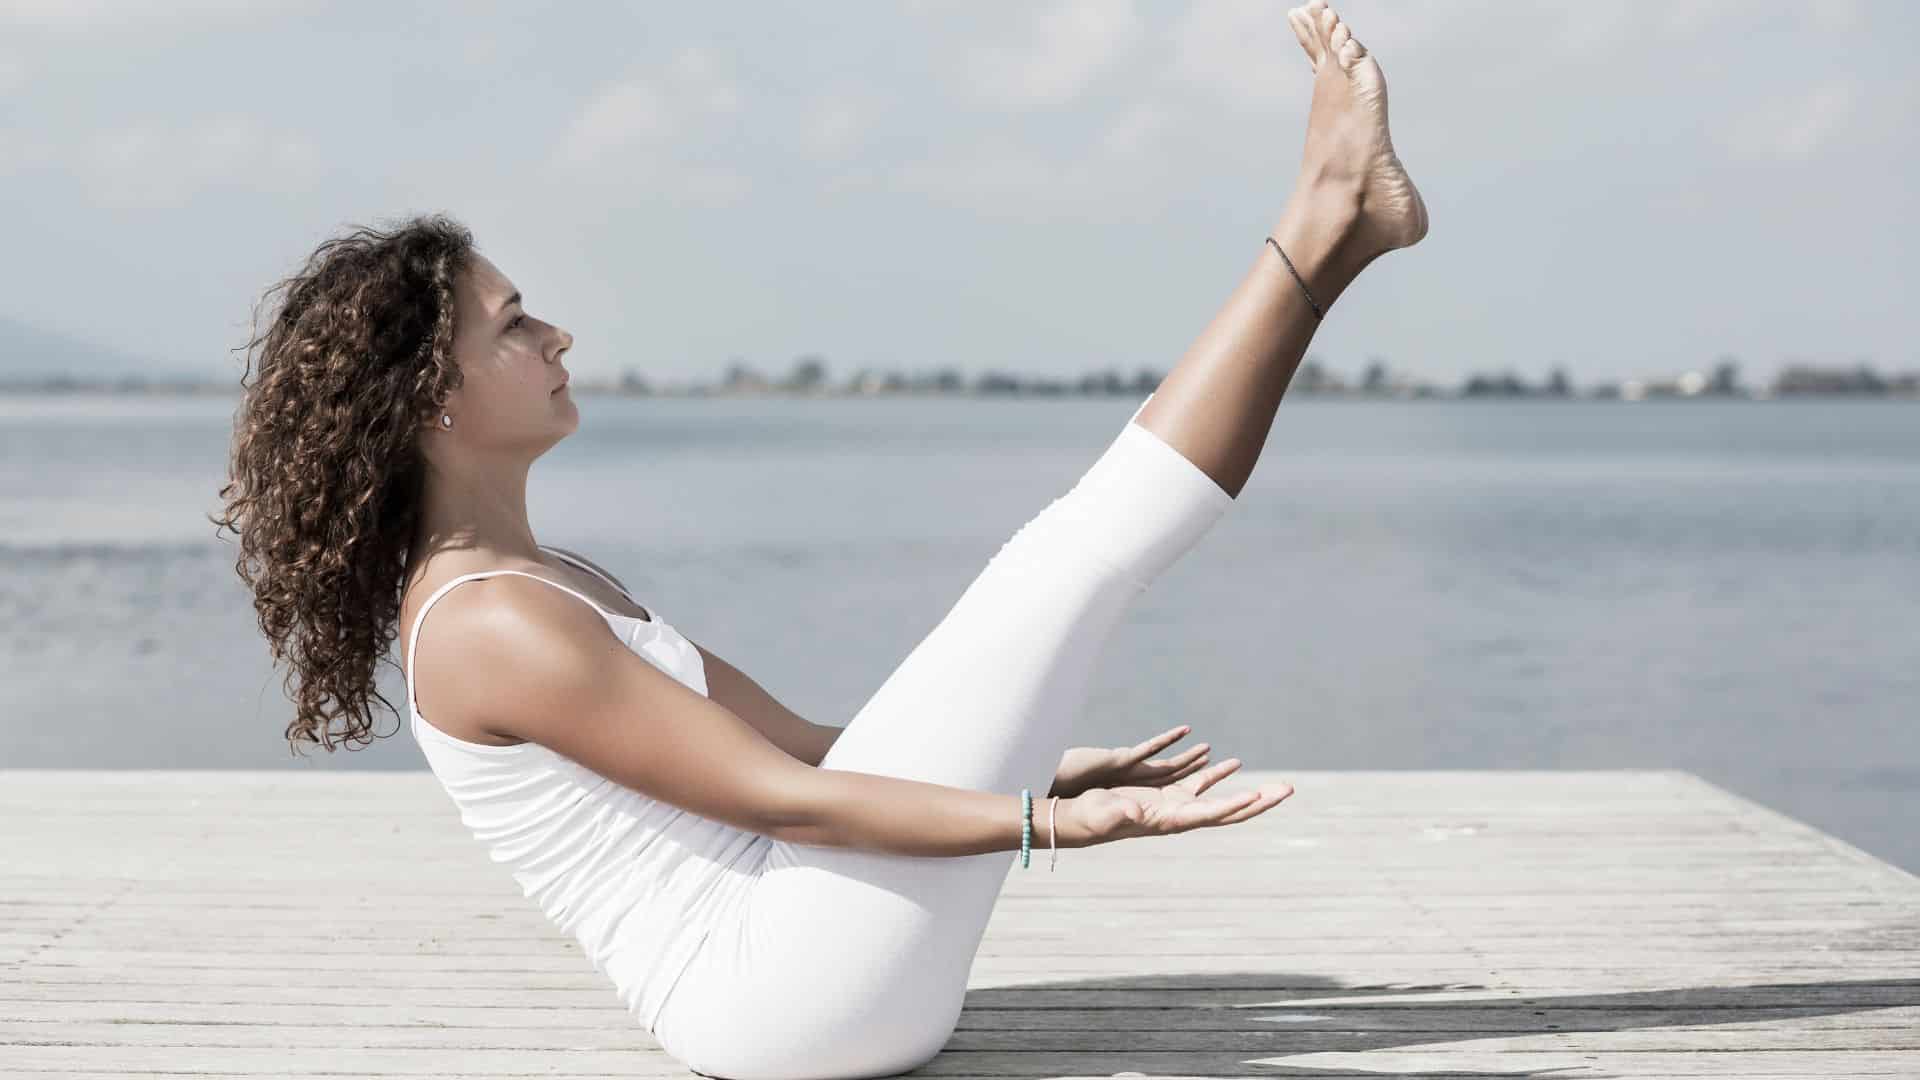
Steps:
- Sit with knees bent
- Lift feet off the floor
- Extend arms forward
- For harder version: straighten legs
- Hold 5 to 10 breaths
Be mindful of: Rounded back, holding breath, shoulders up
Skip if: Lower back injuries, pregnancy
12. Half Pigeon (Eka Pada Rajakapotasana)
Steps:
- Start in downward dog
- Bring the right knee forward
- Set shin parallel to the front of the mat
- Extend the left leg back
- Square your hips
- Walk hands forward or stay upright
- Hold 1 to 3 minutes
Be mindful of: Uneven hips, knee pain, and forcing the stretch
Skip if: Knee problems, hip replacements
13. Lizard Pose (Utthan Pristhasana)
Steps:
- Start in high lunge
- Place both hands inside the front foot
- Lower to forearms if possible
- Keep the back knee up or down
- Hold 1 to 2 minutes
Be mindful of: Front knee past ankle, hips twisting, and shoulders tensed
Skip if: Hip or knee injuries
14. Bound Angle Pose Variations (Baddha Konasana)
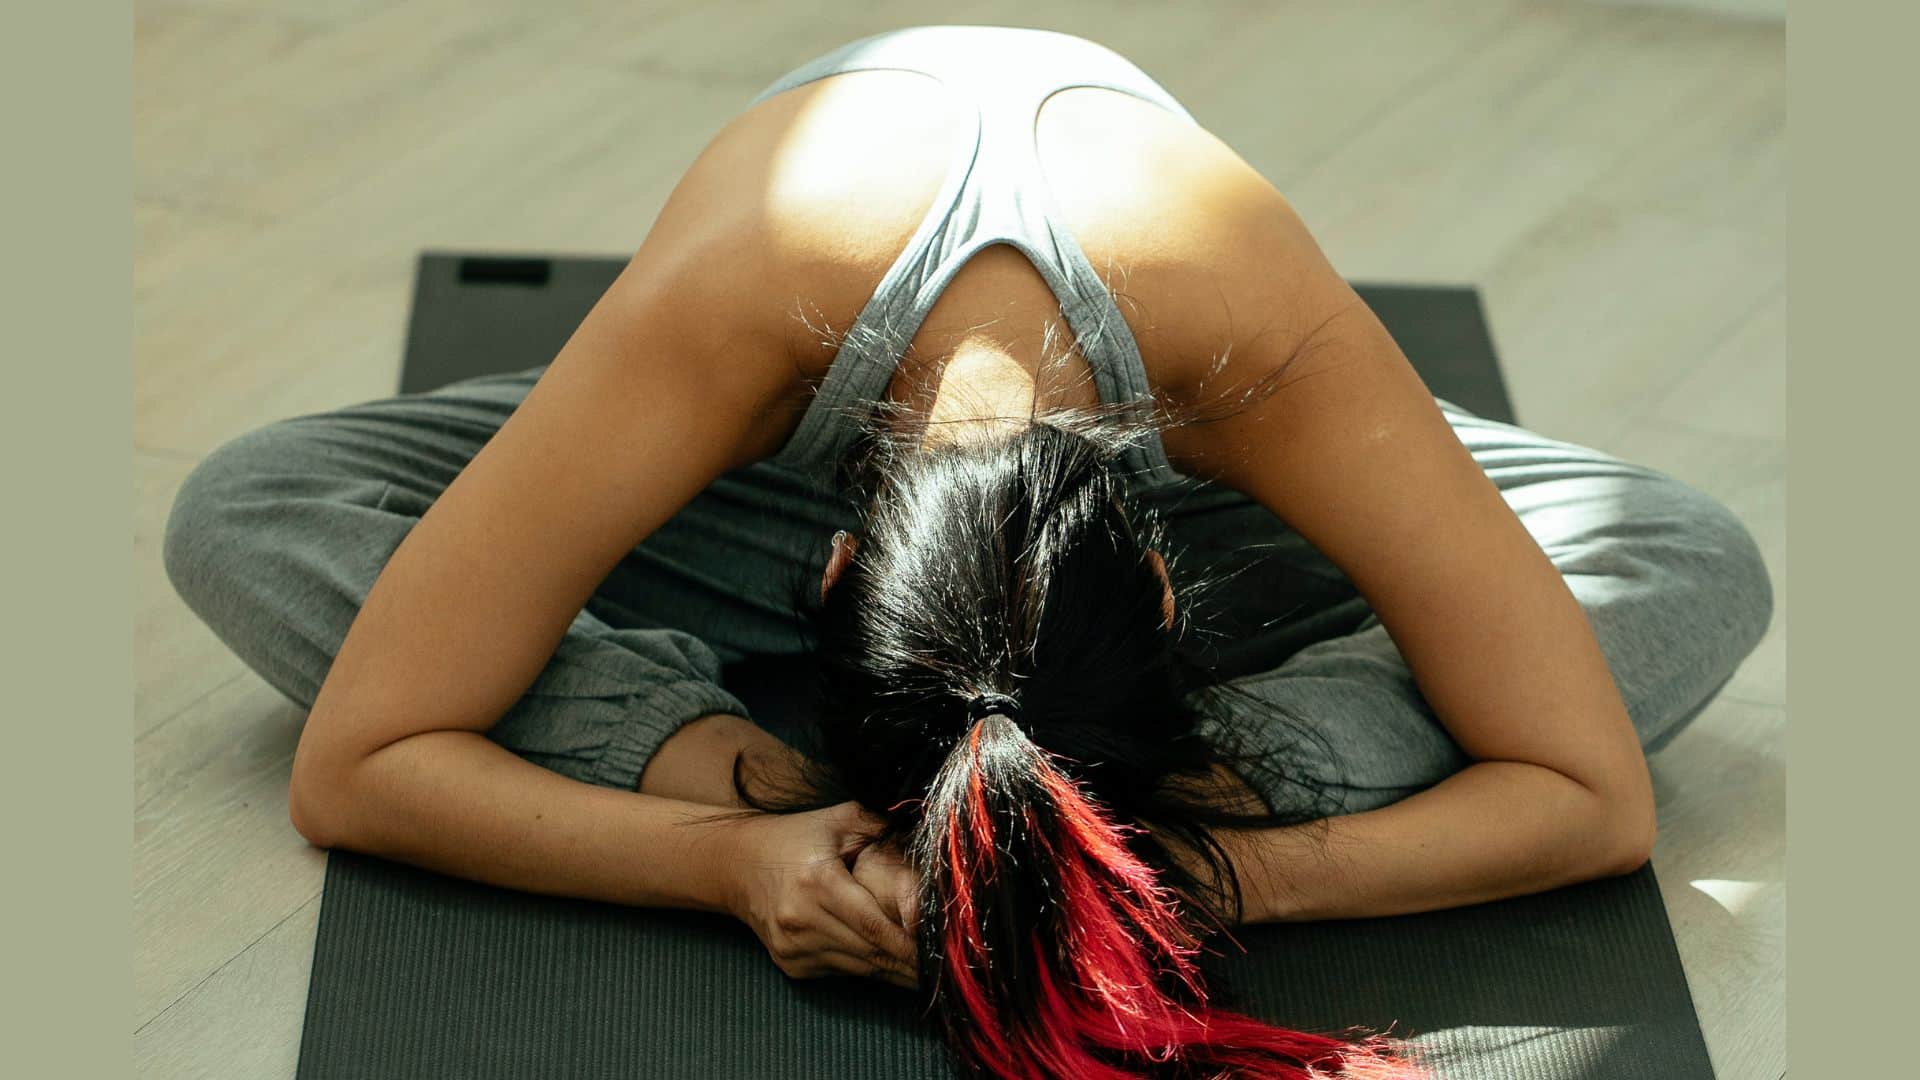
Steps:
- Sit with the soles of your feet together
- Hold feet
- Let knees fall open
- Fold forward
- Or lean back on your hands
- Hold 1 to 3 minutes
Be mindful of: Rounded back, forcing knees down, knee pain
Skip if: Knee or groin injuries
15. Fire Log Pose (Agnistambhasana)
Steps:
- Sit with legs crossed
- Stack the right shin on top of the left
- Align ankle over knee, knee over ankle
- Stay upright or fold forward
- Hold 1 to 2 minutes
Be mindful of: Knee pain, forcing the position, and a rounded back
Skip if: Knee injuries, hip problems
16. Camel Pose (Ustrasana)
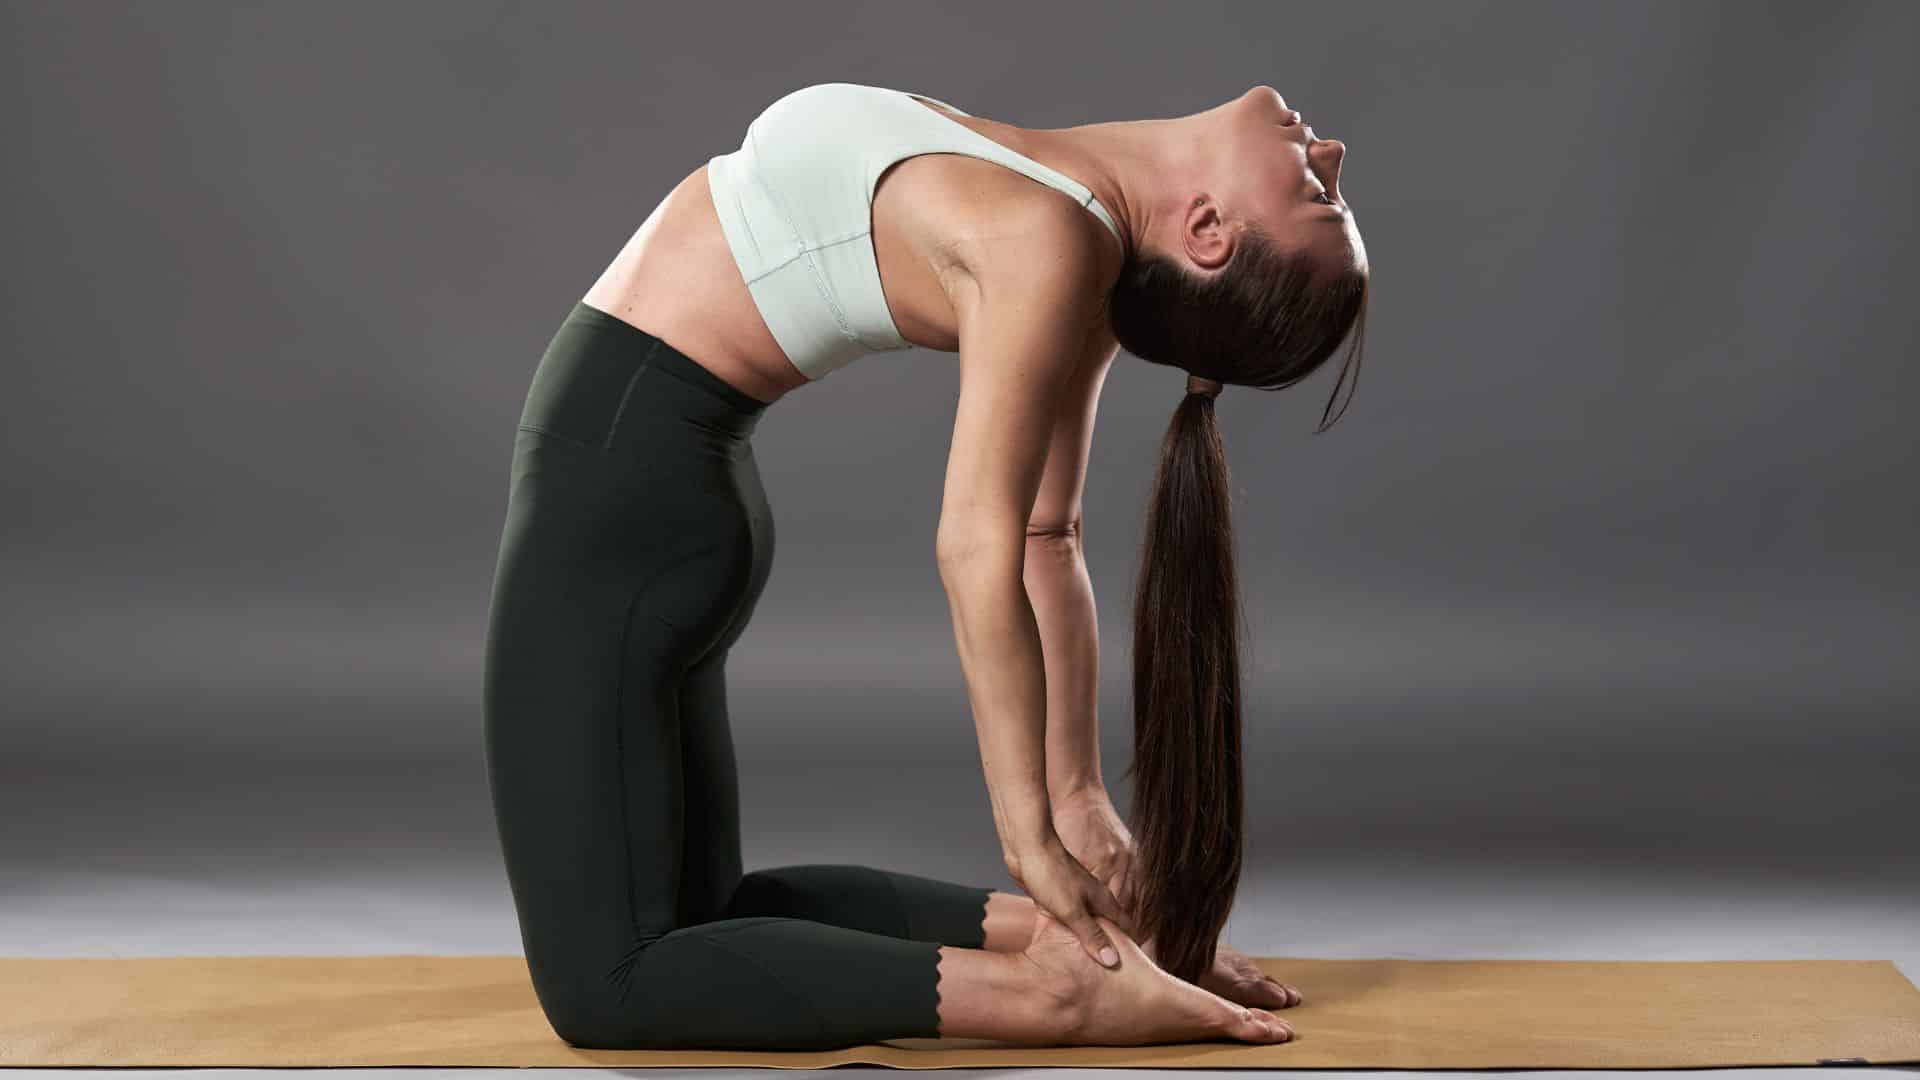
Steps:
- Kneel with knees hip-width apart
- Place your hands on your lower back
- Lift the chest toward the ceiling
- Keep thighs perpendicular
- For deeper: reach for heels
- Hold 5 to 8 breaths
Be mindful of: Dropped head, compressed lower back, weak glutes
Skip if: Back or neck injuries, high blood pressure
17. Bow Pose (Dhanurasana)
Steps:
- Lie on your belly
- Bend knees
- Reach back for ankles
- Kick feet into hands
- Lift chest and thighs
- Hold 5 to 8 breaths
Be mindful of: Squeezing glutes, holding breath, knees splaying wide
Skip if: Serious back problems, high blood pressure
18. Bridge Pose Variations
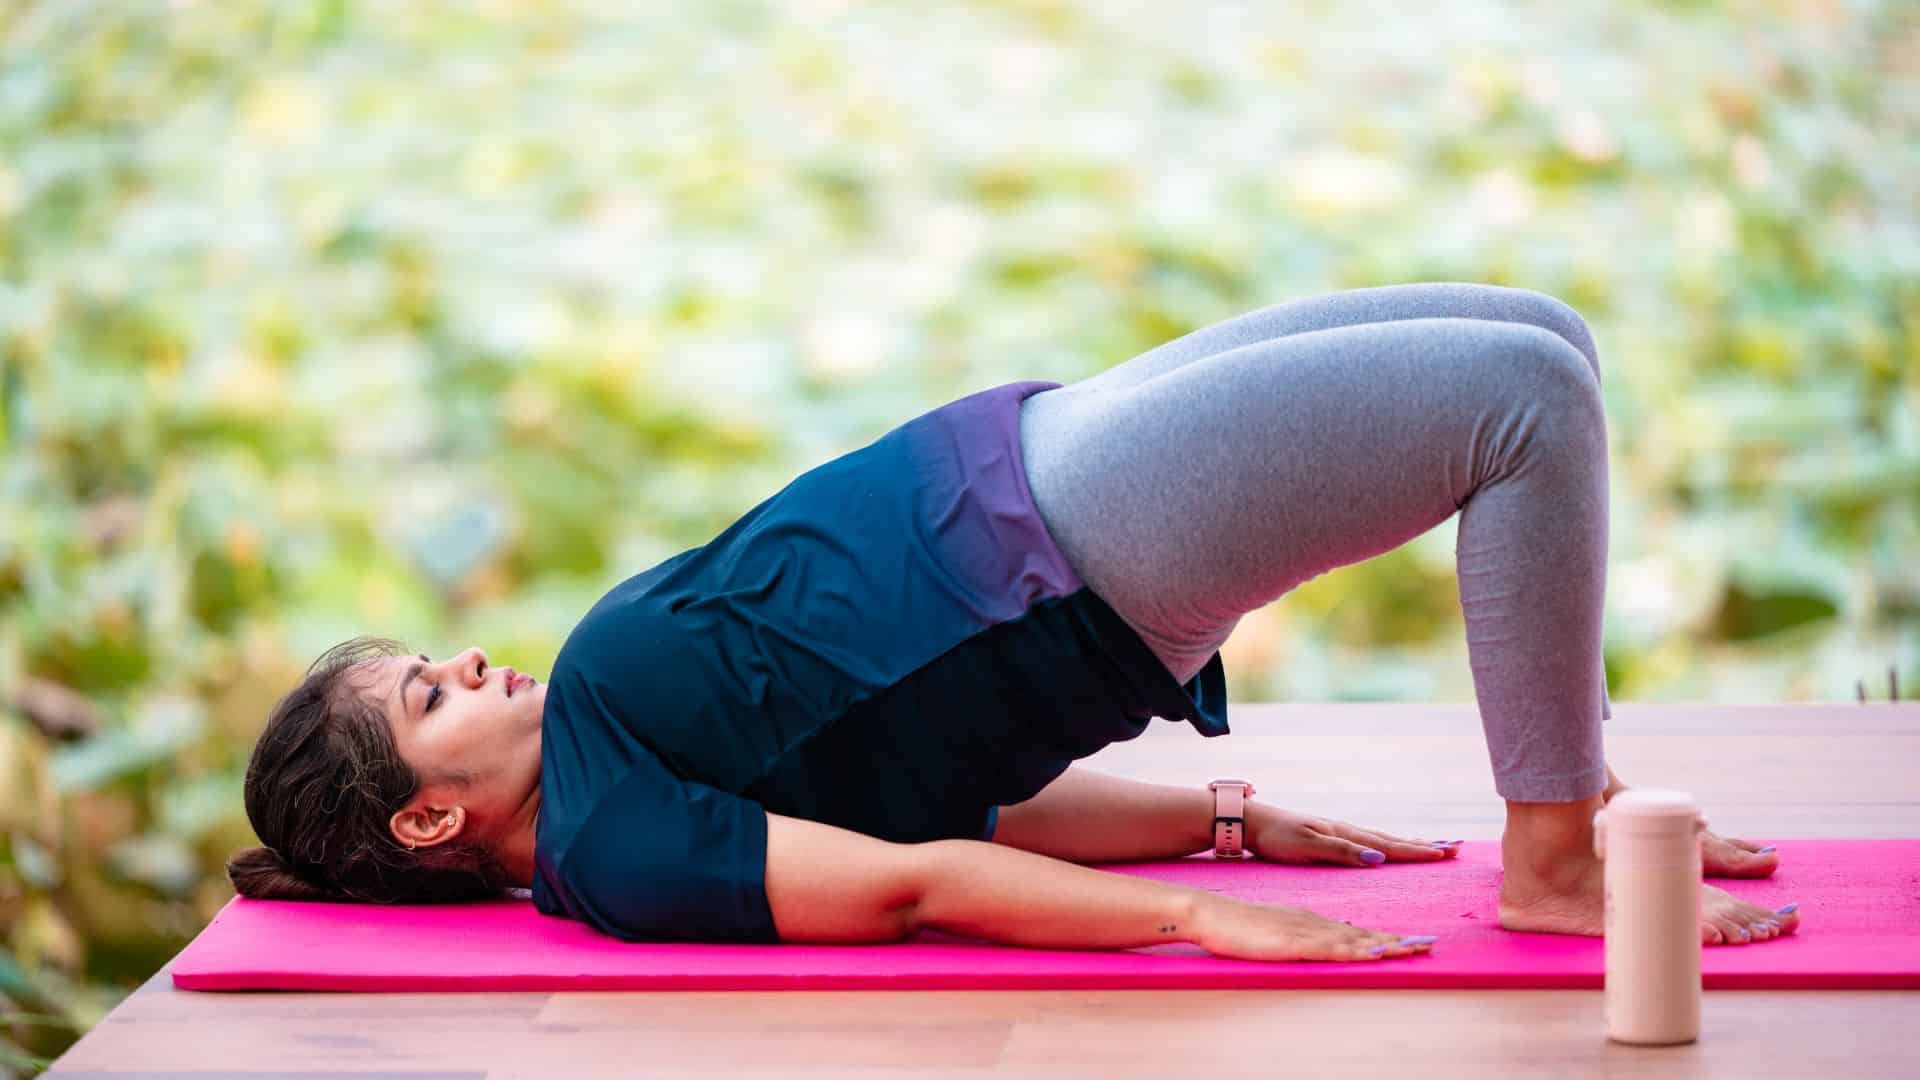
Steps:
- Lie on your back
- Bend knees, feet hip-width
- Press into feet and lift hips
- Clasp hands underneath
- Walk shoulders closer
- For variation: lift one leg
- Hold 5 to 10 breaths
Be mindful of: Knees splaying, ribs jutting, neck strain
Skip if: Neck injuries
19. Wheel Pose (Urdhva Dhanurasana)
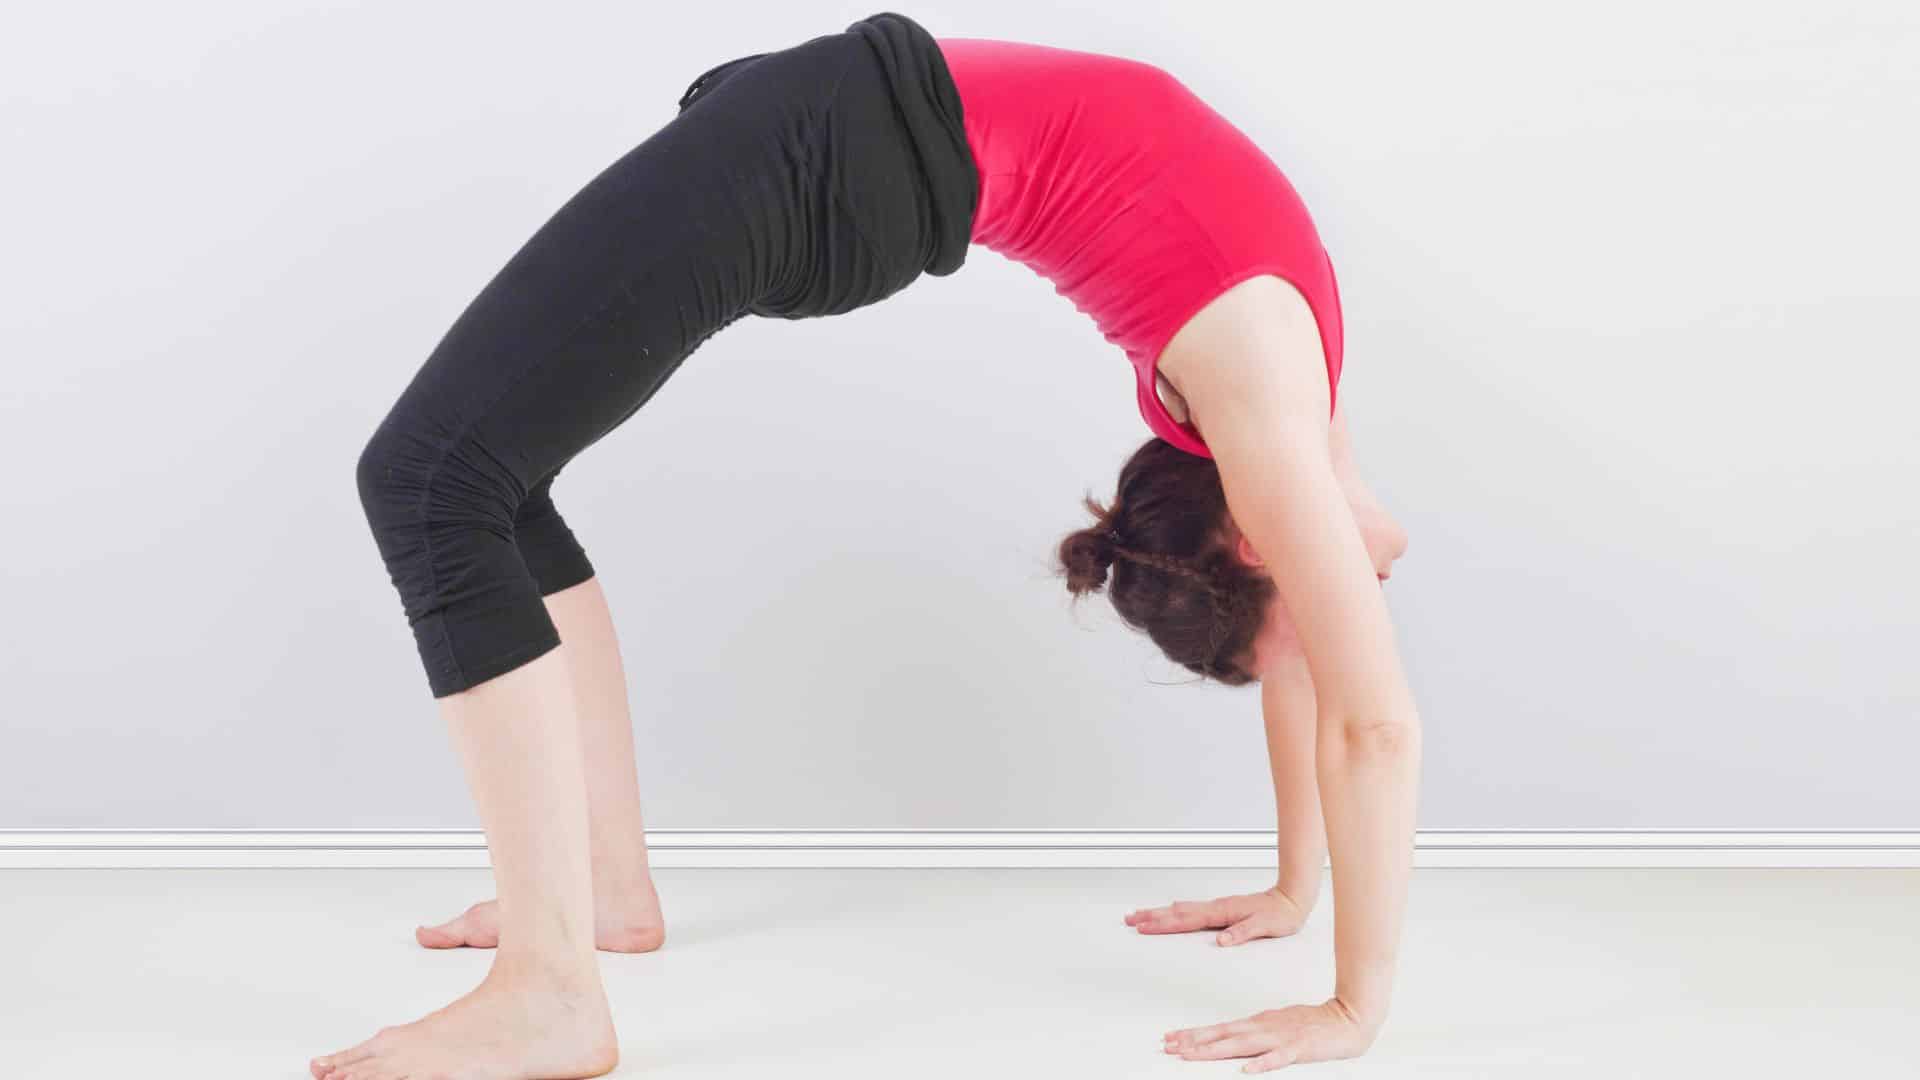
Steps:
- Lie on your back
- Bend knees, feet near hips
- Place hands by ears, fingers toward shoulders
- Press into hands and feet
- Lift hips and chest
- Straighten arms
- Hold 5 to 10 breaths
Be mindful of: Collapsed arms, compressed lower back, splayed feet
Skip if: Wrist, shoulder, or back injuries
20. Dolphin Pose
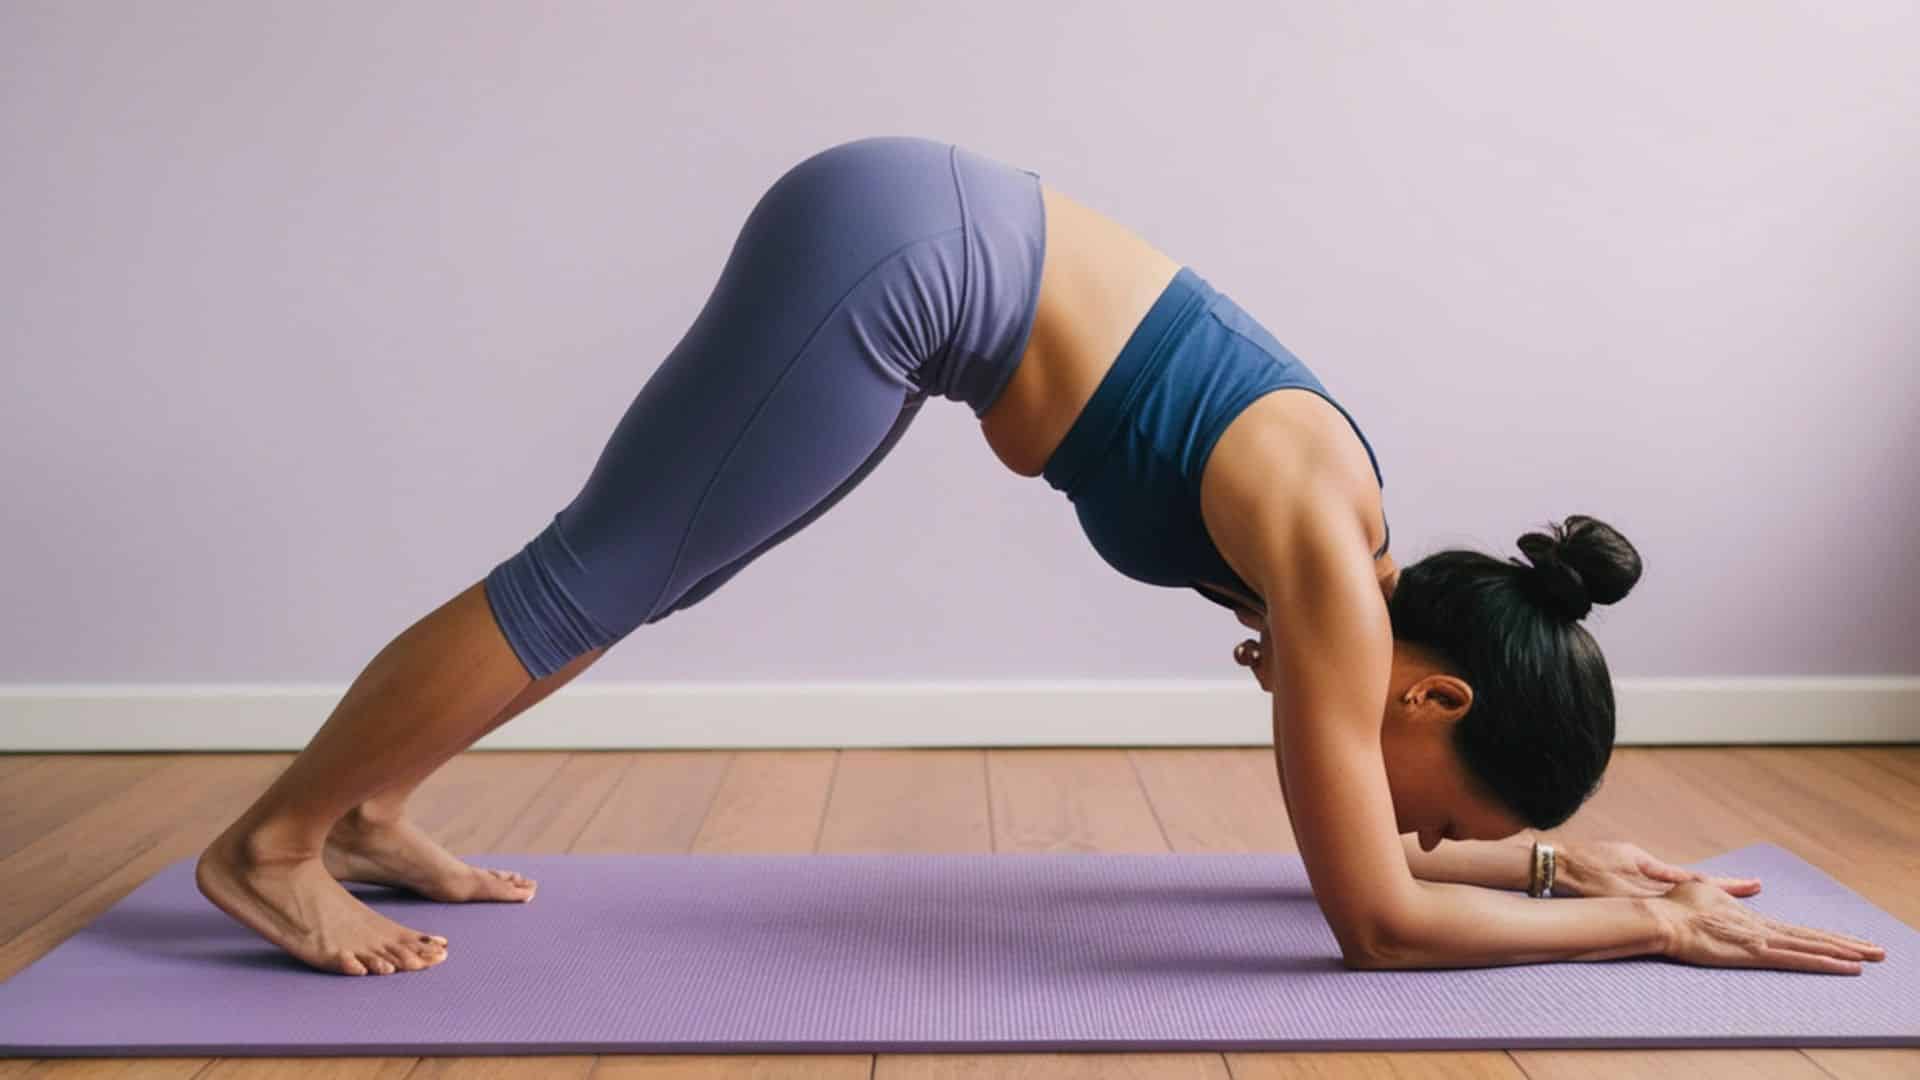
Steps:
- Start on hands and knees
- Lower to forearms
- Lift hips high
- Walk feet forward
- Press chest toward thighs
- Hold 5 to 10 breaths
Be mindful of: Collapsed shoulders, head hanging, bent legs when not needed
Skip if: Shoulder injuries
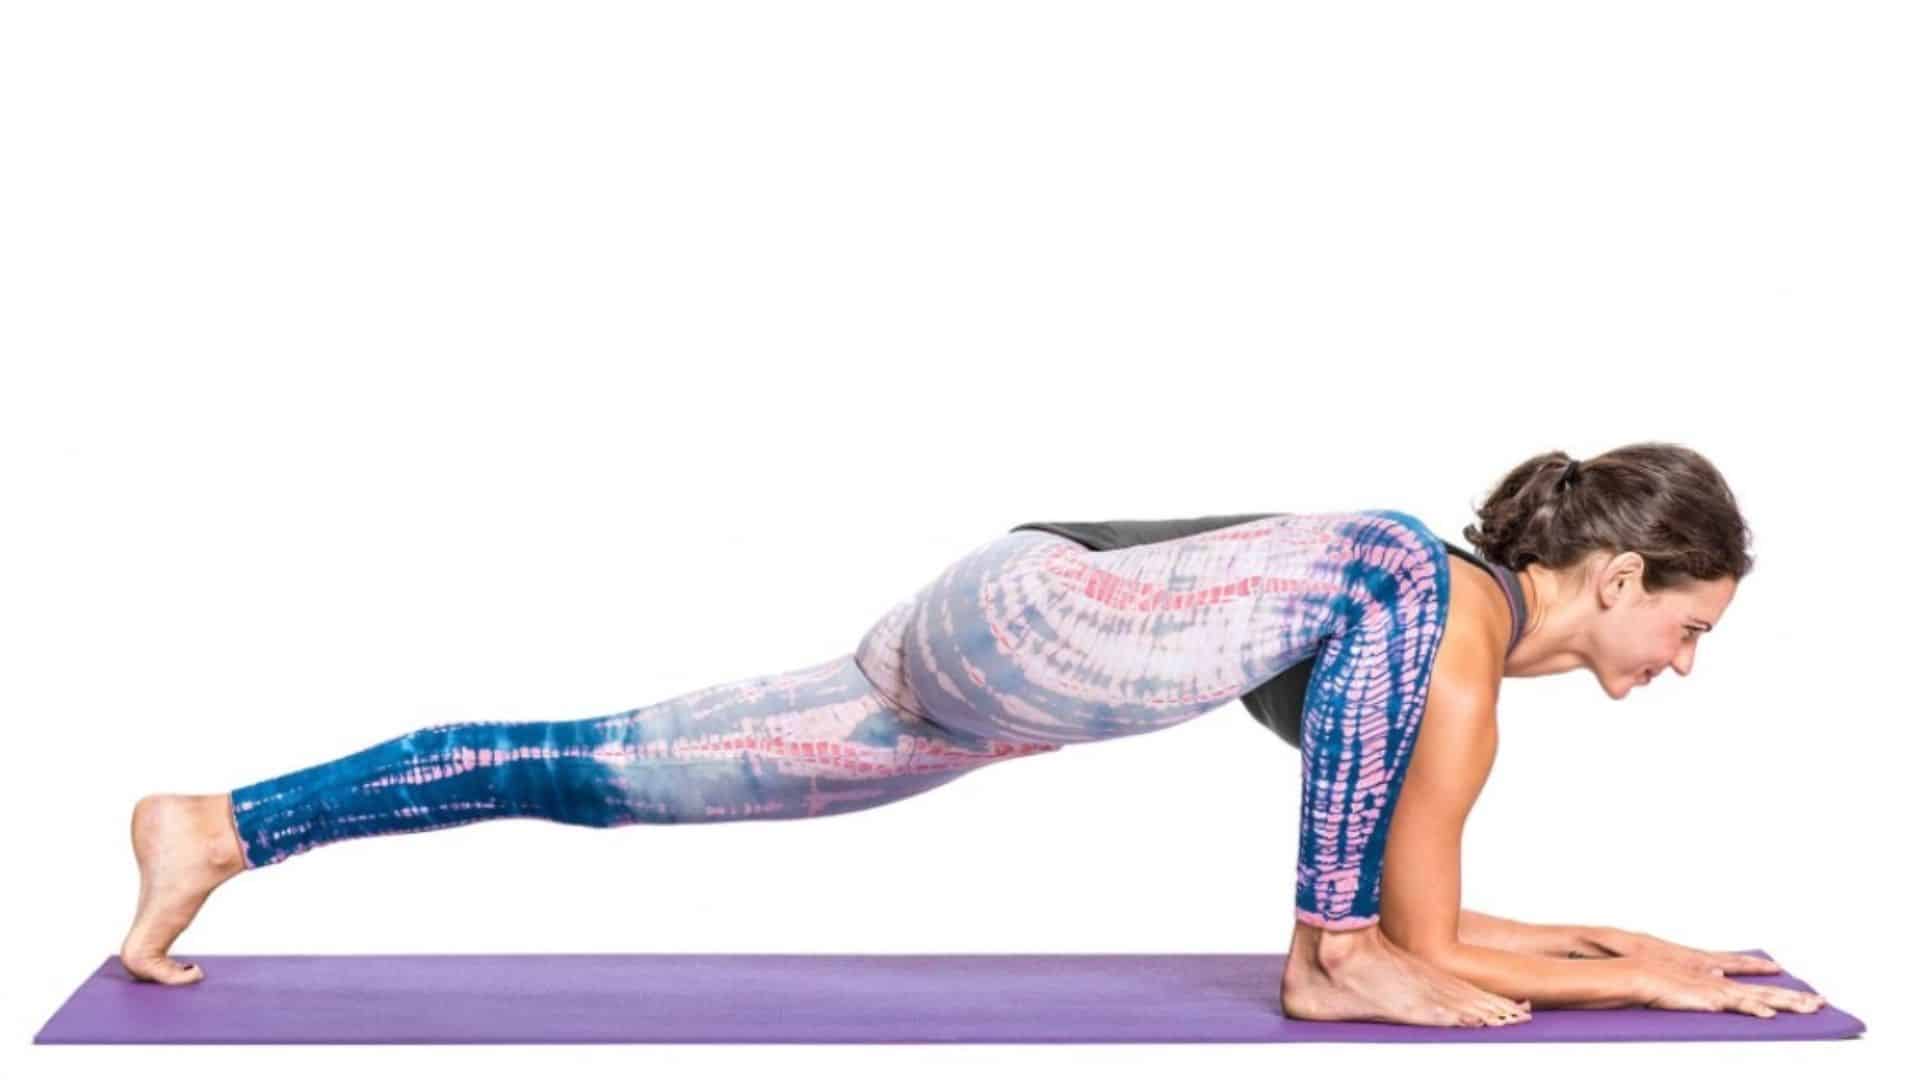
21. Forearm Plank Variations
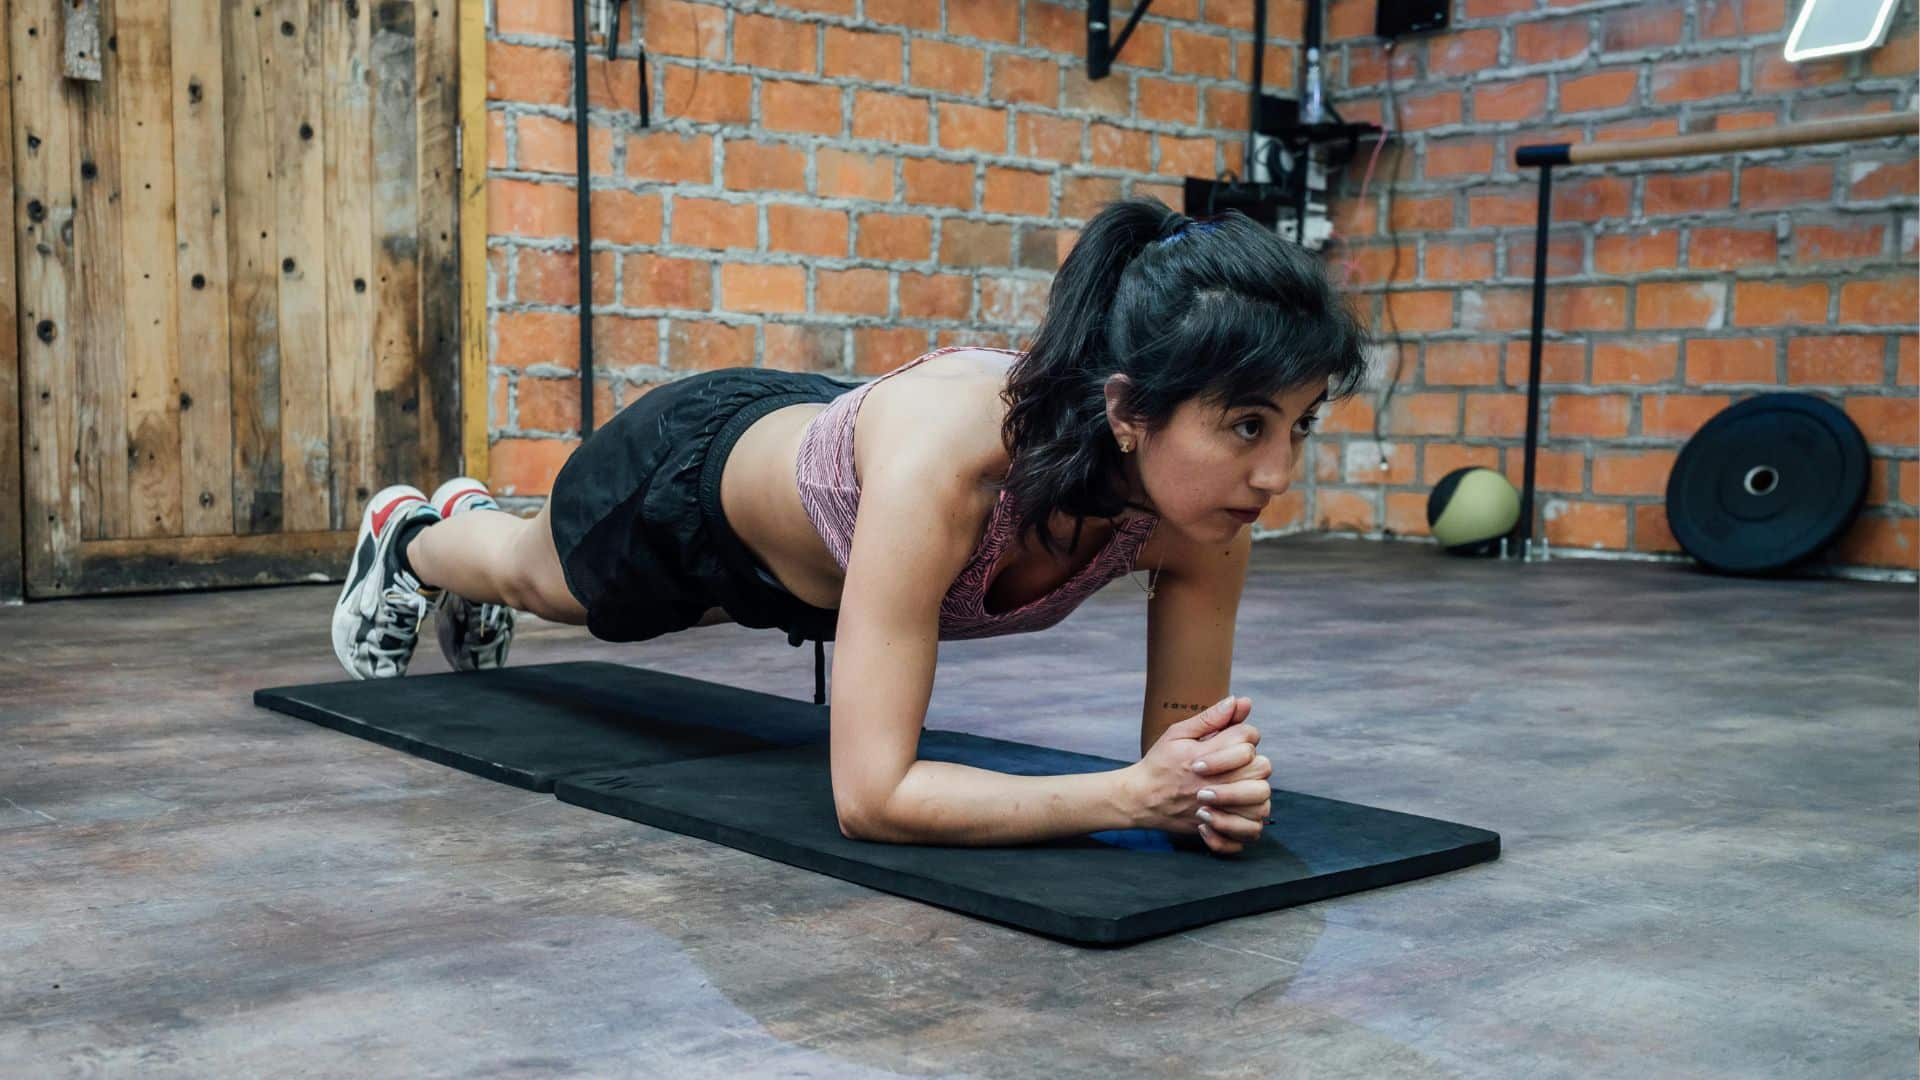
Steps:
- Come to the forearm plank
- Hold 30-60 seconds
- Add variations: lift one leg, hip dips, knee to elbow
- Rest and repeat
Be mindful of: Sagging hips, shoulders past elbows, held breath
Skip if: Shoulder or wrist problems
22. Side Plank Variations (Vasisthasana)
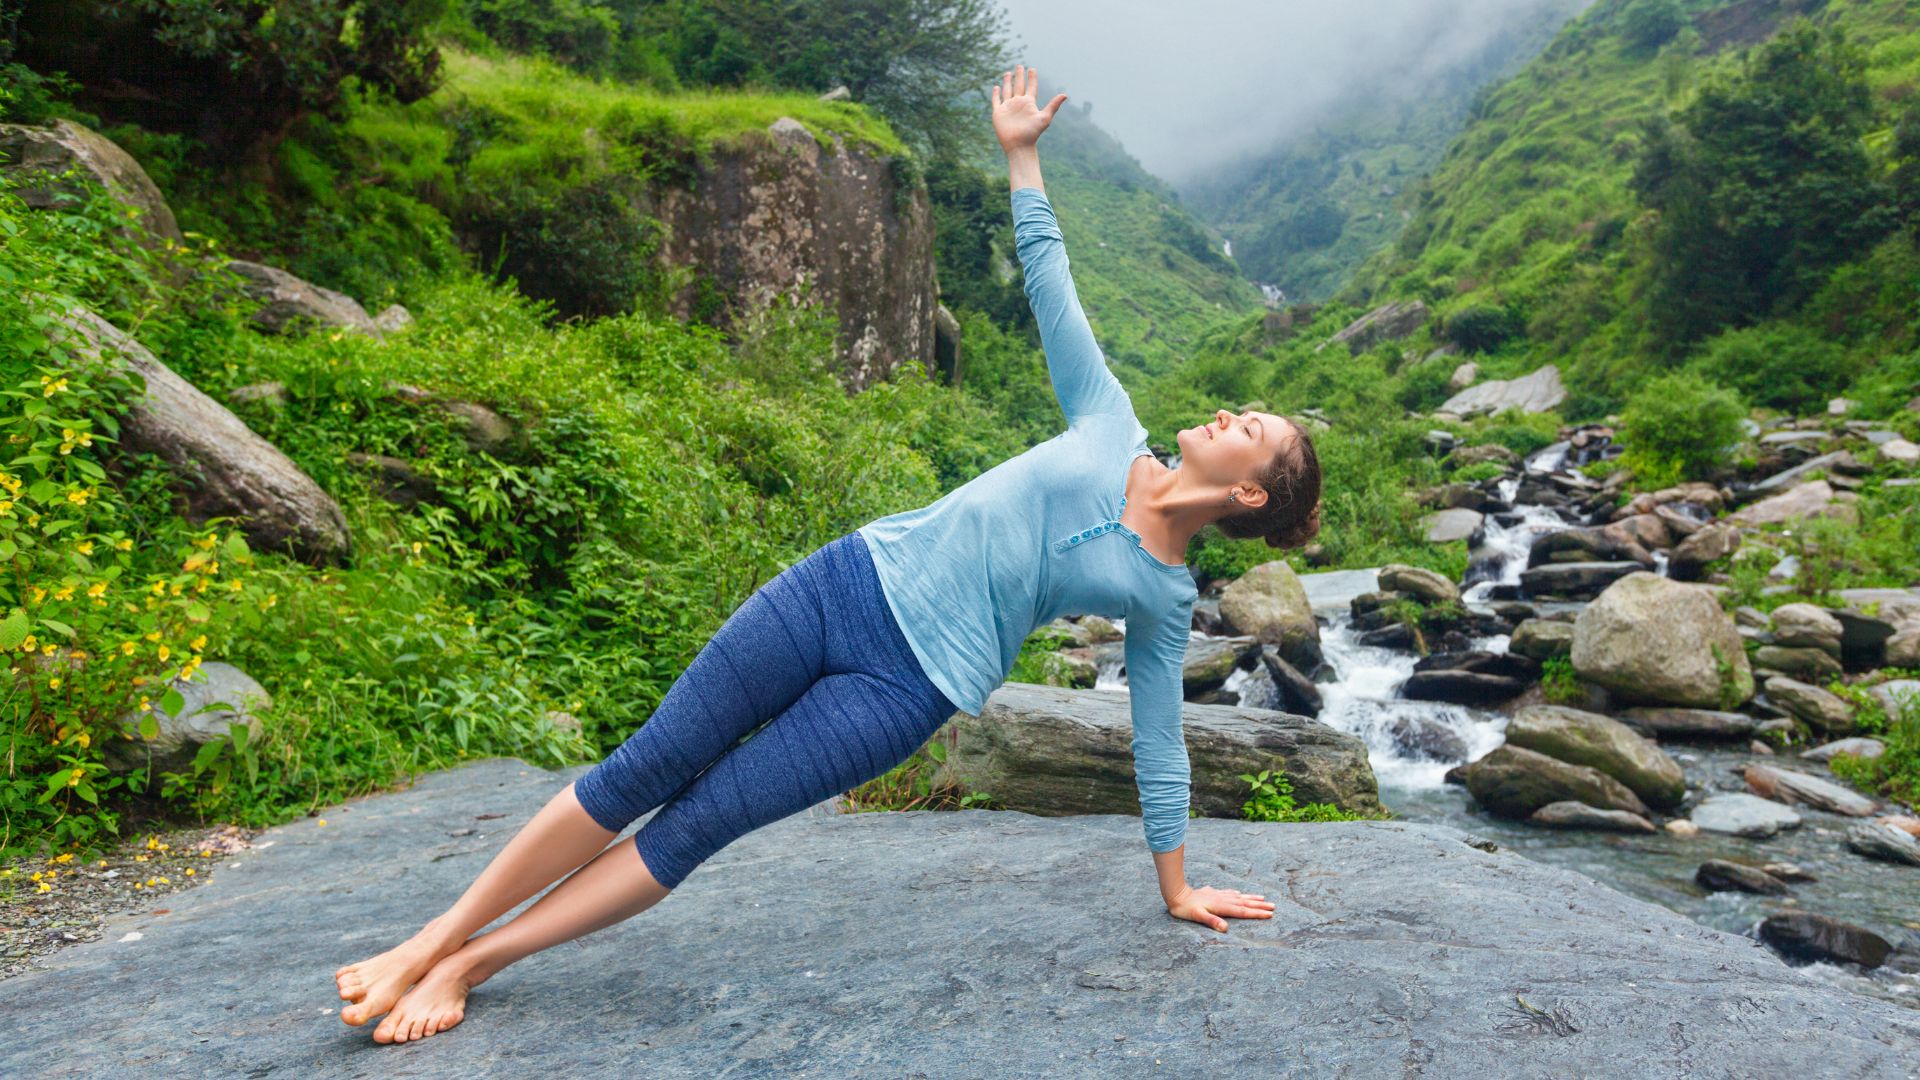
Steps:
- From the plank, shift to one hand
- Stack feet or stagger them
- Lift hips high
- The top arm reaches up
- Hold 5 to 8 breaths
- Add variations: lift top leg, reach under
Be mindful of: Collapsed shoulder, dropped hips, twisted torso
Skip if: Wrist or shoulder injuries
23. Headstand
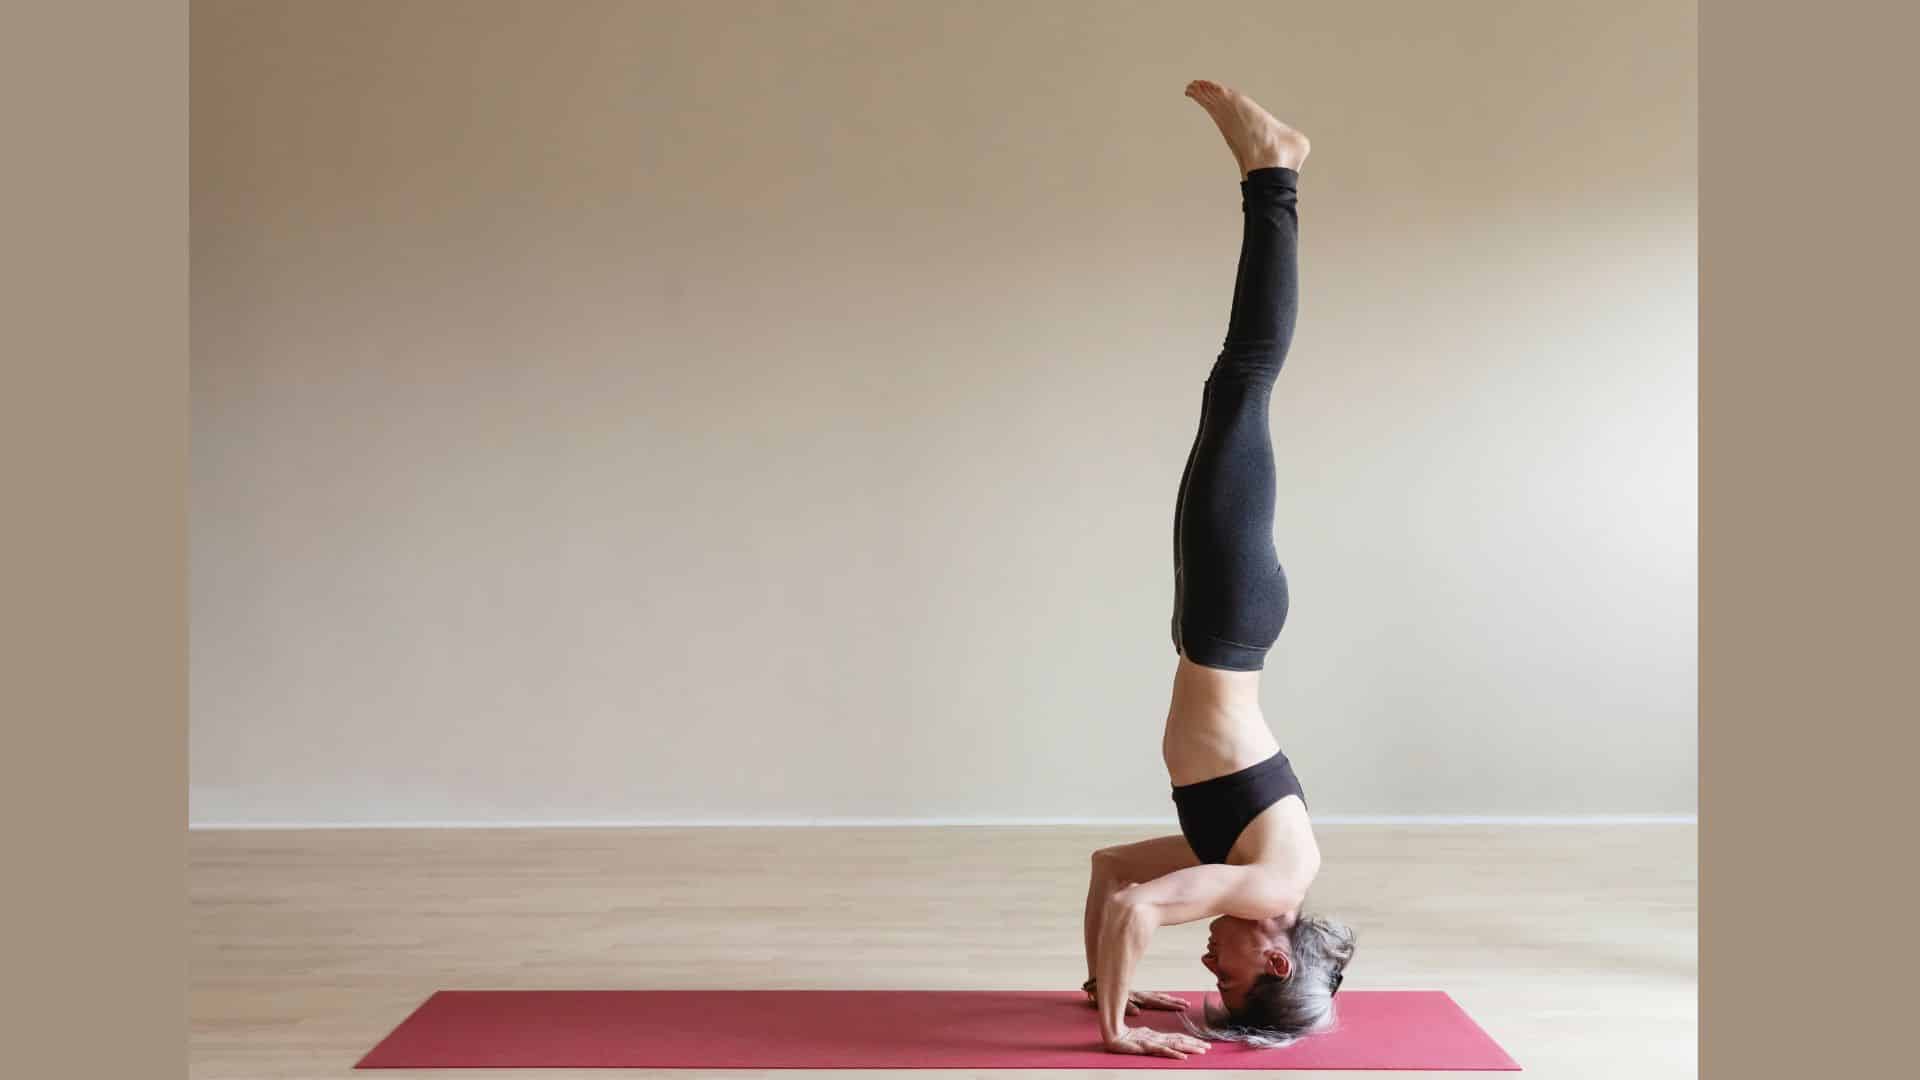
Steps:
- Kneel down
- Interlace fingers
- Place the crown of the head on the mat
- Lift hips, walk feet close
- Practice weight in forearms
- Eventually lift one leg
- Hold 5 to 10 breaths when ready
Be mindful of: Too much weight in the head, weak core, and kicking up
Skip if: Neck problems, high blood pressure, glaucoma, menstruation
24. Shoulderstand (Salamba Sarvangasana)
Steps:
- Use folded blankets under the shoulders
- Lie on your back
- Bend knees and lift hips
- Support the lower back with your hands
- Walk hands up back
- Straighten legs
- Hold 5 to 10 breaths
Be mindful of: Weight in neck, no blanket support, coming up too fast
Skip if: Neck injuries, high blood pressure, glaucoma
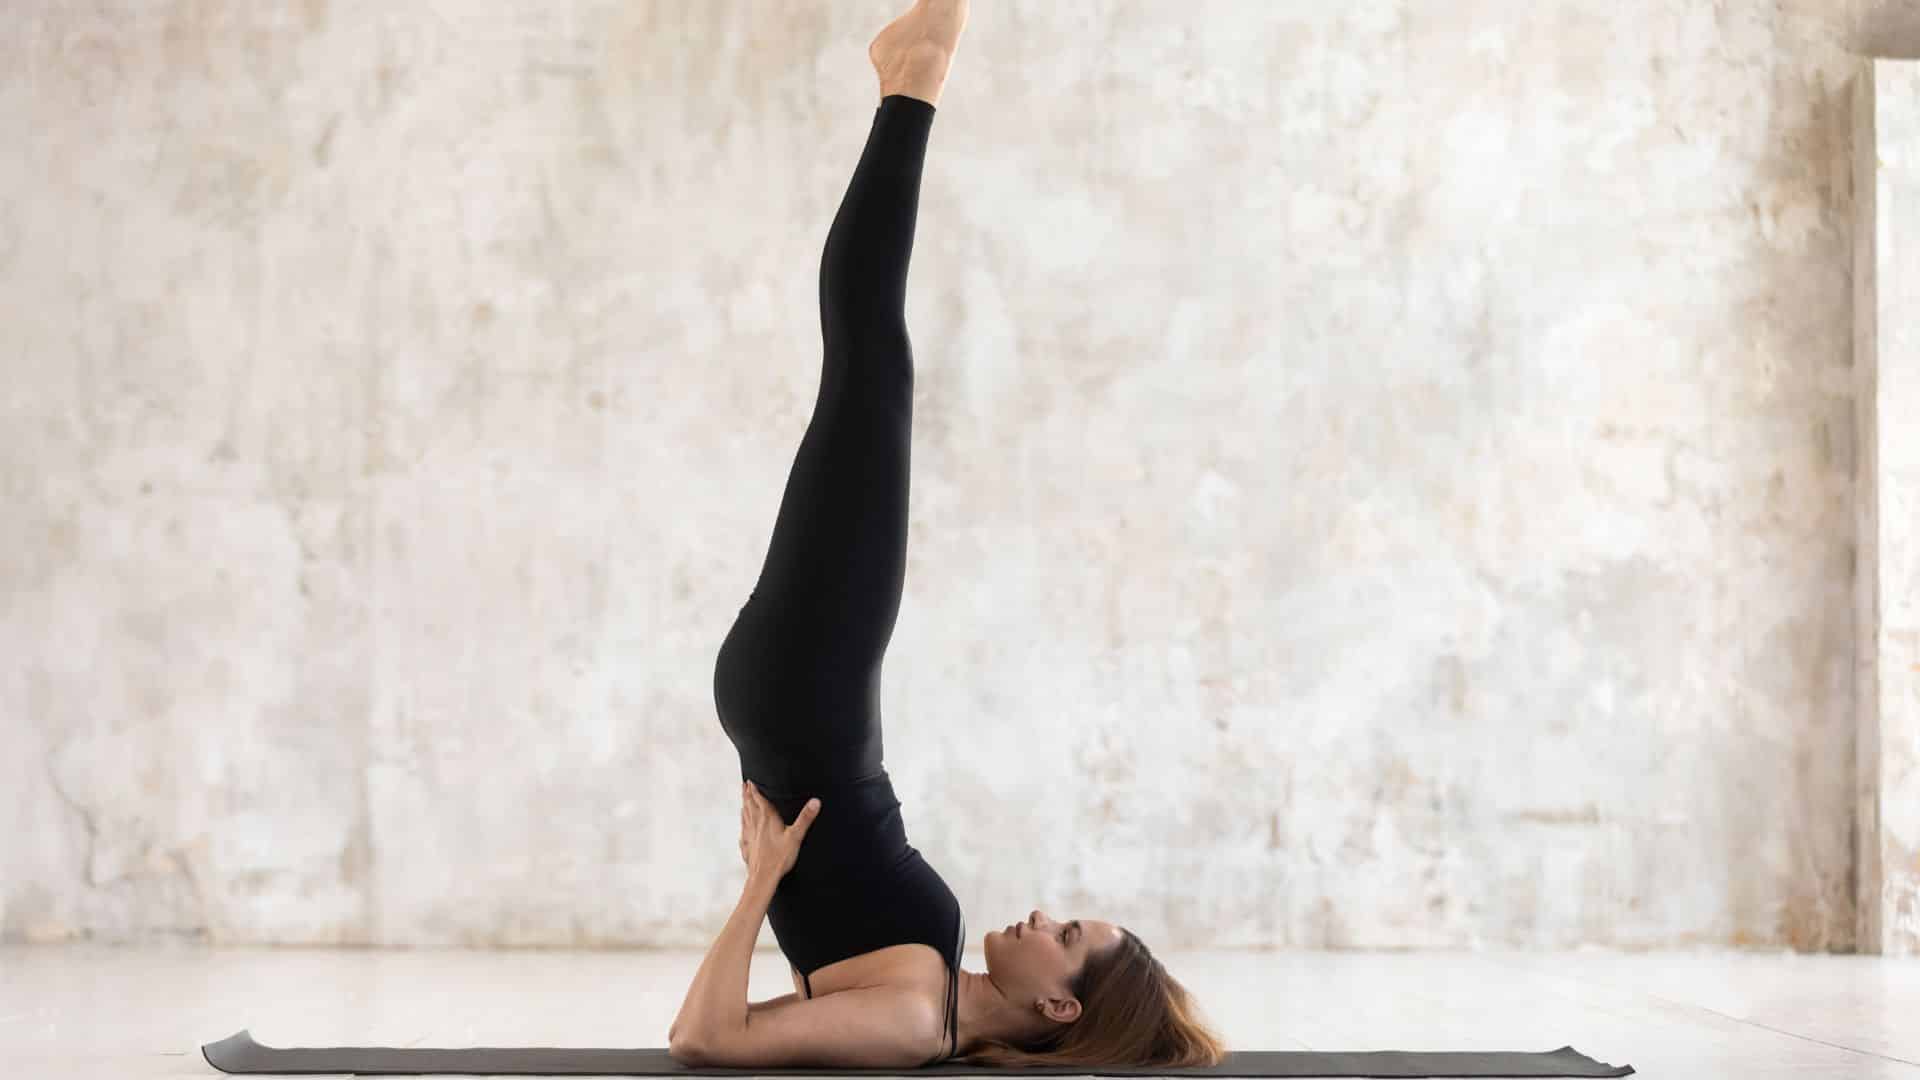
25. Plow Pose (Halasana)
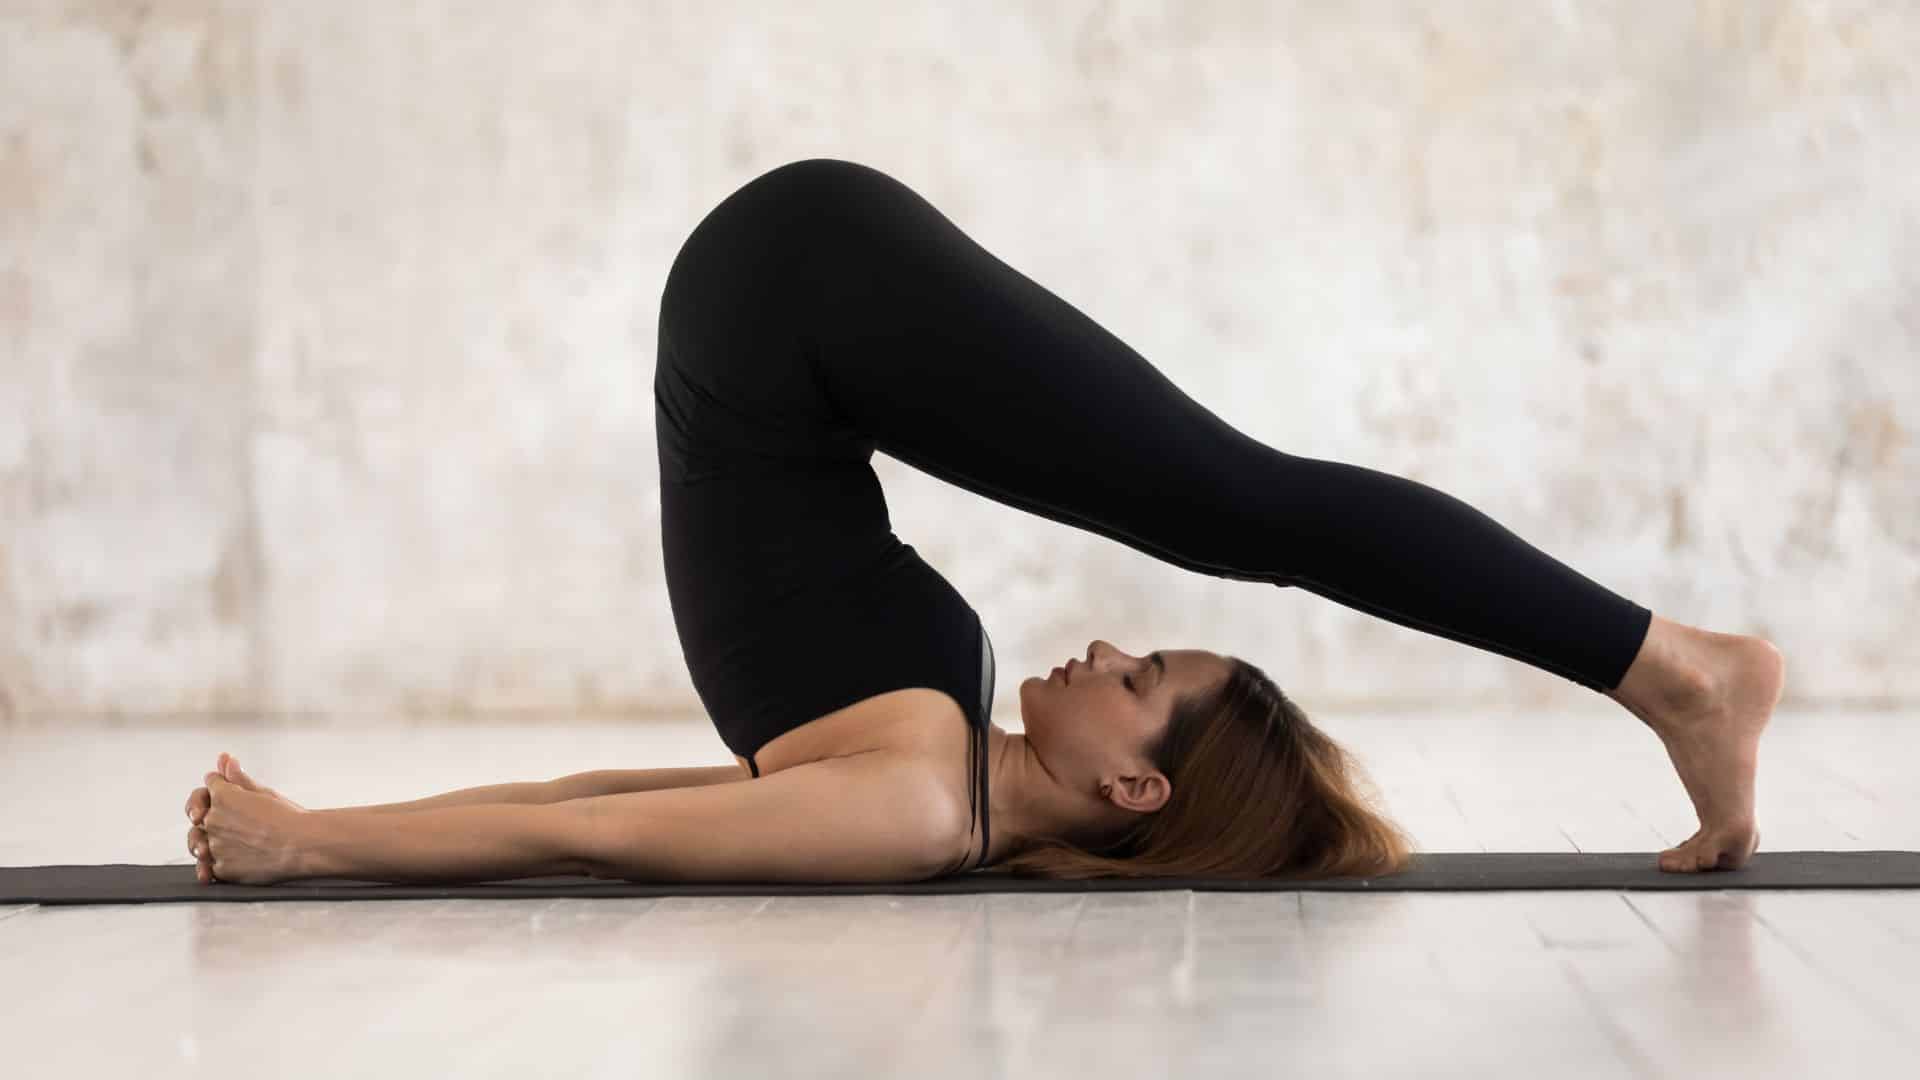
Steps:
- From shoulderstand
- Lower feet overhead
- Touch toes to the floor behind you
- Keep legs straight
- Hold 5 to 8 breaths
Be mindful of: Neck strain, forcing feet down, and a rounded back
Skip if: Neck or back injuries
Once you’re familiar with individual intermediate poses, you can start combining them into sequences for a full, balanced practice.
Sample Intermediate Yoga Poses Sequences
These sample 30-minute full-body intermediate yoga sequences combine intermediate poses into structured flows, helping you build strength, flexibility, and balance in a full-body practice.
| Section | Poses | Duration |
|---|---|---|
| Warm-up | Child’s Pose; Cat–Cow; Downward Dog; Halfway Lift → Forward Fold (3 rounds); Mountain Pose → Chair Pose (3 rounds) | 5 minutes |
| Standing Sequence | Sun Salutation A (3 rounds); Warrior I → Warrior II → Reverse Warrior; Extended Side Angle; Triangle; Pyramid; Warrior III; Half Moon; Tree Pose variations | 12 minutes |
| Balance & Core | Crow Pose (3–5 attempts); Boat Pose (3 rounds); Side Plank (both sides) | 5 minutes |
| Hip Openers & Backbends | Low Lunge; Half Pigeon; Bridge Pose (3 rounds); Camel Pose (2 rounds) | 5 minutes |
| Cool Down | Seated Forward Fold; Supine Twist; Final Rest | 3 to 5 minutes |
Focus: This complete practice touches every major pose category.
To move confidently from beginner to intermediate yoga, let’s focus on safe, gradual steps that build strength, flexibility, and balance.
How to Progress Safely from Beginner to Intermediate Yoga?
Switching from beginner to intermediate yoga requires patience, mindful practice, and a focus on building strength, balance, and flexibility safely. Moving up takes patience. Don’t rush this process.
Skills You Should Build First
- Core integrity: Your core does more than crunches. It stabilizes your spine. It protects your back. It controls your breath.
- Hip mobility: Tight hips limit many poses. Open hips unlock arm balances. They allow deeper backbends. They prevent knee stress.
- Shoulder stability: Your shoulders need strength and flexibility. Weak shoulders cause injuries. Stable shoulders support inversions. They protect your neck.
- Breath-to-movement control: Your breath guides your practice. Smooth breath means you’re not forcing. Held breath signals strain. Steady breath keeps you safe.
Tips for Leveling Up Your Practice
- Use props intelligently: Props aren’t crutches. They’re tools. Blocks bring the floor closer. Straps extend your reach. Blankets provide cushioning.
- Practice consistently (3-4x per week): Regular practice builds muscle memory. Your body adapts over time. Consistency beats intensity.
- Take rest days: Rest builds strength. Your muscles grow during recovery. Overtraining causes injuries.
- Learn alignment cues: Understanding why matters. Proper alignment prevents injury. Proper cues help you self-correct.
- Try teacher-led intermediates: Online classes guide you safely. Teachers spot mistakes you miss. Following along removes guesswork.
Intermediate poses bring new challenges, and even minor missteps can have an impact. Let’s see common pitfalls to avoid.
Common Mistakes In Intermediate Yoga Poses
Even experienced practitioners can fall into habits that limit progress or cause injury; being aware of common mistakes helps you practice smarter and safer.
| Mistake | Why It’s a Problem | Fix It |
|---|---|---|
| Forcing deeper backbends | Compresses the spine and strains the lower back. | Focus on length, engage glutes, and lead with the chest. |
| Over-twisting the spine | Puts too much pressure on one spinal segment, usually the lower back. | Sit tall, breathe into the twist, and rotate from mid-back and chest. |
| Collapsing in inversions | Stresses the neck and causes instability. | Press into forearms, engage core, and practice dolphin for strength. |
| Holding breath | Raises blood pressure and causes dizziness. | Count breaths, ease off when breath falters. |
| Comparing yourself to others | Creates frustration and distracts from your own progress. | Focus on your mat, close your eyes in balance poses, and feel the pose. |
With mindful practice, patience, and attention to your body’s signals, intermediate yoga becomes a part of strength, balance, and deeper self-awareness. Enjoy the process and honor your progress.
Conclusion
You’ve got the roadmap now. Intermediate yoga poses open new doors. They challenge you differently from beginner work. Your body grows stronger. Your mind stays focused. Your practice deepens naturally.
Start with poses that feel accessible. Use props without hesitation. Practice consistently, not flawlessly. Listen to your body’s signals. Rest when needed. Celebrate small wins along the way.
Remember, yoga isn’t a race. Some poses click immediately. Others take months to feel comfortable. Both paths are typical. Both teach you something valuable.
Which pose will you try first? Pick one from this guide. Practice it this week. Notice how it feels. Adjust as needed. Then try another.