I know you’re tired of expensive gym memberships and crowded workout spaces that eat up your time and money.
What if I told you that you could build serious strength, tone your entire body, and get the best workout of your life using nothing but a simple resistance band that fits in your pocket?
I’ve created a complete 30-day resistance band program that changes your living room into a personal gym. This isn’t just another workout plan. It’s your ticket to convenient, effective fitness that works around your schedule. No more excuses about not having time or equipment.
Ready to prove that you don’t need a gym to get incredible results?
Let me show you exactly how to build lean muscle, boost your strength, and feel confident in your own skin with this printable 30-day guide.
Why Choose Resistance Bands for Strength Training?
Resistance bands provide numerous advantages over traditional weights. They offer convenient, space-saving workouts that can be done anywhere.
Their versatility allows targeting all muscle groups while being gentler on joints. This makes resistance bands an ideal choice for both beginners and experienced users looking for practical fitness solutions.
Space-saving convenience is one of the biggest advantages. You can store resistance bands in a small drawer or travel bag, making them perfect for home workouts or when you’re on the go.
Versatility in workouts allows you to target every muscle group. From upper body exercises like bicep curls to lower body moves like squats, resistance bands can handle it all.
Joint-friendly training is another key benefit. The bands provide smooth, controlled resistance that puts less stress on your joints compared to free weights. This makes them ideal for people recovering from injuries or those with joint concerns.
Cost-effective fitness means you get a full-body workout without spending hundreds on equipment. A complete set of resistance bands costs less than a monthly gym membership, making strength training accessible to everyone.
What Are the 3 Types of Resistance Bands?
Resistance bands come in various forms, each designed for specific training needs and fitness levels. Knowing the different types helps you choose the right equipment for your strength training goals.
1. Therapy Bands
They are flat, wide strips made from latex or fabric. These bands offer light to moderate resistance and are perfect for rehabilitation exercises.
Physical therapists often use them for injury recovery and gentle strengthening. They’re also great for beginners who want to start with low-impact movements.
2. Compact Resistance Bands
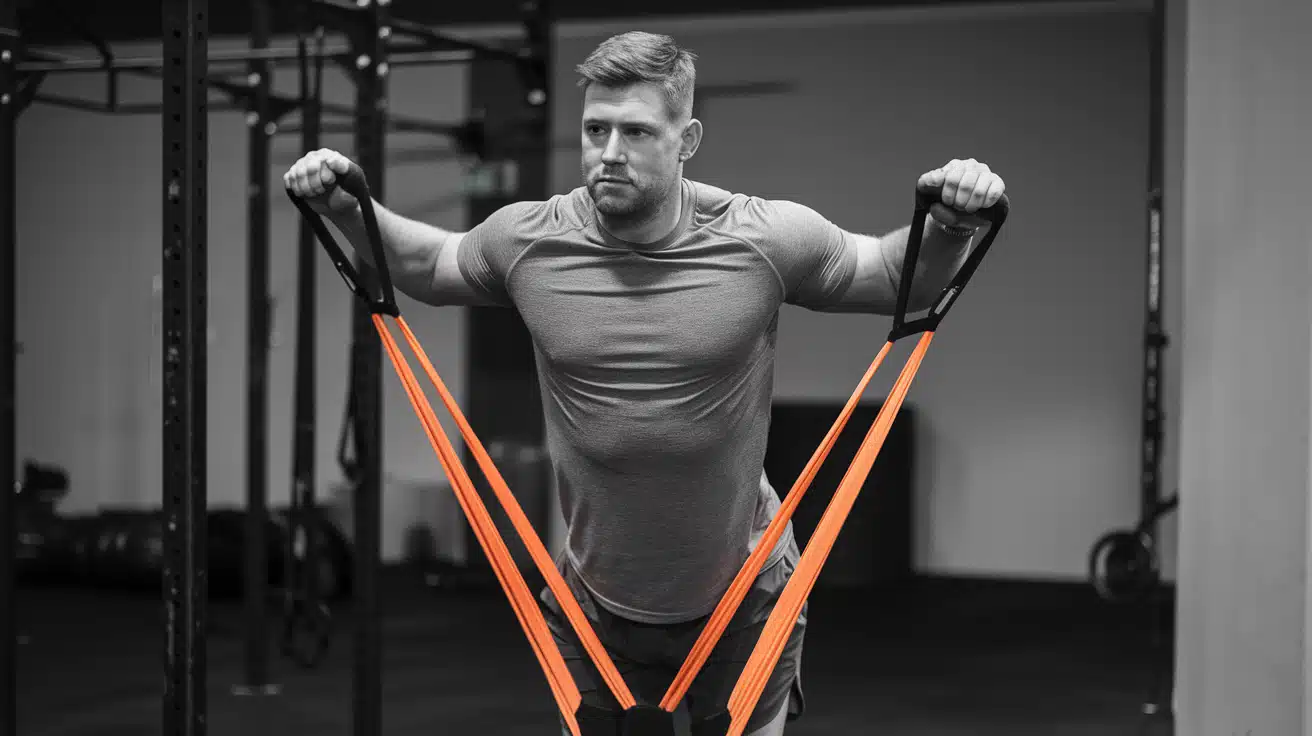
Features handles on both ends with interchangeable resistance tubes. These bands mimic traditional gym equipment like cable machines.
You can attach different resistance levels to create a complete workout system. They’re perfect for upper body exercises like chest presses and rows.
3. Flat Loop Bands
They are continuous loops that provide constant tension. These bands work well for lower-body exercises like squats and lateral walks.
They help activate glute muscles and improve hip stability. Many athletes use them for warm-up routines and muscle activation.
Choosing the Right Band- Select appropriate resistance levels based on your fitness goals. Beginners should start with lighter bands for 12-15 reps. Look for bands with door anchors and handles for exercise variety.
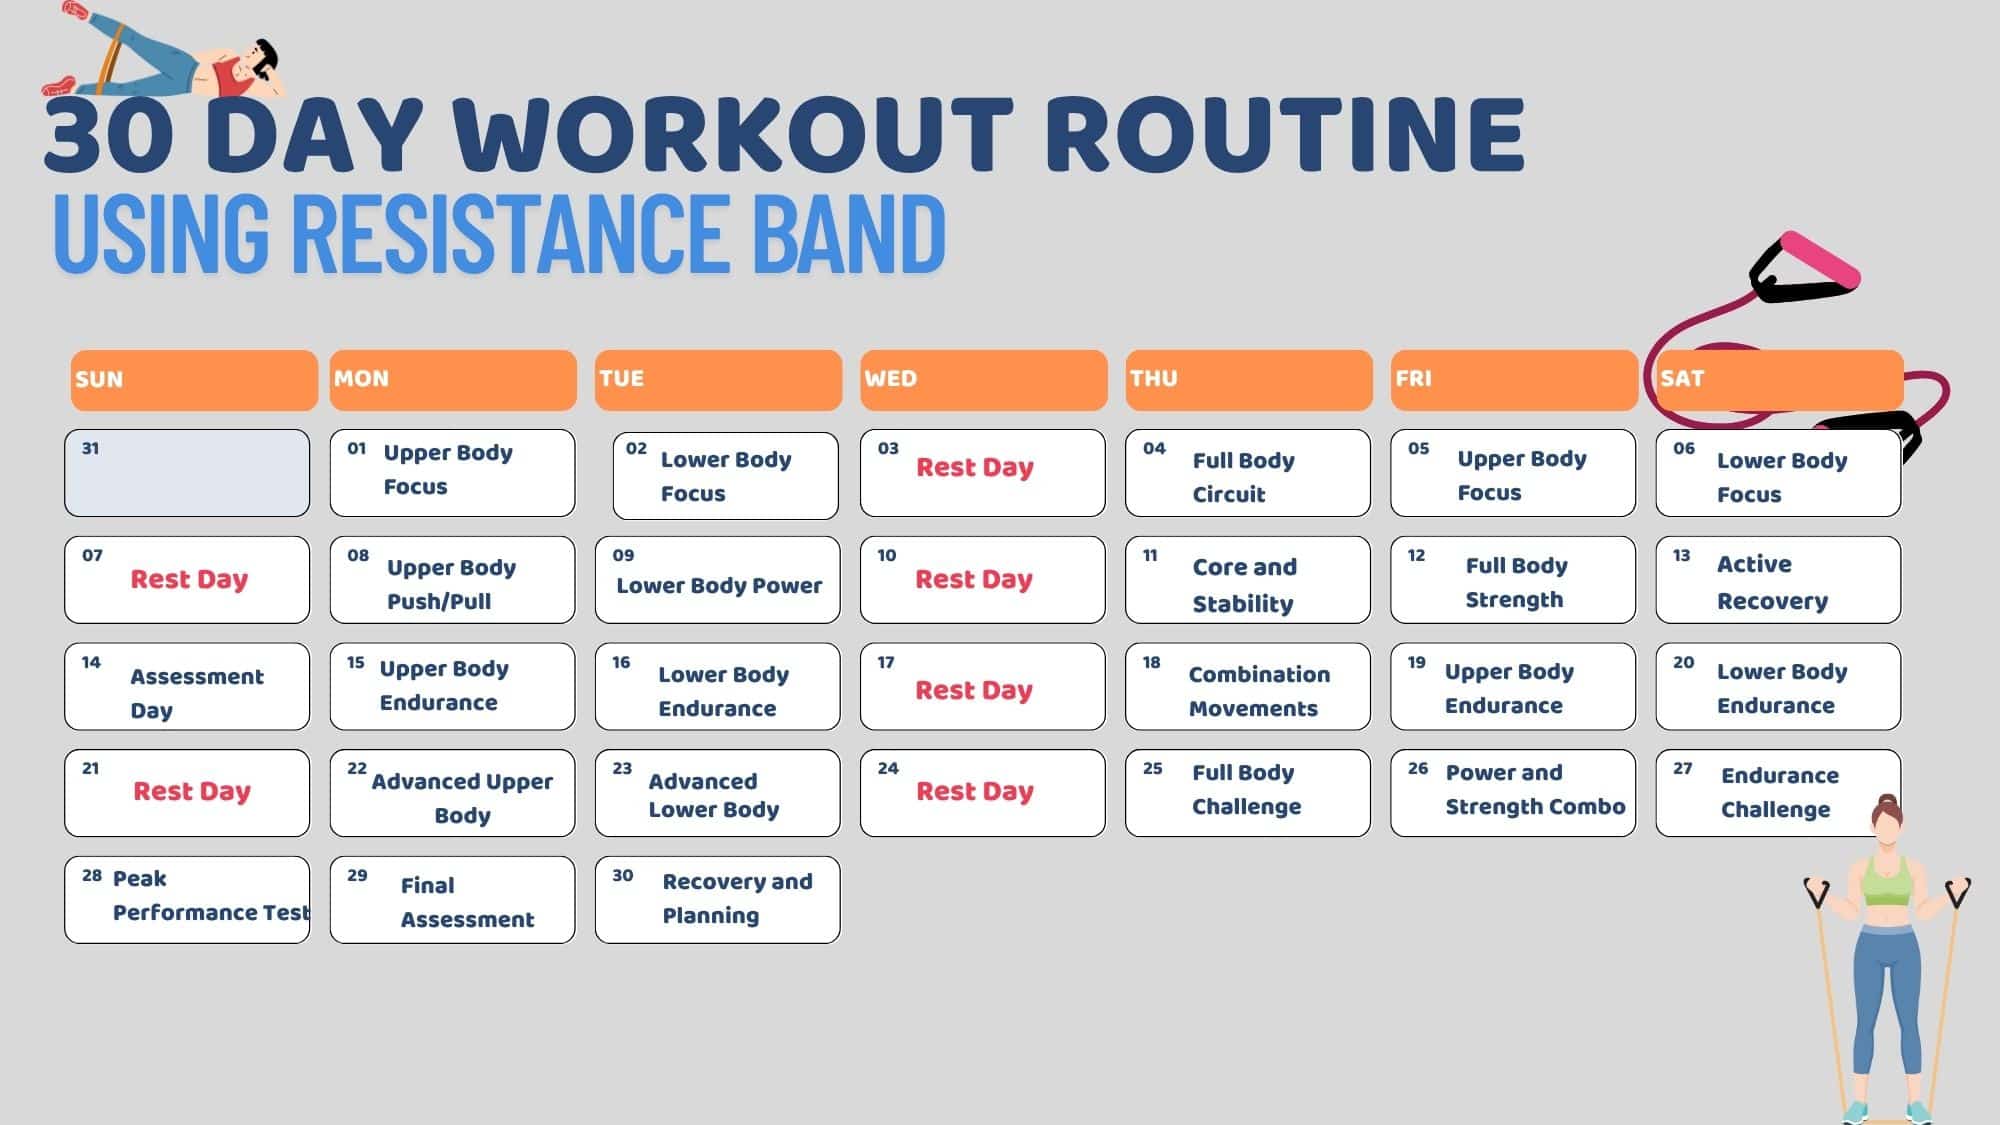
Printable 30-Day Resistance Band Full Body Workout Plan

A complete month-long fitness program featuring daily workout tables with specific exercises, sets, and reps designed to build strength and endurance using only resistance bands.
Perfect for home workouts, this structured plan progresses from beginner to advanced levels with printable daily guides for easy tracking and consistent results.
Safety Tips for Resistance Band Training
1. Inspect your equipment before every workout: Always check resistance bands for tears, nicks, or weak spots before starting. Replace damaged bands immediately to prevent sudden snapping during exercises.
2. Start with proper warm-up and light resistance: Begin each workout with light movement and stretching. Choose lighter resistance bands initially to master proper form before progressing to heavier levels.
3. Maintain controlled movements throughout your workout: Avoid jerky or rapid movements when using resistance bands. Focus on smooth, controlled motions during both pulling and releasing phases of exercises.
4. Secure anchor points and check band positioning: Ensure door anchors or attachment points are sturdy and properly secured. Double-check that bands are positioned correctly and won’t slip during movement.
5. Listen to your body and avoid overexertion: Stop immediately if you feel sharp pain, dizziness, or unusual discomfort. Rest between sets, stay hydrated, and don’t push through concerning pain.
6. Store bands properly and replace when necessary: Keep resistance bands away from sharp objects, extreme temperatures, and direct sunlight. Replace bands every 6-12 months or when showing wear signs.
Conclusion
Your fitness change doesn’t have to wait for the perfect moment or expensive equipment. This 30-day resistance band workout plan gives you everything you need to build strength, tone your body, and feel confident, all from the comfort of your home.
I’ve shown you how these simple bands can replace an entire gym, target every muscle group, and fit into even the busiest schedule. The choice is yours: continue making excuses or start making progress today.
Remember, consistency beats perfection. Even 20 minutes a day with your resistance bands will deliver results that surprise you. Your body is ready for this challenge.
Ready to start your change?
Download your printable workout plan, grab your bands, and let’s begin this incredible fitness journey together. Your future self will thank you for starting today.


